8. Attach the cable management comb as shown in the following gure. For cable management instructions, refer to Brocade
MLXe Series-32 cable management on page 156.
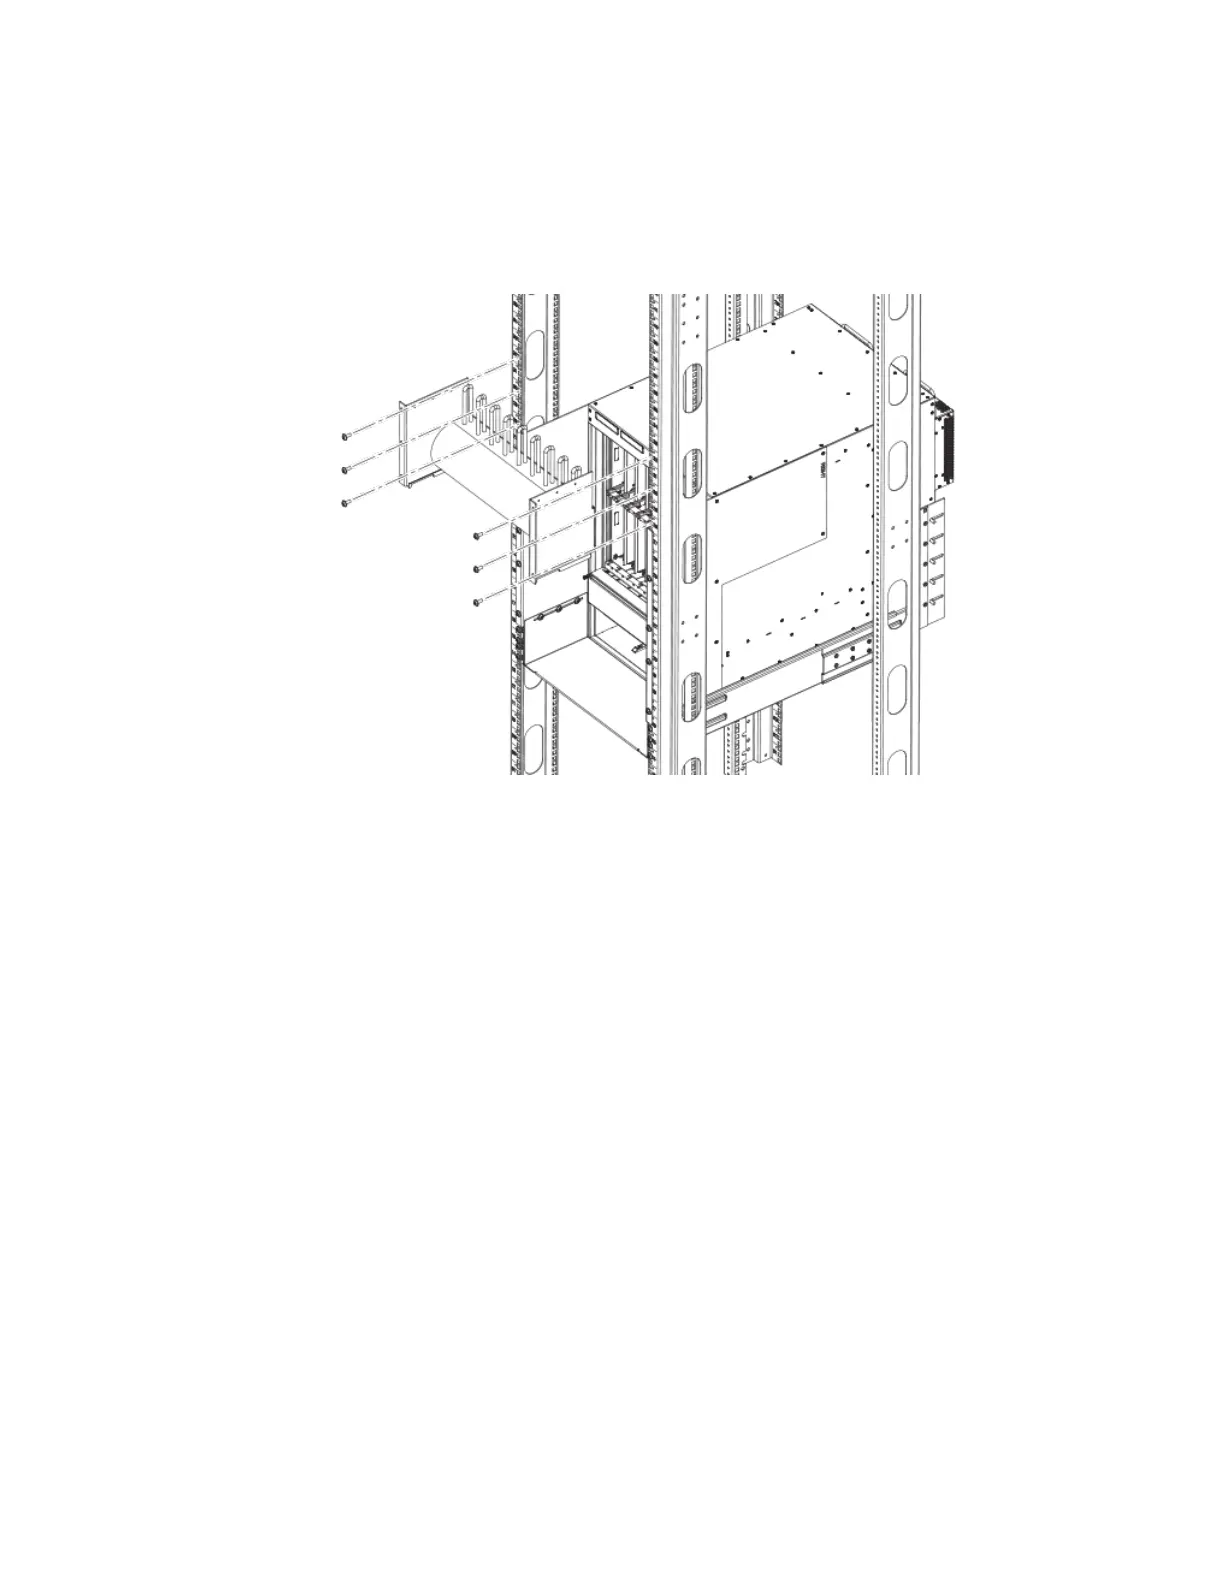
FIGURE 59 Attach the cable management comb
NOTE
Repeat these steps for each router you install in the EIA rack.
Installing a Brocade MLXe Series-32 router
This section describes how to install a Brocade MLXe Series-32 router.
NOTE
Illustrations in this chapter may dier slightly from the actual
equipment.
Preparing the installation site
Before installing the router, plan the location and orientation relative to other devices and equipment. For cooling purposes, allow a
minimum of six inches of space between the sides, front, and the back of the router and walls or other obstructions. If a router is installed
within a perforated enclosure, the perforations must cover at least 60 percent of the surface.
NOTE
This equipment is suitable for installation in a Network Telecommunication facility and where NEC requirements apply.
Additionally, it may be installed in either a Common Bonding Network (CBN) or Isolated Bonding Network (IBN). It is not
intended for Outside Plant (OSP) installations.
You will need to use a mechanical lift to move and install the router. Be sure to allow enough working room for the lift.
Installing a Brocade MLXe Series-32 router
Brocade NetIron MLXe Series Hardware Installation Guide
134 53-1004203-04

 Loading...