Important
•
When borderless printing is used, the edge of the paper is cut during printing. Thus, ink density may be uneven at
the edges. If you require higher image quality, select No from the Automatic Cutting list in the Paper Detailed
Settings dialog box. In this case, the paper can be printed without borders on the left and right sides only. Once
printed and cut, please cut the upper and lower bands with scissors.
•
Document: Any type
•
Page size: 10 × 12 inches (254.0×304.8 mm)–Borderless
•
Paper: Roll
•
Paper type: Canon Glossy Photo Paper 170gsm
•
Roll paper width: 10 inches (254.0 mm)
1
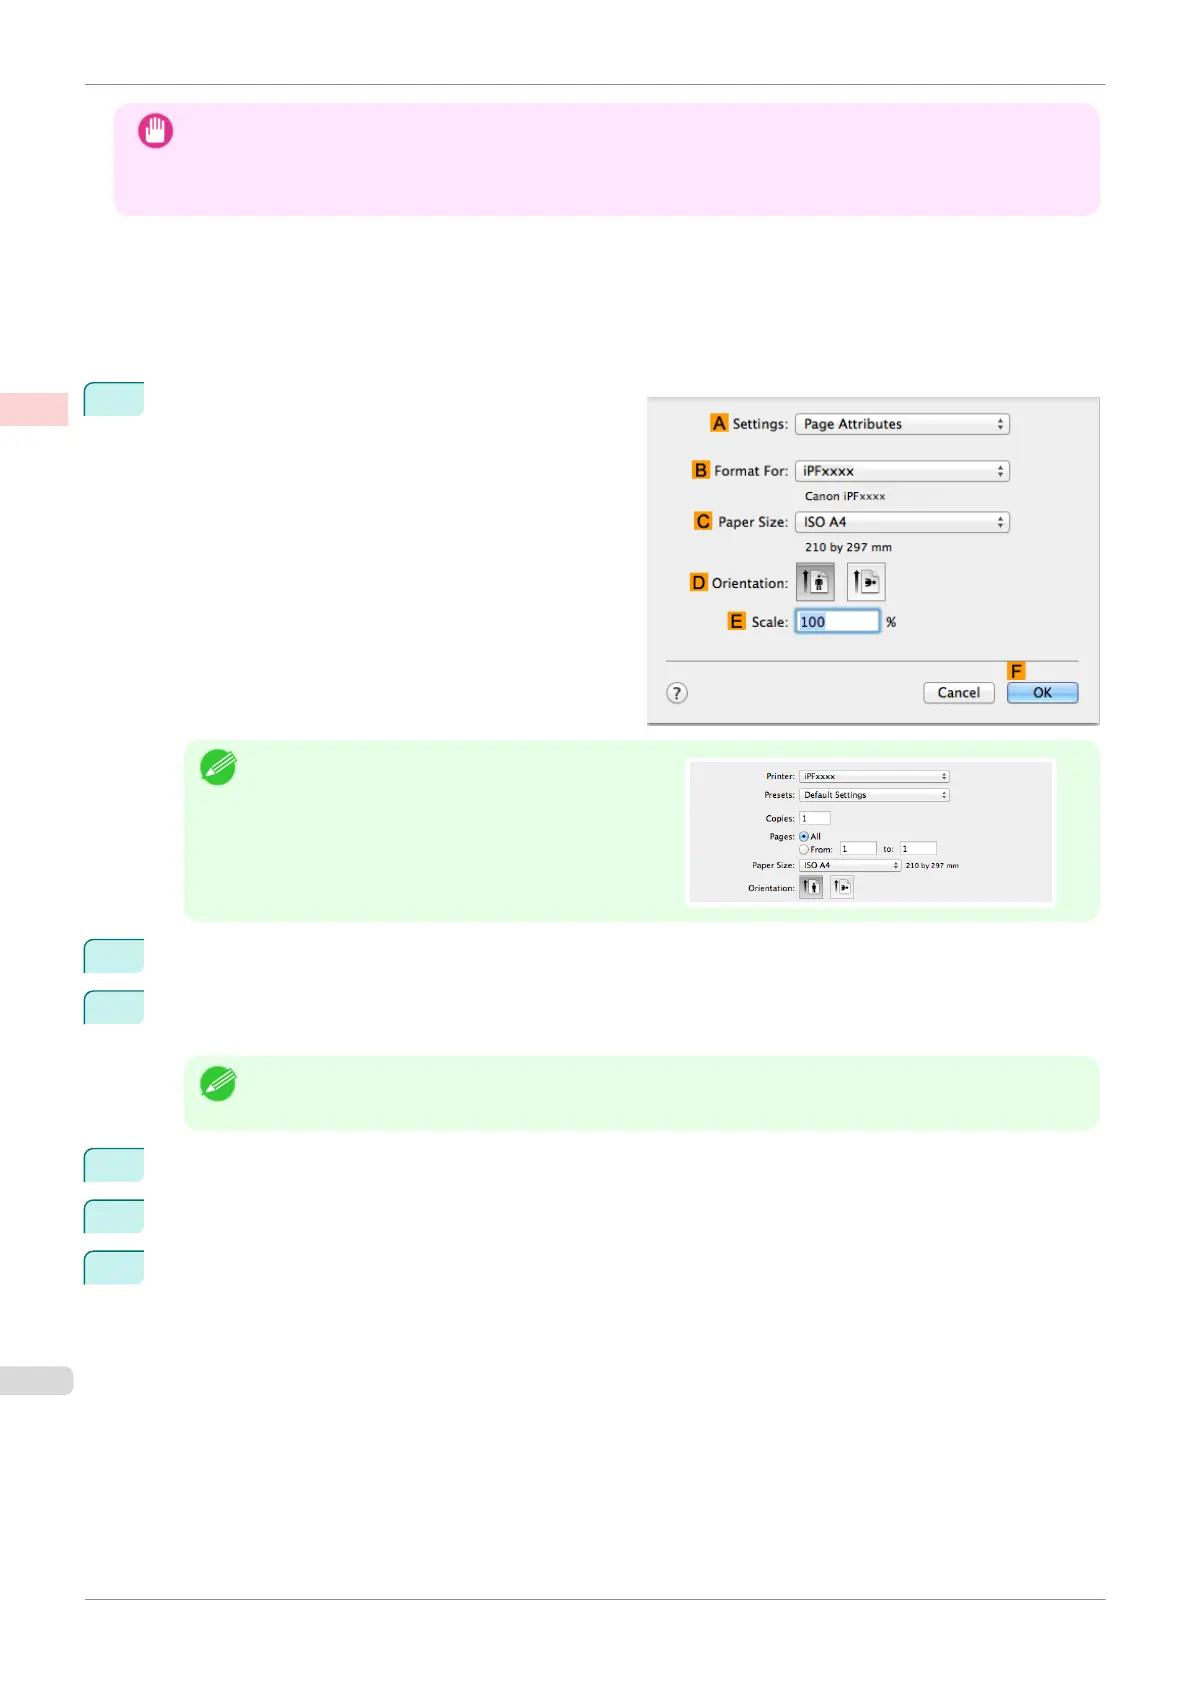
Choose Page Setup from the application menu to
display the Page Attributes dialog box.
Note
•
Page Setup might not be displayed in the menu de-
pending on the OS you are using and the applica-
tion software.
In this case, select Print from the menu in the appli-
cation software, and configure the settings in the up-
per part of the printer driver screen that is displayed.
2
Select the printer in the
B Format for list.
3
In the C Paper Size list, choose a paper size supported for borderless printing. Here, click 10"x12" - Bor-
derless.
Note
•
Paper sizes supported for borderless printing are indicated by -Borderless.
4
Click F OK to close the dialog box.
5
In the application, create an original that takes up the entire space of the paper size.
6
Choose Print in the application menu.
Borderless Printing at Actual Size (Mac OS)
iPF830
User's Guide
Enhanced Printing Options Printing at full size
78
 Loading...