Weight Flange
Roll Type
Weight Flange to
Use
Canon Premium Glossy Paper 2 280, Semi-Glossy Photo Paper, Canon Premium Glossy Paper 2 280, Heavy-
weight SemiGlossy Photo Paper, Fine Art Photo, Fine Art Heavyweight Photo, Fine Art Textured, Canvas Matte,
Canon Proofing Paper, Canon Coated Paper, Canon Heavyweight Coated Paper, Extra Heavyweight Coated
Paper, Colored Coated Paper, Adhesive Synthetic Paper, Synthetic Paper, Backprint Film, Backlit Film, Canon
Flame-Resistant Cloth, Fabric Banner, Thin Fabric Banner
Weight Flange
1 (*1)
Premium Matte Paper Weight Flange
2
*1: If you cannot retract stiff paper well using Weight Flange 1 or if the diameter of the retracted paper is wider than the Rewind
Spool, use Weight Flange 2. When using Weight Flange 2, adjust the paper feed amount by executing Auto(GenuinePpr) or
Auto(OtherPaper). (See "Automatic Banding Adjustment.") →P.806
Important
• Do not use combinations other than those identified here.
• Insert the Weight Flange and Weight Joint firmly on the Weight Roll.
• Use identical Weight Flange on the left and right ends. Insert matching Weight Flanges (1 or 2) on both ends of the
Weight Roll.
Note
• Keep unused weight rolls, weight joints, and weight flanges handy by putting them in the box and putting the box
under the Stand .
17
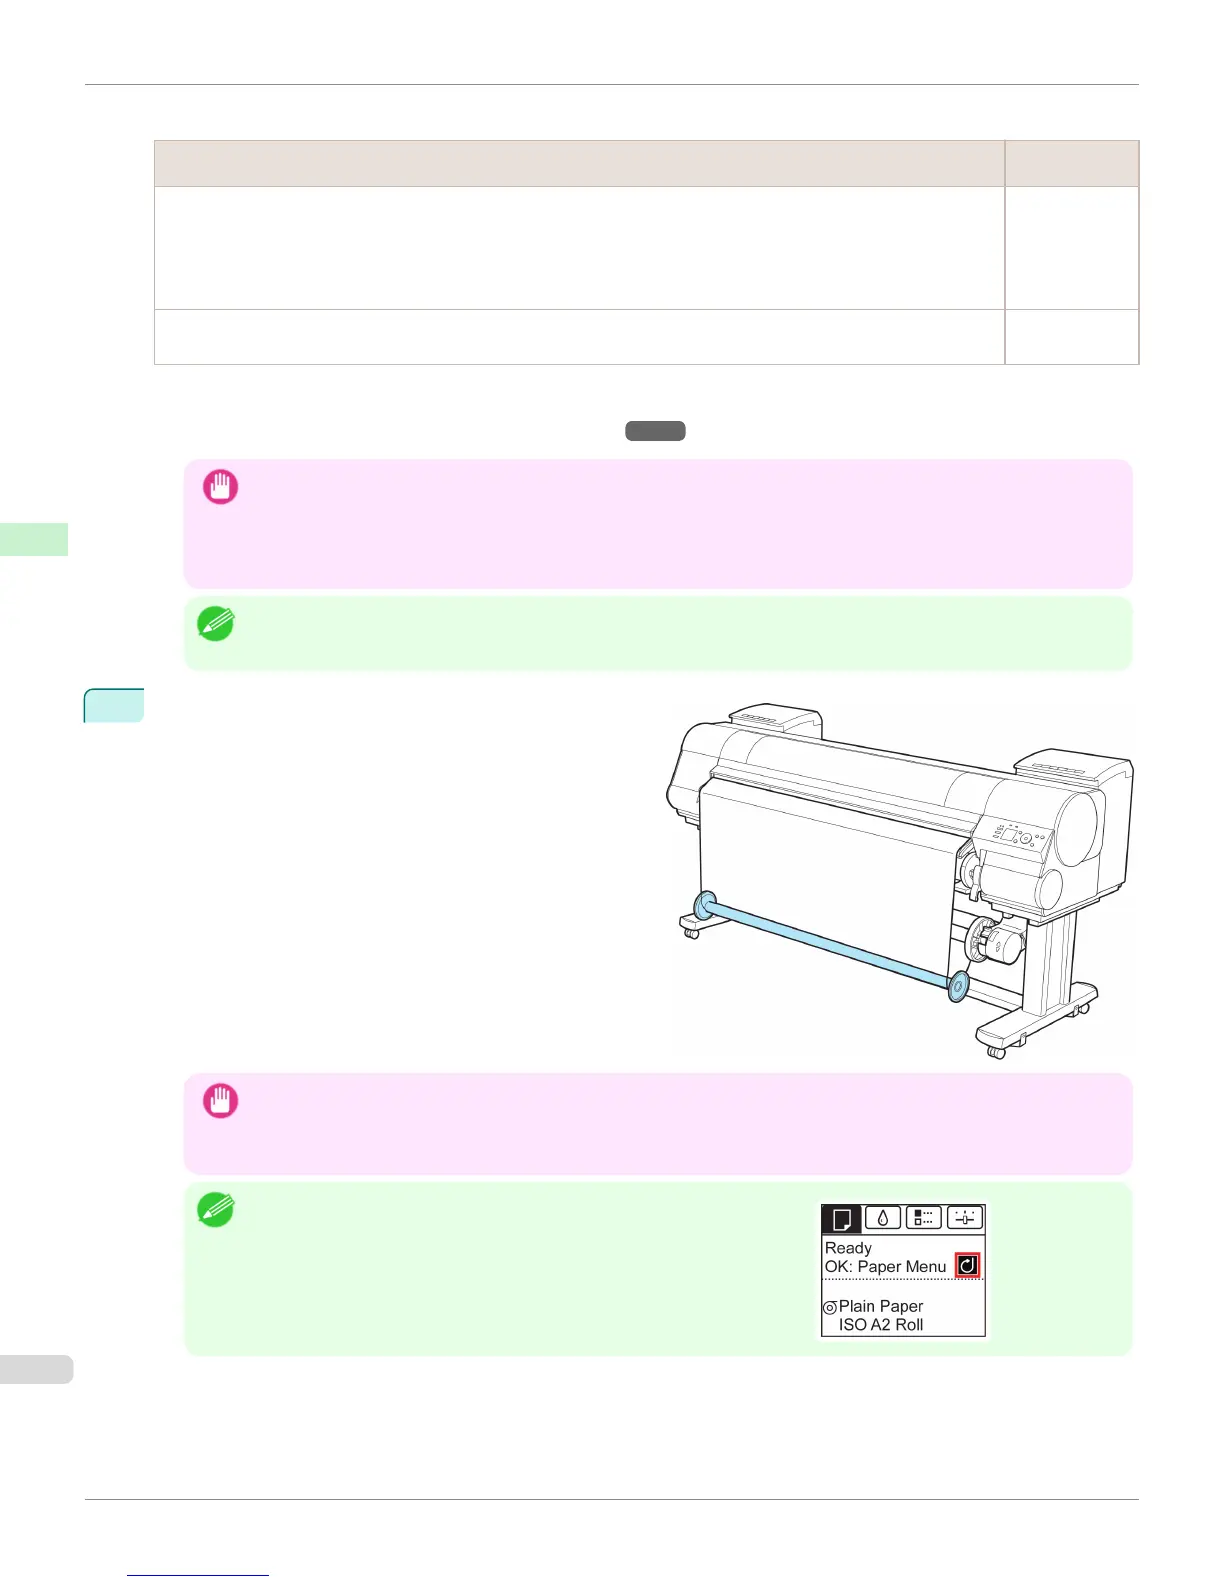
Set the Weight Roll gently on top of the slack in the roll
paper.
The media take-up unit is now ready for use. Printed
rolls can now be rewound automatically.
Important
• Always set the Weight Roll on the paper. Failure to do this may cause rewinding problems.
• When setting the Weight Roll on the paper, avoid touching the paper core and causing the wound roll to become
misaligned on the left and right end. If it is misaligned on the left and right ends, a rewinding problem may result.
Note
•
When the media take-up unit is in use, an icon indicating the take-up
mode is shown on the Display Screen.
Loading the Rewind Spool on the Media Take-up Unit
iPF9400
User's Guide
Handling and Use of Paper Media take-up unit
578
 Loading...