Setting Page
123
You can create a panorama image that captures the entire area that can be captured by the camera.
Created panorama images are displayed in the Viewer and part of the Setting Page.
Creating a Panorama Image
A panorama image can be used in the Viewer and for a privacy mask by clicking [Apply] to save it to the camera after
capturing.
• While a panorama image is being captured, the Image Stabilizer is temporarily disabled.
• The following users will be disconnected while creating a panorama image.
– All users except for administrators
– Users not connected via RTP
• When a small value is entered for [Maximum Frame Rate: Video Transmission] (P. 105) in [Video] > [JPEG], panorama capture is slowed
down.
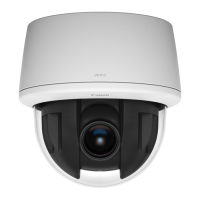
Set the range for panorama creation. This enables the panorama creation time to be reduced.
[Specify the panorama creation area]
If you select [Specified], the panorama image is created within a set area that can be captured by the camera. If
you select [Not specified], the panorama image is created within the entire area that can be captured by the
camera.
If you selected [Not specified], proceed to step 3.
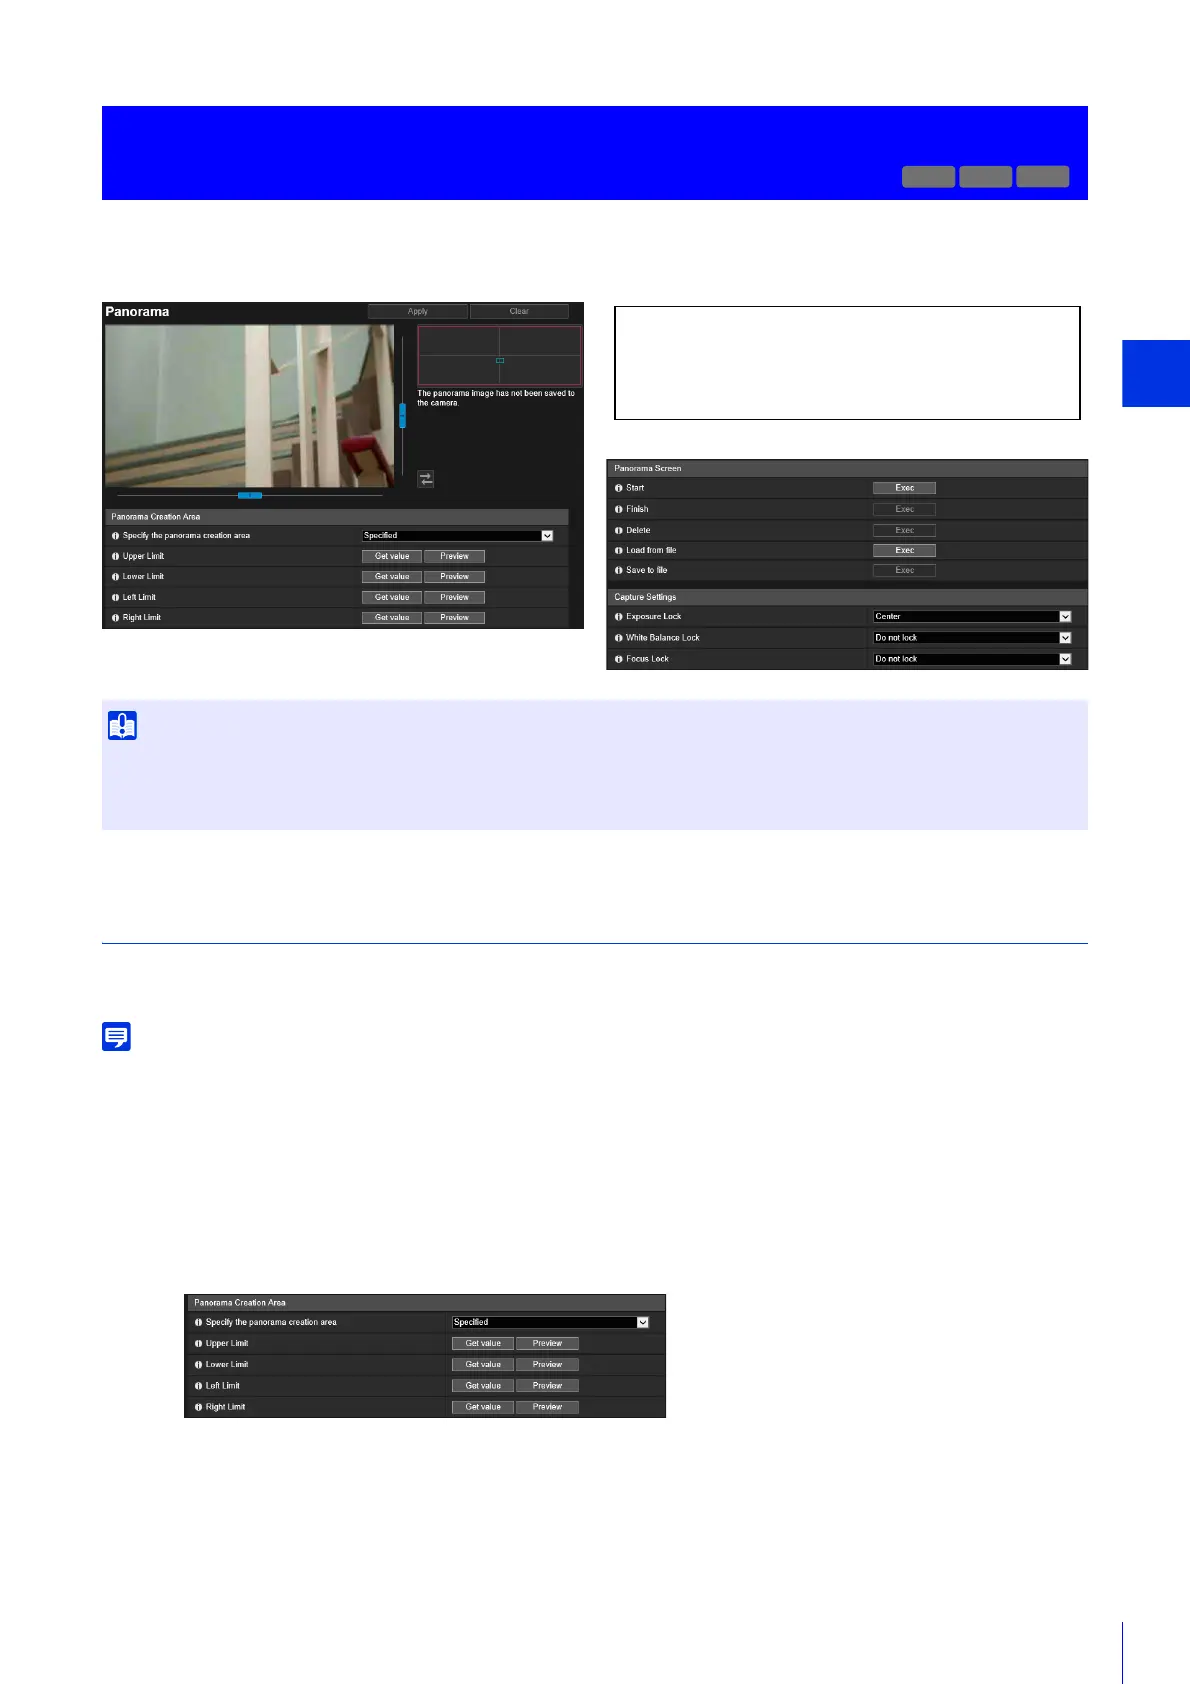
[Camera] > [Panorama]
Creating a Panorama Image
• If you change the privacy mask settings in [Privacy Mask], it is recommended that you create the panorama image again to reflect the
new privacy mask settings in the panorama image.
• If you have changed the camera installation method settings, recapture the panorama image.
R13
M50
The following settings can be configured here.
• Panorama Creation Area
• Panorama Screen
• Capture Settings
1
Set [Panorama Creation Area]