SECTION 00 -- GENERAL INFORMATION -- CHAPTER 1
00-22
10. Remove the burrs from the shaft ends with a file
or grinder and remove all metal chips and filings
from the shafts.
11. Apply grease to the inside of the outer
telescoping tube before assembly.
12. Reinstall the grease sleeve on the end of the rear
half of the PTO shaft.
13. Reassemble the front and rear parts of the PTO.
14. Reattach the front part of the PTO to the tractor
and reattach the rear part of the PTO to the
mower.
IMPORTANT: The PTO set must be checked out
prior to operation as follows:
• Check to be sure the shafts do not bottom out by
lifting and lowering the hitch and observing the
free movement of he tubes when fully collapsed.
20004263
29
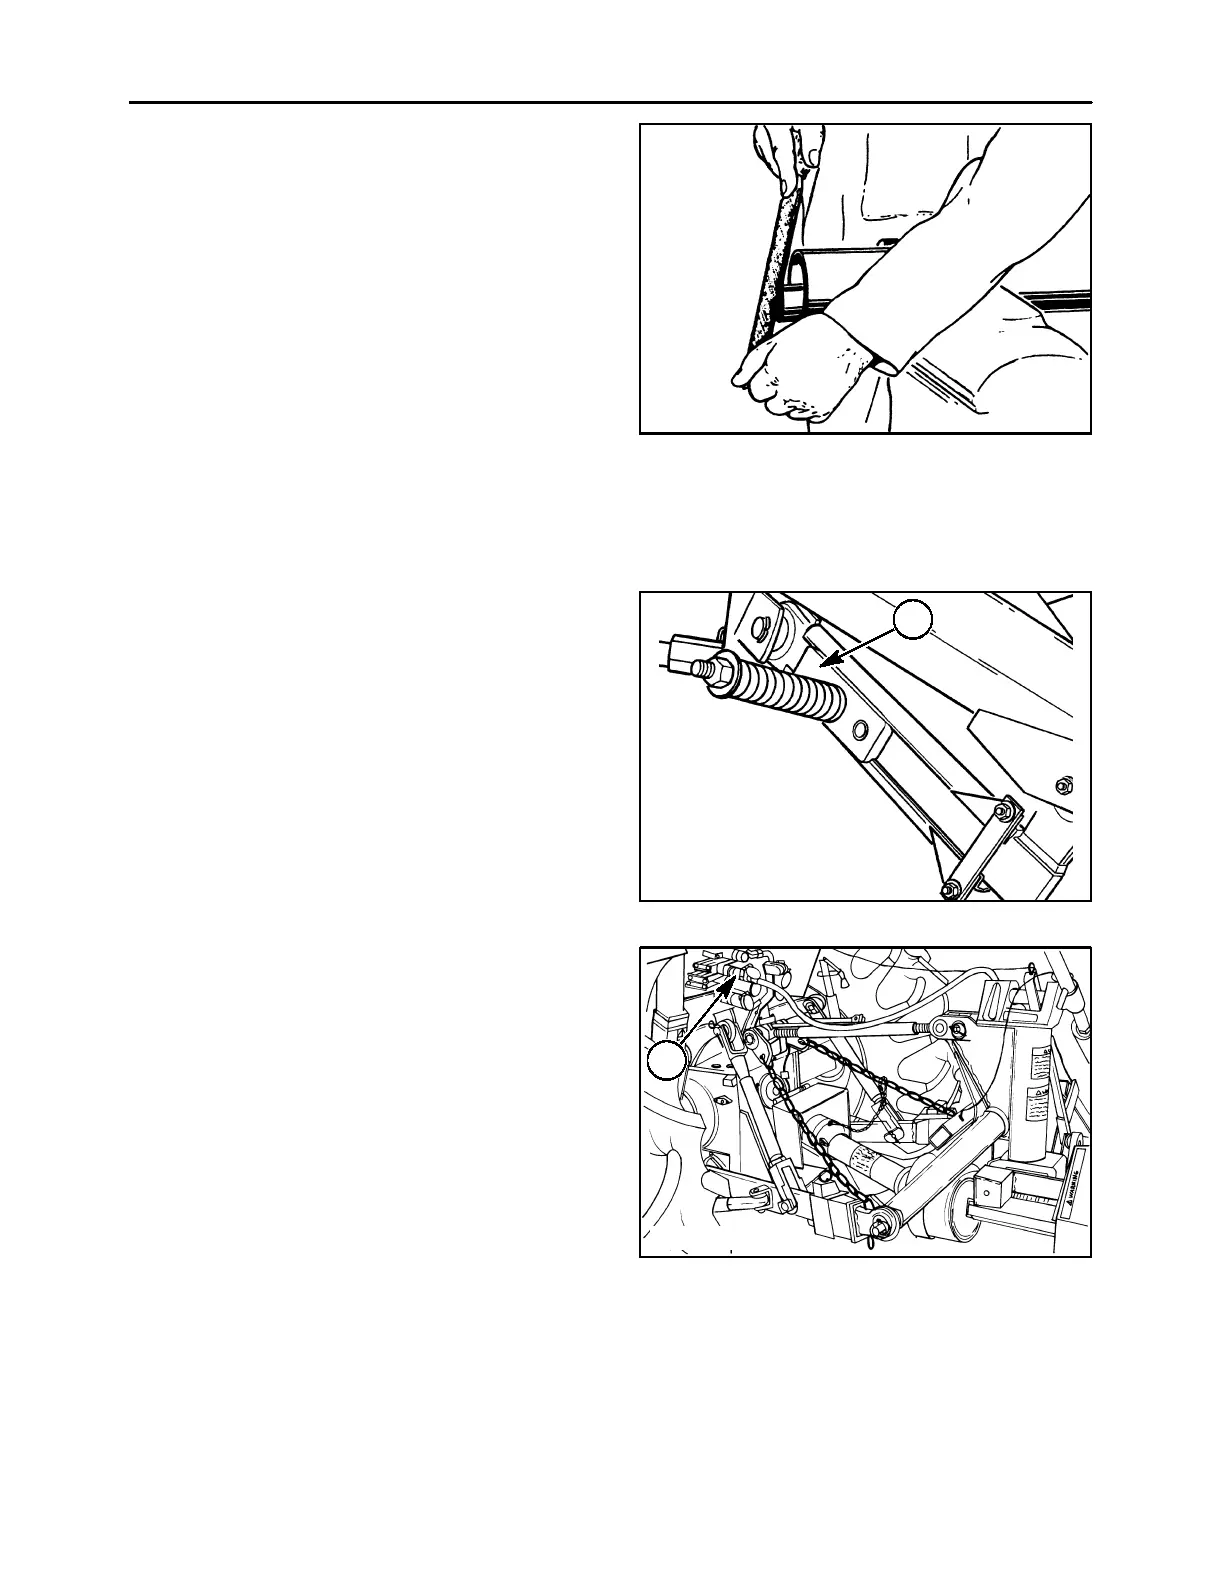
• Operate the breakaway, 1, to be sure the shafts
do not separate. This can be done by first loosen-
ing and then releasing the breakaway latch and
then physically forcing the cutter bar rearward
with a prybar or by other means. Retighten the
spring to the correct length (See the “Breakaway
Latch” section in Maintenance in this manual).
A3679-24
1
30
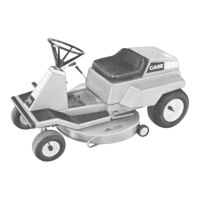
Connect the Mower Hydraulic System
Connect the hydraulic hose to the tractor, preferably
to a valve section that has a float position. Select the
appropriate port, 1, to allow engaging the float
position when the hitch is lowered.
NOTE: Check the tractor operator’s manual for
instructions on which outlet to use for single acting
cylinders.
19986828
1
31