107
Installation
1. Follow the installation procedures outlined in the Phoenix Operation Manual on
page 2 through page 13, step 10.
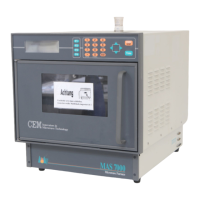
2. Remove the door and top of the furnace. Place the heating element inside the
furnace. (fi gure 1)
3. Position the quartz plate in the recess of the furnace bottom. When facing the
front of the furnace, orient the larger hole to the right back portion of the
furnace. (fi gure 1)
4. Position the bottom of the furnace with the heating element and plate in the
center of the Phoenix cavity, and then place the furnace top on the installed
bottom. Ensure that the opening for the thermocouple in the furnace top is
aligned with the opening in the top of the cavity.
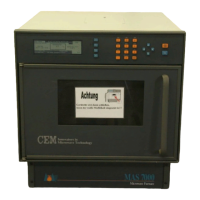
5. Using a Phillips screwdriver, remove the thermocouple access door from the top
of the instrument cover. (fi gure 2)
6. Locate the thermocouple and carefully lower the sheathed end of the thermo-
couple through the hole in the top of the cavity and down until it touches the
top of the furnace. Move the furnace top cover and bottom until the therm-
couple is aligned with the small hole and will slide down into the furnace top
and through the hole in the quartz plate.
7. Tighten the thermocouple nut fi nger tight. Using a 7/16” wrench (provided
with the option), tighten the nut an additional 3/4” turn.
WARNING
Failure to tighten the thermocouple nut could result in microwave
leakage which can cause damage to the instrument and be harmful
to the instrument operator.
8. Attach the short thermocouple wire with the subminiature connector to the
mating connector in the instrument. The second thermocouple connector is
used for temperature verifi cation and will remain disconnected at this time.
9. Install the thermocouple access door on the top of the instrument cover.
10. Unscrew the three (3) black thumbscrews on the thermocouple access door and
remove the chimney cover. (fi gure 2)