22
Set Clock
14. Using the arrow keys, highlight Set Clock. Press the SELECT key.
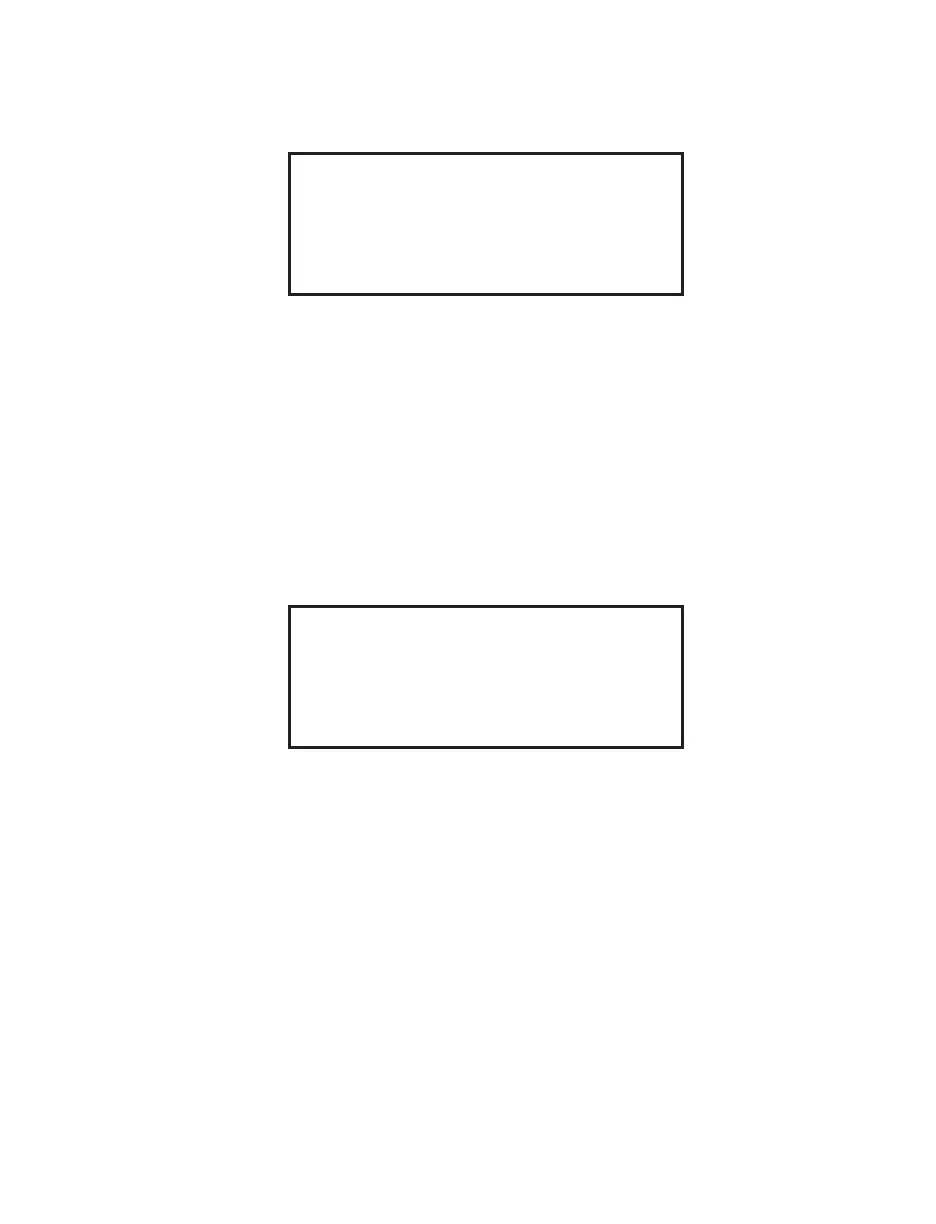
Set Clock
DATE FORMAT: XX/XX/XX
DATE: XX/XX/XX
TIME: (24 Hour format): XX:XX
Press SELECT to Change
15. Using the arrow keys, highlight Date Format. Press the SELECT key to toggle
between DD/MM/YYYY (Day/Month/Year) or MM/DD/YYYY (Month/
Day/Year).
16. Using the arrow keys, highlight Date. Use the numeric keys to enter the
appropriate date.
17. Using the arrow keys, highlight Time. Use the numeric keys to enter the
appropriate time. The time should be entered on a 24-hour basis. For example,
1:00p.m. should be entered as 13:00.
18. Press the BACK or NEXT key to return to the “Timers” screen.
Timers
SET CLOCK
SCREEN SAVER TIME: XX:XX
Screen Saver Time
19. Using the arrow keys, highlight Screen Saver Time.
20. The screen saver time is set to determine the length of time the instrument can
be idle prior to the screen saver appearing on the screen. Screen saver time can
be set from 5 -90 minutes. Default screen saver time is 15 minutes. Use the
numeric keys to enter the desired screen saver time.
Note: If a screen saver time of fewer than 5 minutes is entered, the instrument
software will automatically enter 5 minutes.
21. Press the BACK key to return to the “System Options” screen.