96
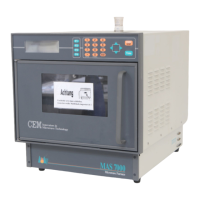
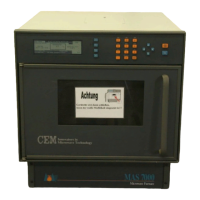
Component Removal and/or Replacement
WARNING
Phoenix instruments utilize high voltages and microwave radiation.
Instrument service and repair should be performed only by techni-
cians trained in repair and mainte-nance of high voltages and micro-
wave power systems.
WARNING
To avoid possible electrical shock or exposure to microwave energy,
the instrument must be turned off and the power cord removed from
the electrical outlet prior to any part replacement.
Fuse(s)
1. Turn the instrument off and unplug the power cord from the electrical outlet.
2. Using a small fl at blade screwdriver, unscrew the fuse cap and remove the
fuses. Use a VOM (voltage/ohm meter) to determine if either fuse is open.
3. Replace the fuse(s) as required.
4. Install a new 15A 250V fuse into the fuse cap. Screw the cap into the instru
ment.
Instrument Cover
1. Turn the instrument off and unplug the power cord from the electrical outlet.
2. Remove the exhaust hose and elbow from the blower exhaust.
3. Remove the screws located along the sides and back of the cover. Pull back and
lift up the cover to remove it from the instrument, using caution to prevent
damage to any of the internal components or wiring.
4. During cover installation, carefully place the cover on the instrument to avoid
damage to the internal components. Position the cover on the instrument and
push the cover toward the front of the instrument until it is properly positioned.
5. Install all cover mounting screws securely.
6. Install the exhaust elbow and tubing.