c) In the Extension Information area of this window, check the Enable Extension Mobility check box if this
phone supports Cisco Extension Mobility.
d) Click Save.
Step 2
Configure line settings:
a) In the Phone Configuration window, click Line 1 on the left pane of the window. The Directory Number
Configuration window appears.
b) In the Directory Number field, enter a valid number that can be dialed.
This field should contain the same number that appears in the Telephone Number field in the End
User Configuration window.
Note
Example: 26640 is the directory number of user John Doe in the preceding example.
c) From the Route Partition drop-down list, choose the partition to which the directory number belongs. If
you do not want to restrict access to the directory number, choose <None> for the partition.
d) From the Calling Search Space drop-down list (Directory Number Settings area of the Directory Number
Configuration window), choose the appropriate calling search space. A calling search space comprises a
collection of partitions that are searched for numbers that are called from this directory number. The value
that you choose applies to all devices that are using this directory number.
e) In the Call Pickup and Call Forward Settings area of the Directory Number Configuration window, choose
the items (for example, Forward All, Forward Busy Internal) and corresponding destinations to which
calls should be sent.
Example: If you want incoming internal and external calls that receive a busy signal to forward to the
voice mail for this line, check the Voice Mail check box next to the Forward Busy Internal and Forward
Busy External items in the left column of the Call Pickup and Call Forward Settings area.
f)
In the “Line 1 on Device...” pane of the Directory Number Configuration window, configure the following:
•
Display (Internal Caller ID field): You can enter the first name and last name of the user of this
device so that this name displays for all internal calls. You can also leave this field blank to have the
system display the phone extension.
•
External Phone Number Mask: Indicate phone number (or mask) that is used to send Caller ID
information when a call is placed from this line.
You can enter a maximum of 24 numeric and “X” characters. The Xs represent the directory number and
must appear at the end of the pattern.
Example: Using the john doe extension in the preceding example, if you specify a mask of 408902XXXX,
an external call from extension 6640 displays a caller ID number of 4089026640.
This setting applies only to the current device unless you check the check box at right (Update
Shared Device Settings) and click Propagate Selected. (The check box at right displays only if
other devices share this directory number.)
Note
g) Click Save.
h) Click Associate End Users at the bottom of the window to associate a user to the line that is being
configured. Use Find in conjunction with the Search fields to locate the user, then check the box next to
the user name, then click Add Selected. The user name and user ID should now appear in the “Users
Associated With Line” pane of the Directory Number Configuration window.
i) Click Save. The user is now associated with Line 1 on the phone.
j) If your phone has a second line, configure Line 2.
k) Associate the user with the device:
•
Choose User Management > End User.
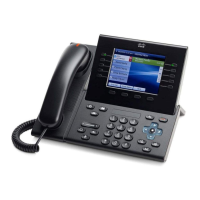
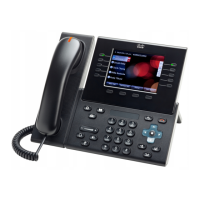
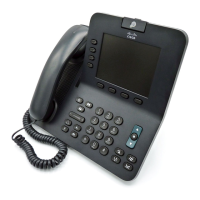
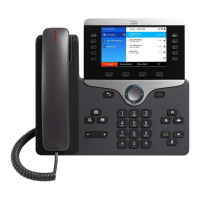
Cisco Unified IP Phone 8961, 9951, and 9971 Administration Guide for Cisco Unified Communications Manager 10.0
(SIP)
311
Basic Phone Administration Steps
Set up Phone Fields
REVIEW DRAFT - CISCO CONFIDENTIAL