Managing the System
Network Shares
Cisco Small Business NSS300 Series Smart Storage Administration Guide 137
3
STEP 5 A confirm settings window opens, click Next if you agree with the settings or click
Back to change any settings.
STEP 6 Click Finish to exit the Share Folder Wizard.
To restore default network shares:
STEP 1 Choose Network Shares > Share Folders from the Navigation menu. The Share
Folders window opens.
STEP 2 Click Restore Default Network Shares. A dialog asks if you are sure that you
want to restore default network shares. Click OK to continue.
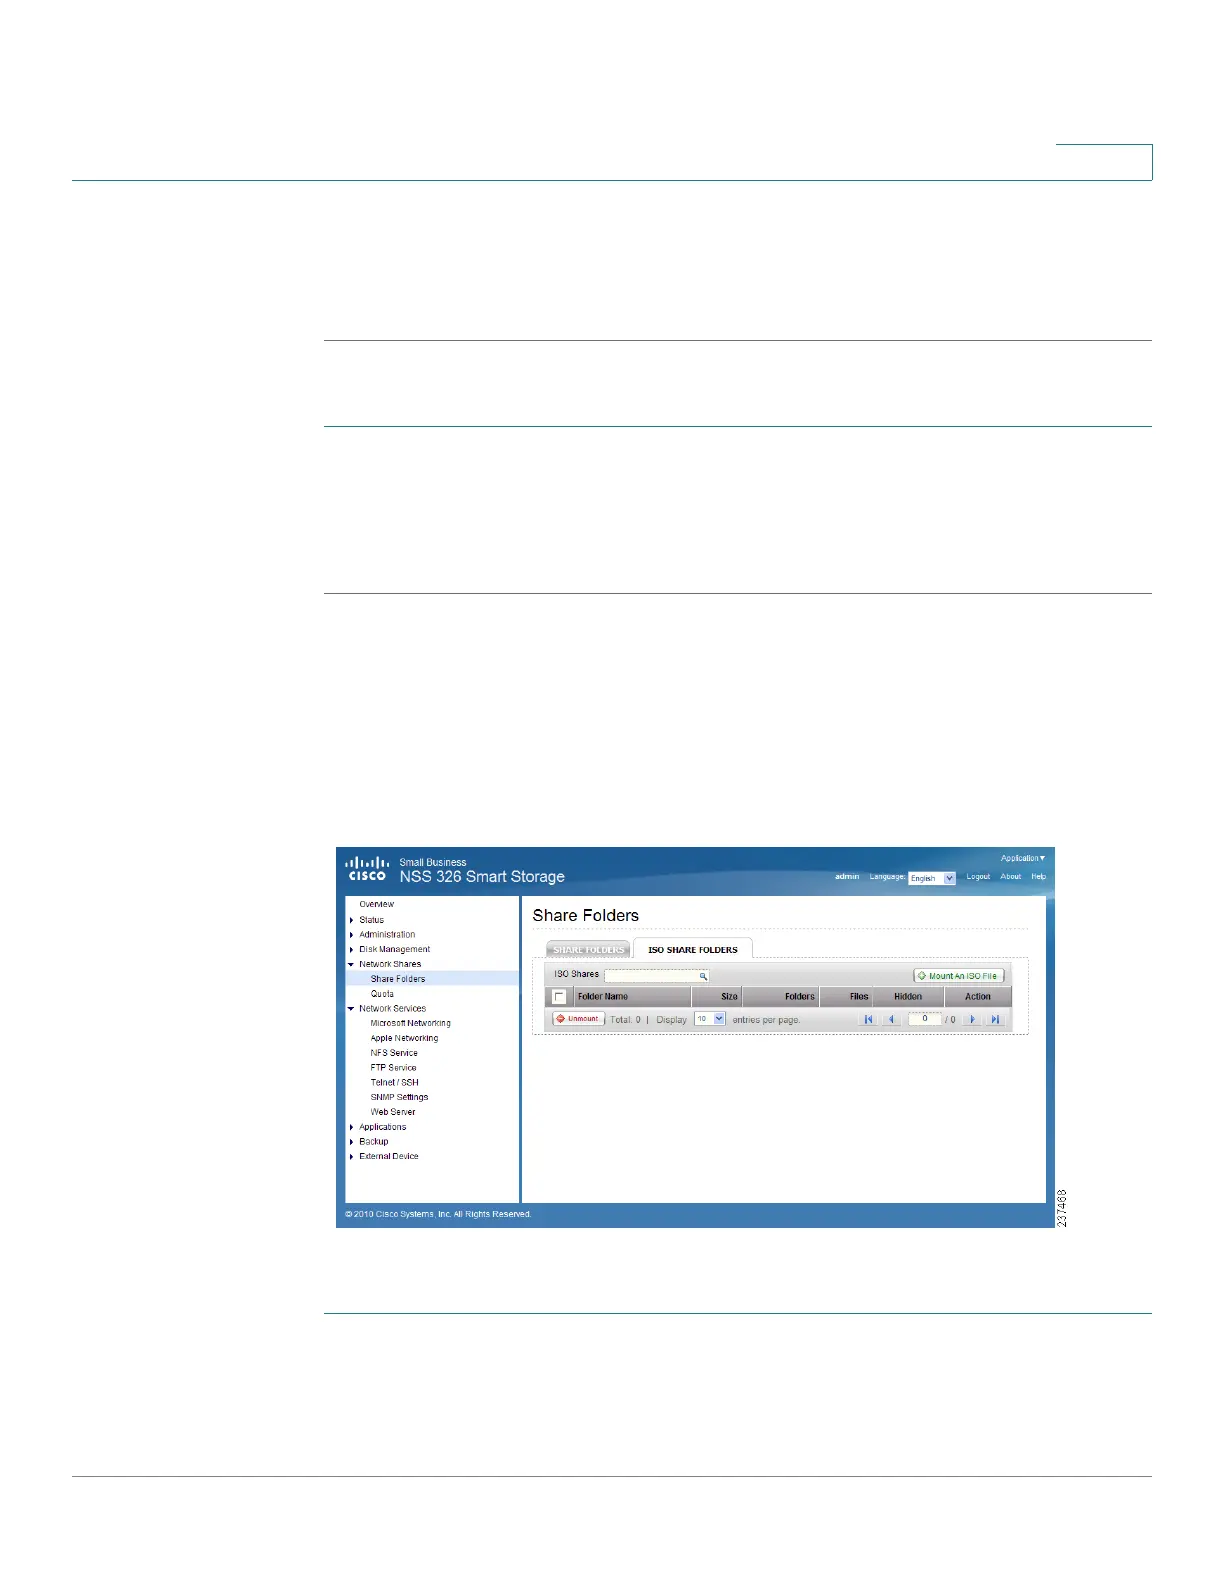
ISO Share Folders
From the Network Shares > Share Folders > ISO Share Folders window, you can
mount the ISO image files on the NAS as ISO share folders and access the
contents without disc burning. The NAS supports mounting up to 256 ISO share
folders.
To mount an ISO file on the NAS:
STEP 1 Choose Network Shares > Share Folders > ISO Share Folders from the
Navigation menu. The ISO Share Folders window opens.
STEP 2 Click Mount An ISO File. The Choose An ISO Image File window opens.