Getting Started
Connecting the Equipment
Cisco Small Business NSS300 Series Smart Storage Administration Guide 23
2
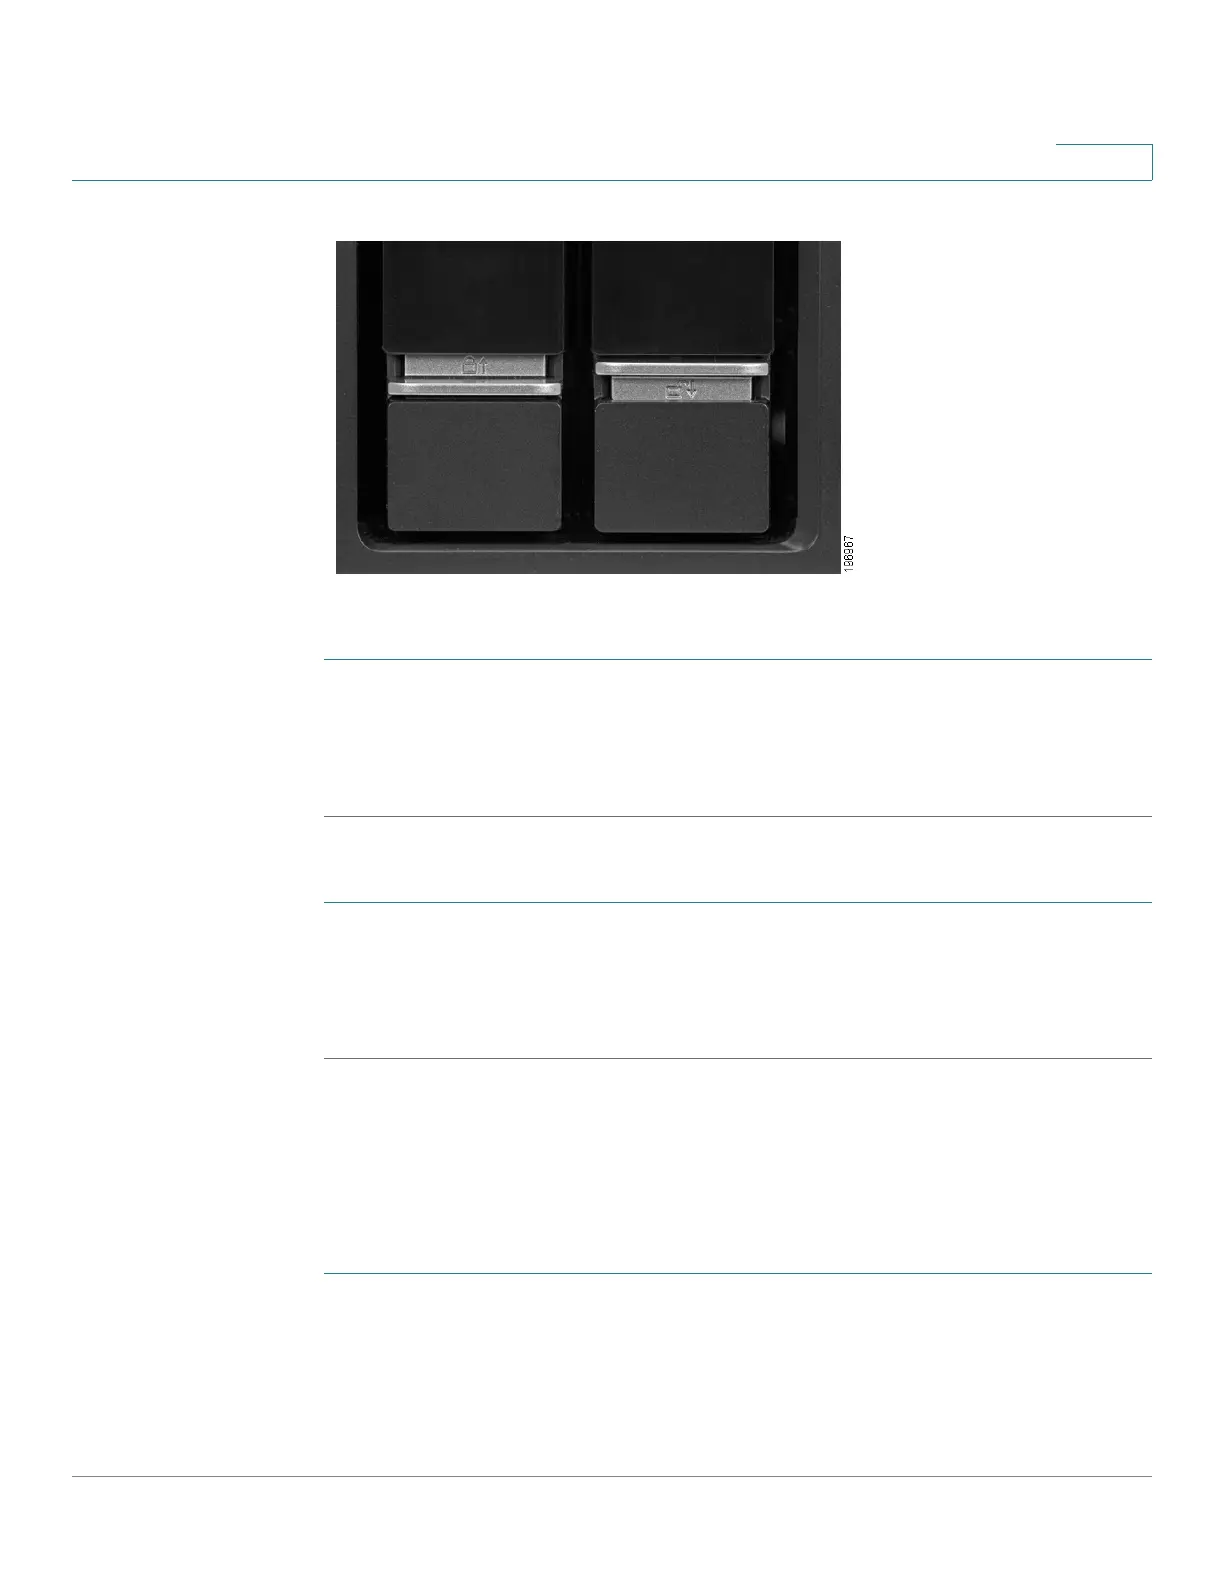
To lock the disk tray:
STEP 1 Verify that the disk tray is fully inserted in the chassis with the disk tray lever down.
STEP 2 Lift the silver tab up to lock the tray.
STEP 3 Continue to Connecting the Equipment, page 23.
To unlock and remove the disk tray:
STEP 1 On the disk tray, press the silver tab down to unlock the tray.
STEP 2 Press the button below the silver tab to release the disk tray lever.
STEP 3 Using the disk tray lever, gently pull the disk tray out from the chassis.
Connecting the Equipment
To connect the NAS device to the network:
STEP 1 Connect the supplied Ethernet cable to one of the Ethernet ports on the back of
the chassis.
STEP 2 Connect the other end of the Ethernet cable to a switch or router on your network.
STEP 3 Connect the supplied power cord to the Power port on the back of the chassis.