Managing the System
Backup
Cisco Small Business NSS300 Series Smart Storage Administration Guide 207
3
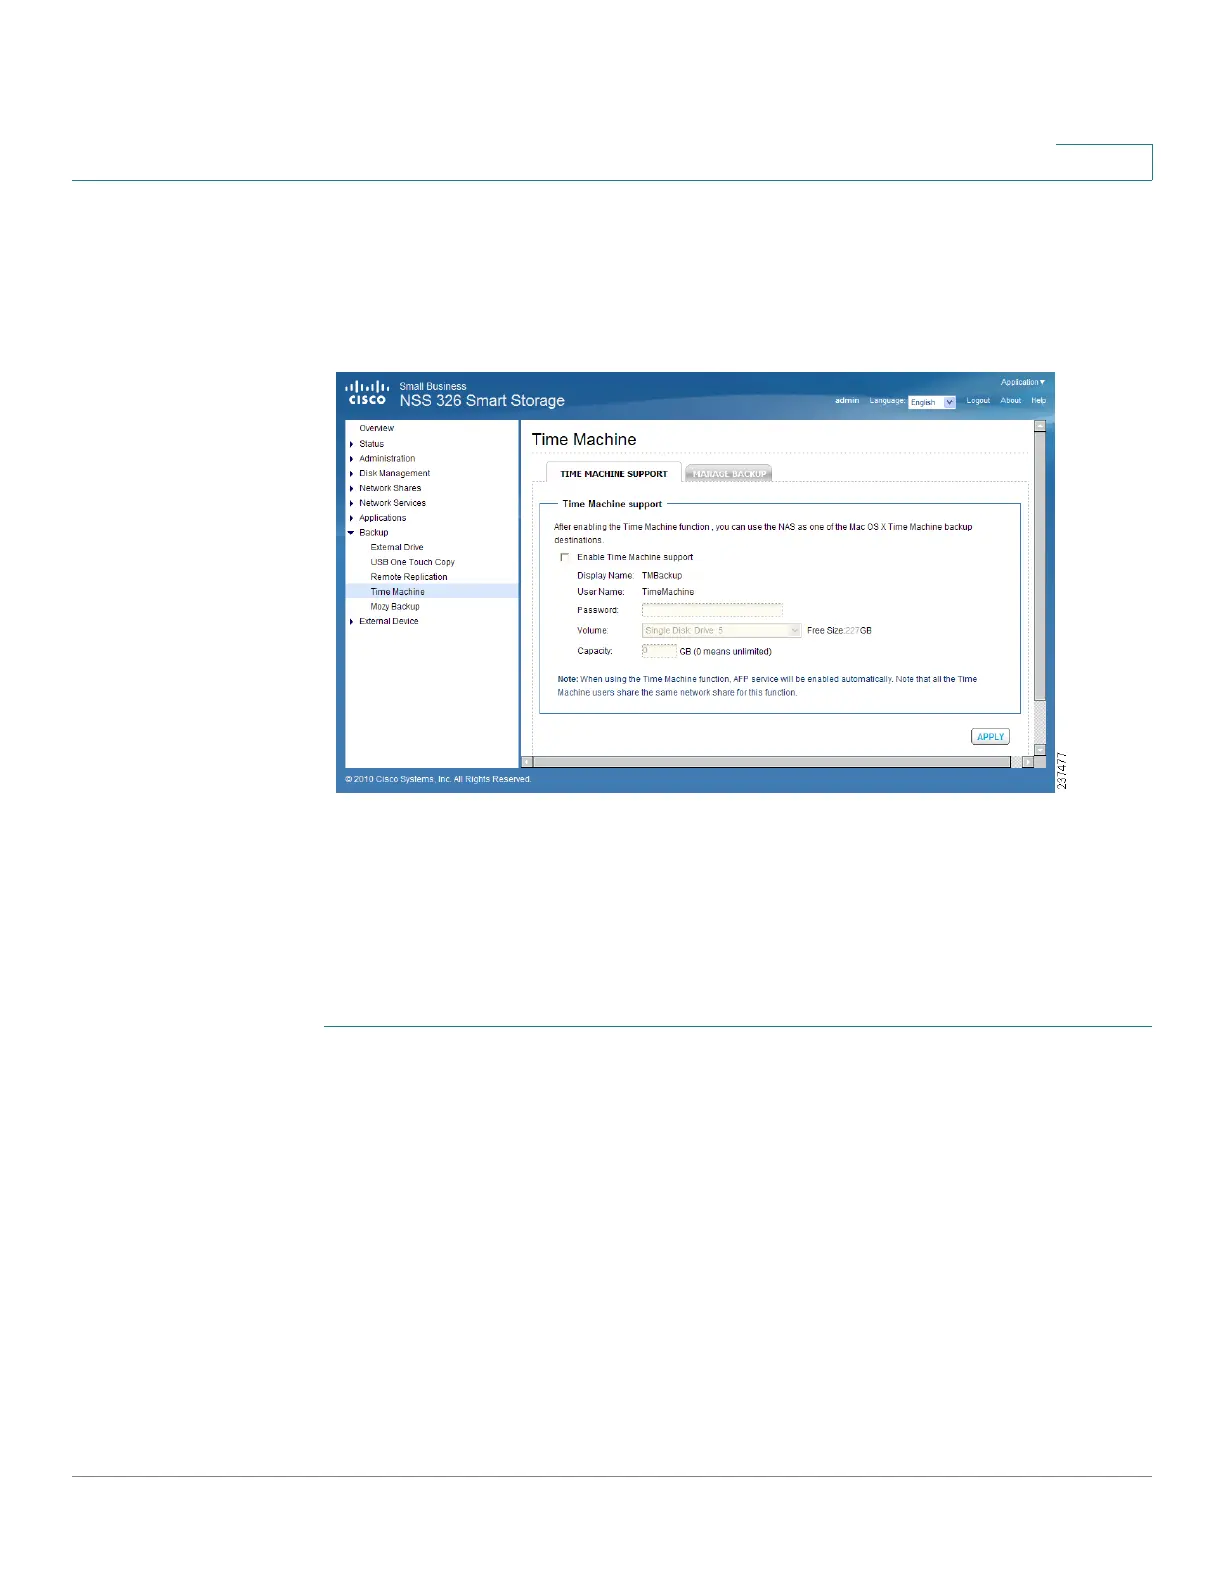
Time Machine
From the Backup > Time Machine window, you can configure your NAS as a Mac
OS X Time Machine backup destination.
On your Apple computer, you must use Mac OSX 10.5.6 or later.
NOTE When using the Time Machine function, Apple Filing Protocol (AFP) service will be
enabled automatically. Note that all the Time Machine users share the same
network share for this function.
To enable Time Machine support:
STEP 1 Disable the Time Machine function in the System Preferences on your Apple
computer.
STEP 2 Choose Backup > Time Machine from the Navigation menu. The Time Machine
window opens.
STEP 3 Enter a Password for the Time Machine destination. The User Name is
TimeMachine.
STEP 4 Select a Volume for the Time Machine destination.
STEP 5 Select a capacity to be assigned to the Time Machine destination.
NOTE Time Machine will eventually utilize all the disk space allocated to it.
STEP 6 Click Apply. Your Time Machine settings are updated to the NAS.