Managing the System
Network Services
Cisco Small Business NSS300 Series Smart Storage Administration Guide 150
3
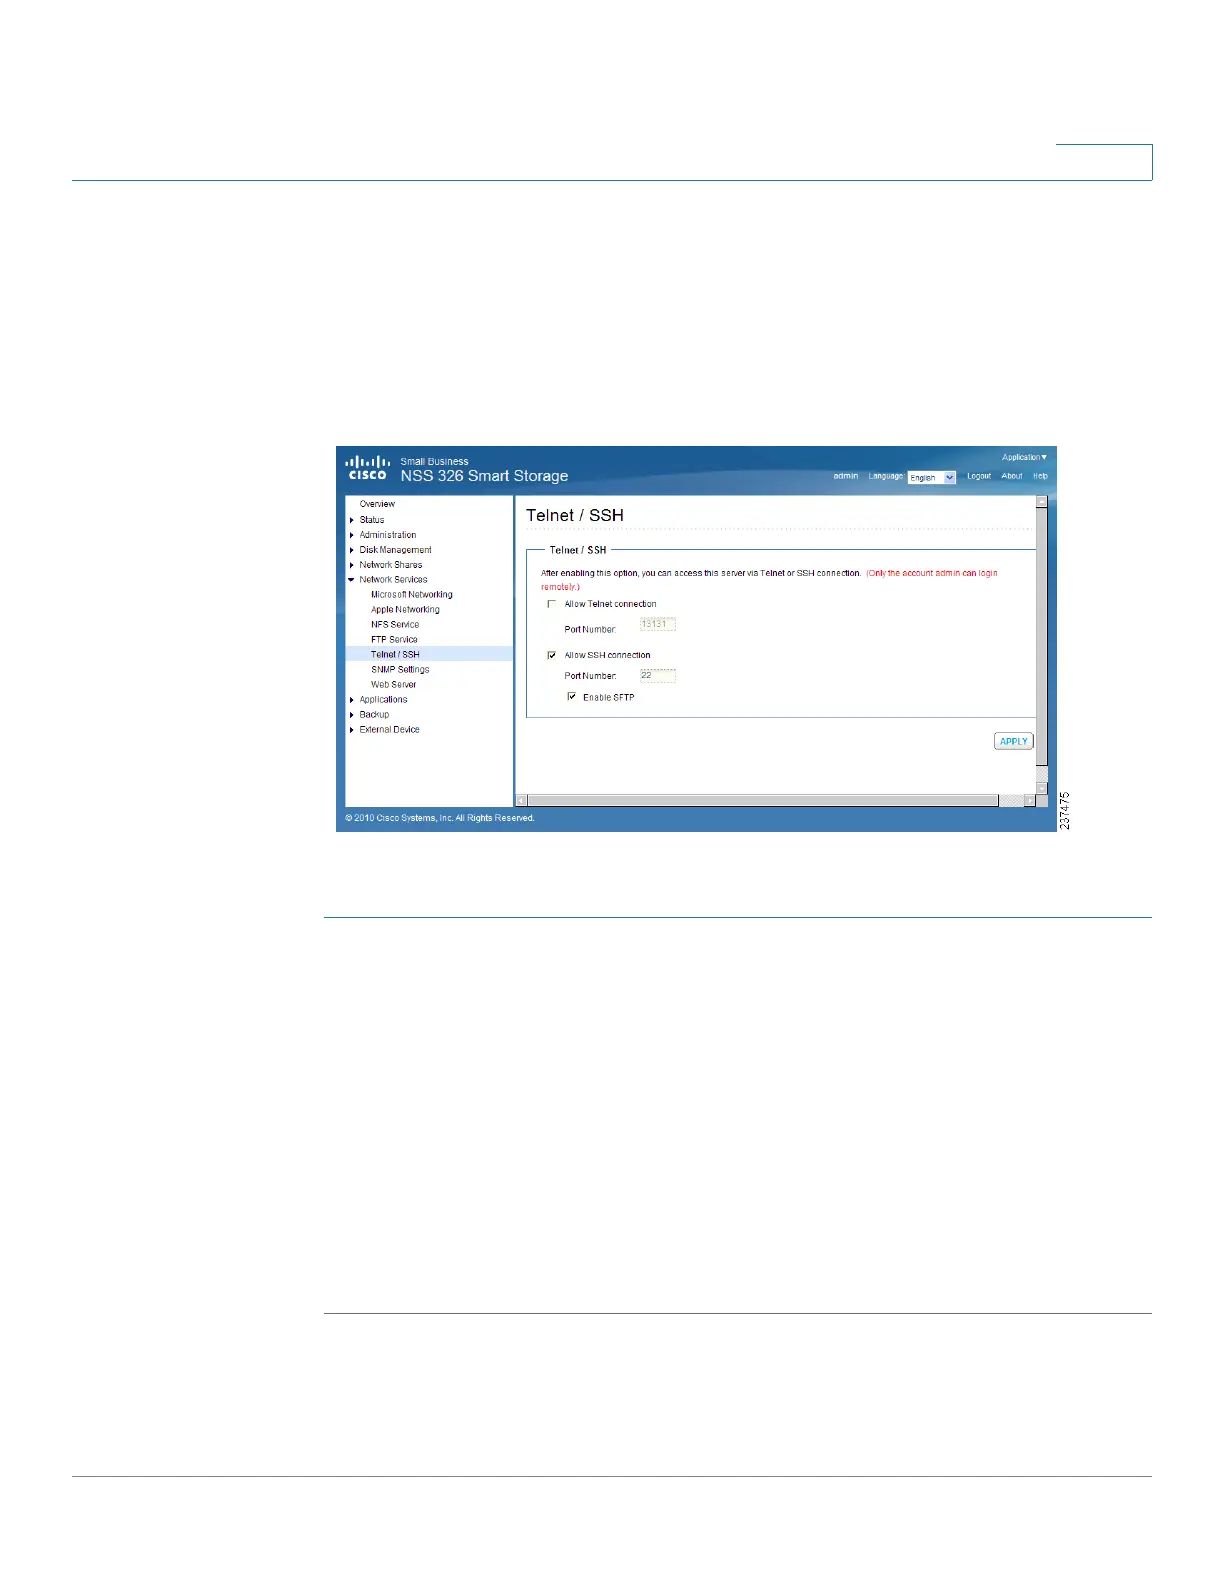
Telnet /SSH
From the Network Services > Telnet/SSH window, you can allow access to the
NAS using a Telnet or SSH connection.
NOTE Only the “admin” account can login remotely. User with administrator privileges is
not allowed to login remotely.
To enable Telnet/SSH remote login:
STEP 1 Choose Network Services > Telnet/SSH from the Navigation menu.
The Telnet / S S H window opens.
STEP 2 Click Allow Telnet connection to enable Telnet/SSH remote login.
STEP 3 Enter a Port Number for Telnet. The default port is 23.
STEP 4 Click Allow SSH connection to enable SSH connection.
STEP 5 Enter a Port Number for SSH connection. The default value is 22.
STEP 6 Click Enable SFTP to use SFTP, known as SSH File Transfer Protocol or Secure
File Transfer Protocol.
STEP 7 Click Apply. Your Telnet/SSH settings are updated to the NAS.