Getting Started
Locking and Unlocking the Disk Trays
Cisco Small Business NSS300 Series Smart Storage Administration Guide 22
2
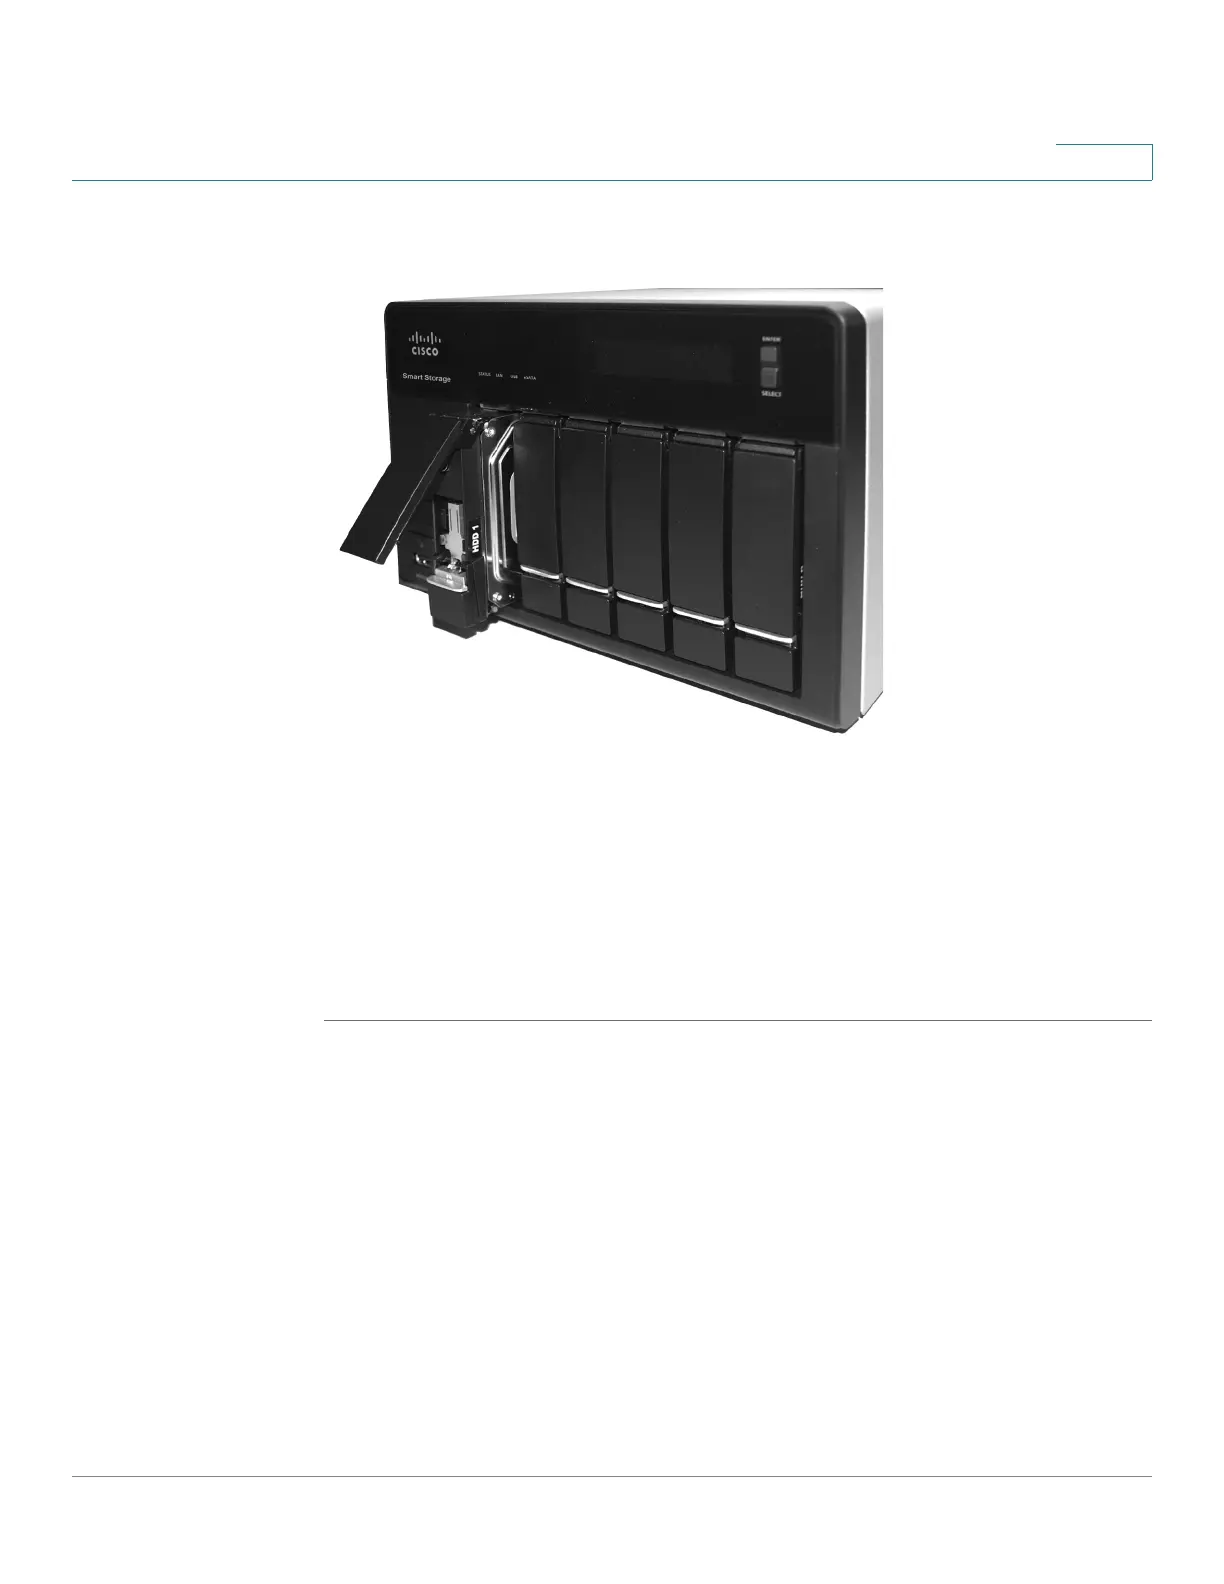
The HDD sequence number is also located on the inside of the disk tray.
STEP 7 Using your thumb, apply even pressure to the middle of the tray while you insert
the tray slowly and fully into position in the chassis.
STEP 8 The disk tray lever should be in the open position.
STEP 9 Gently push the disk tray lever down.
STEP 10 Repeat steps 3 through 9 to install disk drives from slot 2 to slot 4 for the NSS324
and slot 2 to slot 6 for the NSS326.
Locking and Unlocking the Disk Trays
An icon is located on the silver tab indicating:
• When the silver tab is up, the disk tray is locked.
• When the silver tab is down, the disk tray is unlocked.