Getting Started
Installing the Disk Drives
Cisco Small Business NSS300 Series Smart Storage Administration Guide 20
2
To install disk drives in the NAS chassis:
STEP 1 Remove the contents of the NAS package from the box.
STEP 2 Place the chassis upright on a flat surface.
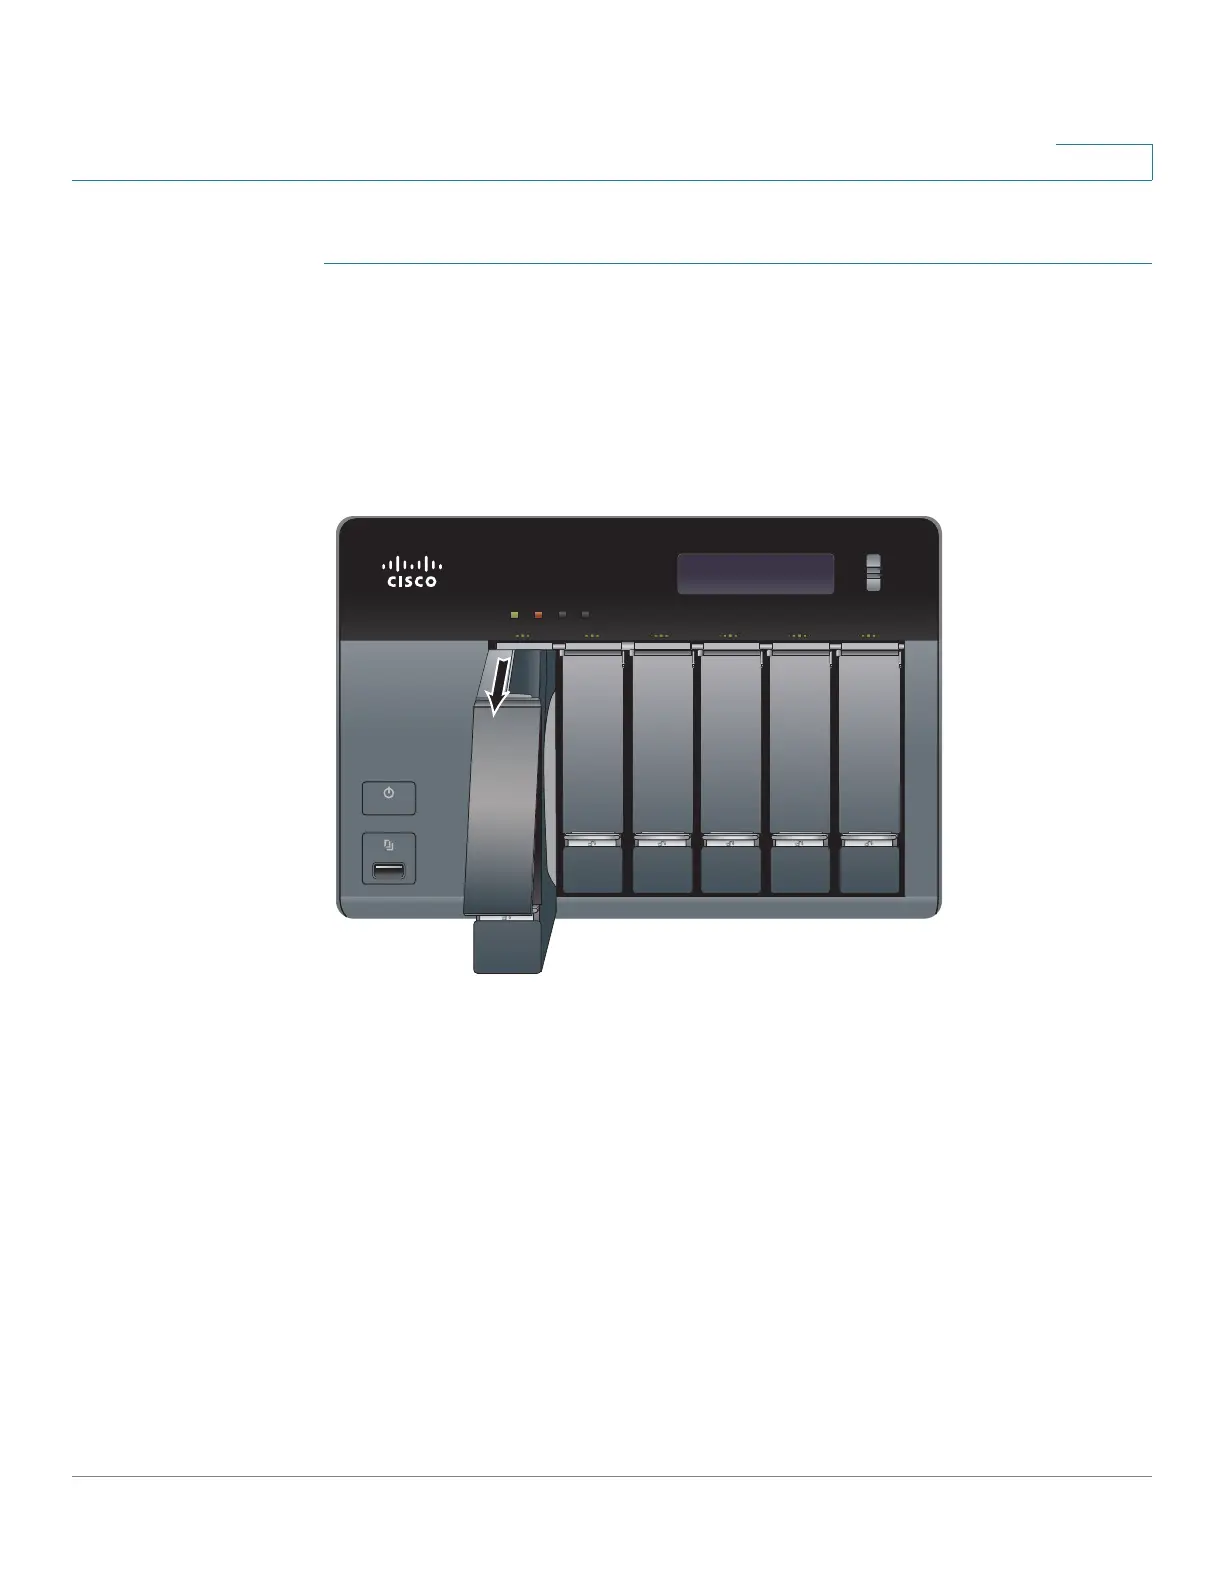
STEP 3 From disk bay 1, remove the disk tray.
To remove the disk tray, push the silver tab down to unlock the tray, and push the
lower tab to release the tray lever. Using the tray lever, pull the tray out.
NOTE If your device has the disk drives already installed, continue to the next section,
Connecting the Equipment, page 23.
STEP 4 Position the disk drive into a disk tray. The electrical connectors of the disk drive
must face toward the back of the drive tray.
STEP 5 Attach the disk drive to the tray by inserting the disk drive screws into the four
holes at the bottom of the tray and tightening them with a Phillips screwdriver.
NOTE Use the screws provided in the box with the device. Using other screws can cause
damage to your disk or disk tray.
There are clearly marked disk holes to accommodate the following disk drives:
• 3.5-inch disk drive (use the included silver screws)
• 2.5-inch disk drive (use the included black screws)
ENTER
277516
ENTER
SELECT
STATUS LAN USB eSATA
NSS 326
Smart Storage