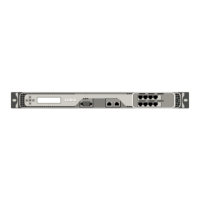
Citrix ADC MPX
1 sh raid
Output:
1 RAID1 status: DEGRADED
2 Drive:
3 1 ONLINE
4 Done
From the shell, confirm that drive 1/SSD 2 has failed, RAID status reports DEGRADED and drive 1/SSD
2 reports MISSING, or not present in the output.
1. At the Citrix ADC command prompt, switch to the shell prompt. Type: shell
2. Check the status of the RAID array. SSD2 shows missing or is not present in the output.
Command:
1 root@ns# atacontrol status:ar0
Output:
1 ar0: ATA RAID1 status: DEGRADED
2 subdisks:
3 0 ad4 ONLINE
4 1 ---- MISSING
OR
1 ar0: ATA RAID1 status: DEGRADED
2 subdisks:
3 0 ad4 ONLINE
Note: Drive numbering changes in the shell: SSD 1 reports as drive 0 and SSD 2 as drive 1.
Perform the following steps to restore the RAID array to health by using the atacontrol utility.
1. Detach a failed drive. The failed drive is replaced with a new FRU drive.
2. Attach the FRU drive.
3. Add the FRU drive to the RAID array.
4. Verify the replacement drive is recognized.
5. Start the rebuild process.
6. Monitor the rebuild process.
© 1999-2019 Citrix Systems, Inc. All rights reserved. 97

 Loading...