CONFIGURATION AND CONNECTION OF THE COMMAND INTERFACE (TABLET)
31
Comau Robotics Product Instruction
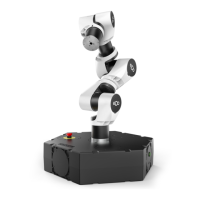
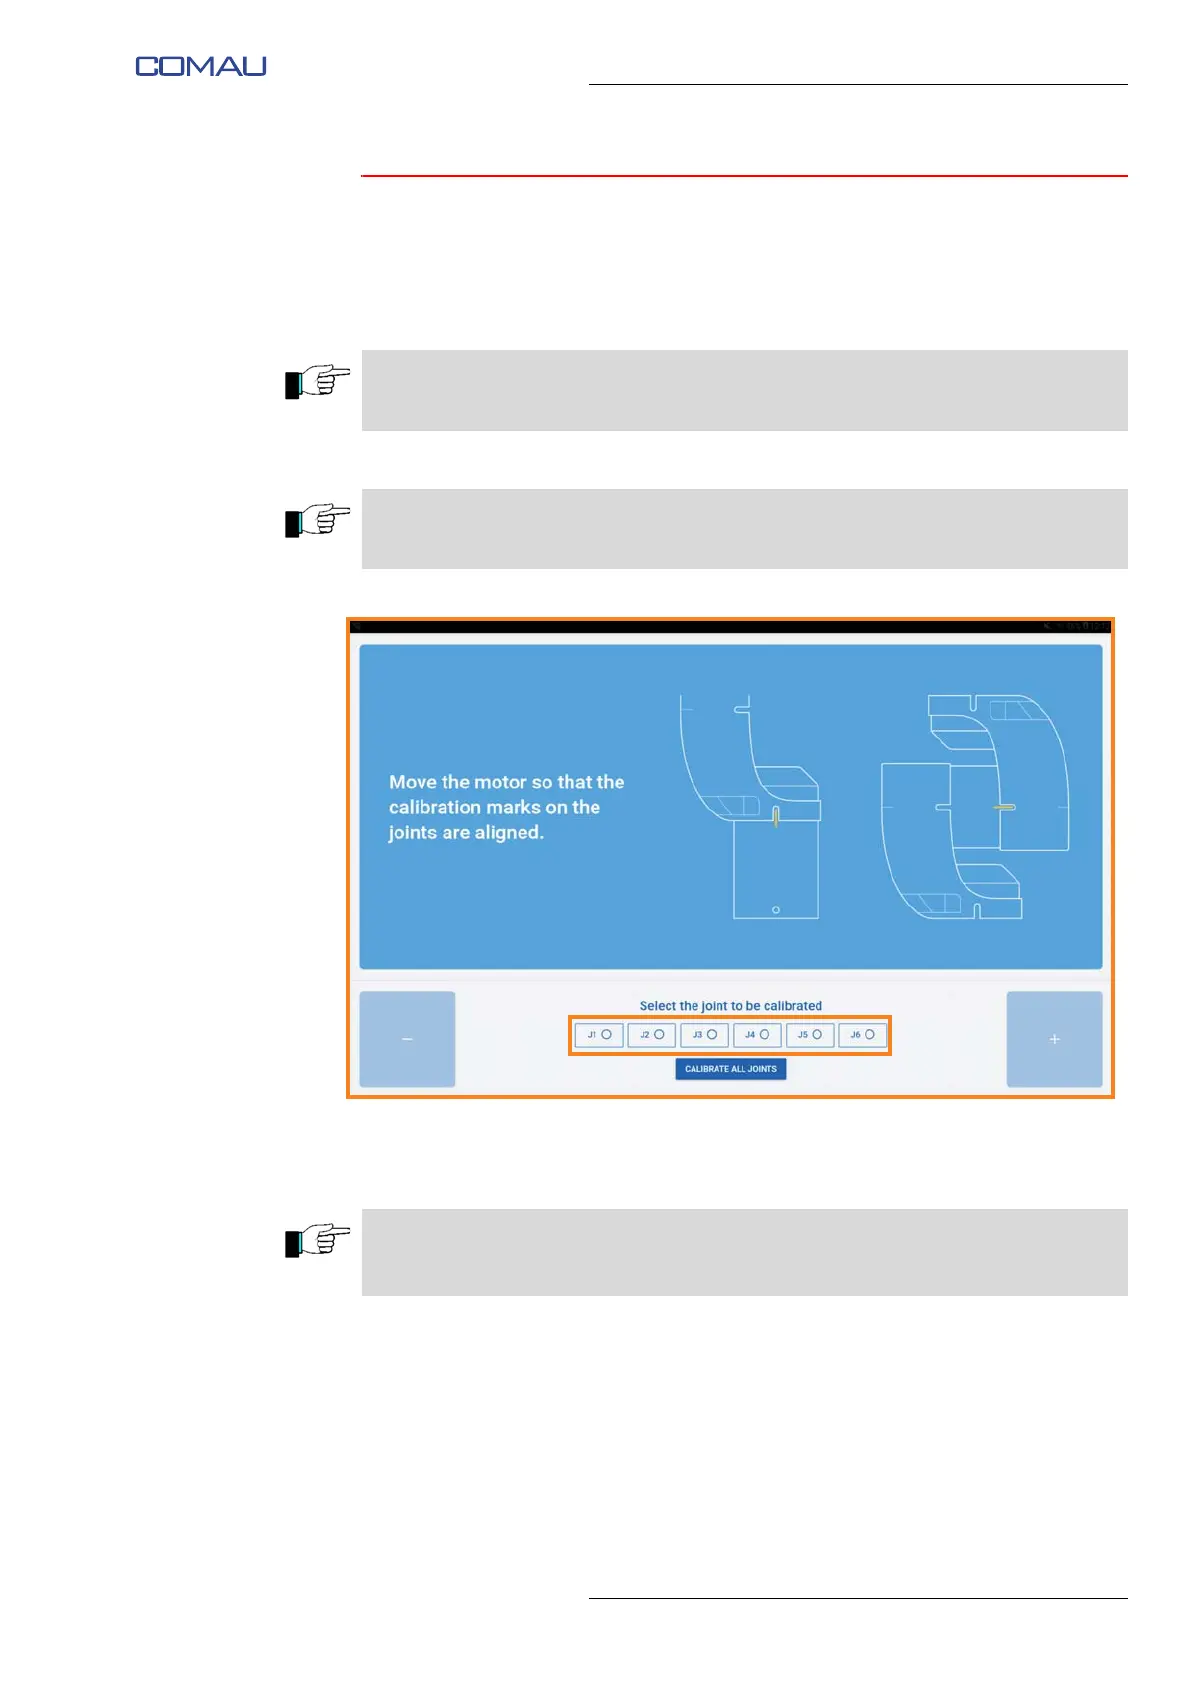
4.5.2 e.DO calibration
At the first start of e.DO, the calibration procedure is required.
To perform the calibration procedure, carry out the following steps:
– using the buttons at the bottom, select the joint to be calibrated;
– using “+/-” buttons, move the selected joint as long as the calibration notches on
the Robot structure are aligned;
The e.DO calibration must be performed on all joints; we recommend a progressive
calibration of the joints, from joint 1 to 6.
If the Robot is already in the calibration position (Robot in “vertical” position), it is
possible to calibrate all the joints simultaneously by pressing “Calibrate all joints” button.
The axis “+/-” direction of rotation is indicated by special identification labels installed
directly on the Robot structure.
The axis movement speed can be adjusted through the slider in the center of the page.