2 - Machine installation 11
2. Check that the dispensing machine and accompanying equipment have not been damaged
during transport.
3. Check that all the ordered items have been delivered. It’s also good to check that the accom-
panying accessory kit contains everything it should.
NOTE!: If the machine is damaged or the content does not correspond to the order, contact the
service centre or seller.
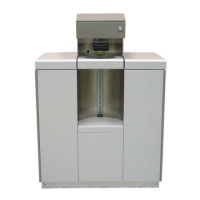
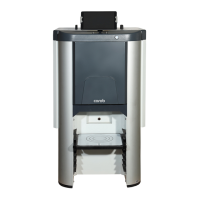
4. Place the COROB
TM
D300 to it’s operating site considering the requirements mentioned on
previous page.
5. Adjust the two adjustable feet below the front part of the foot to ensure that the machine
stands steadily.
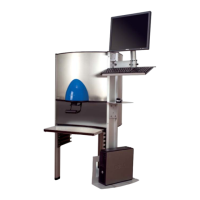
6. Place the PC (optional) behind the can table on foot of the COROB
TM
D300 and the monitor on
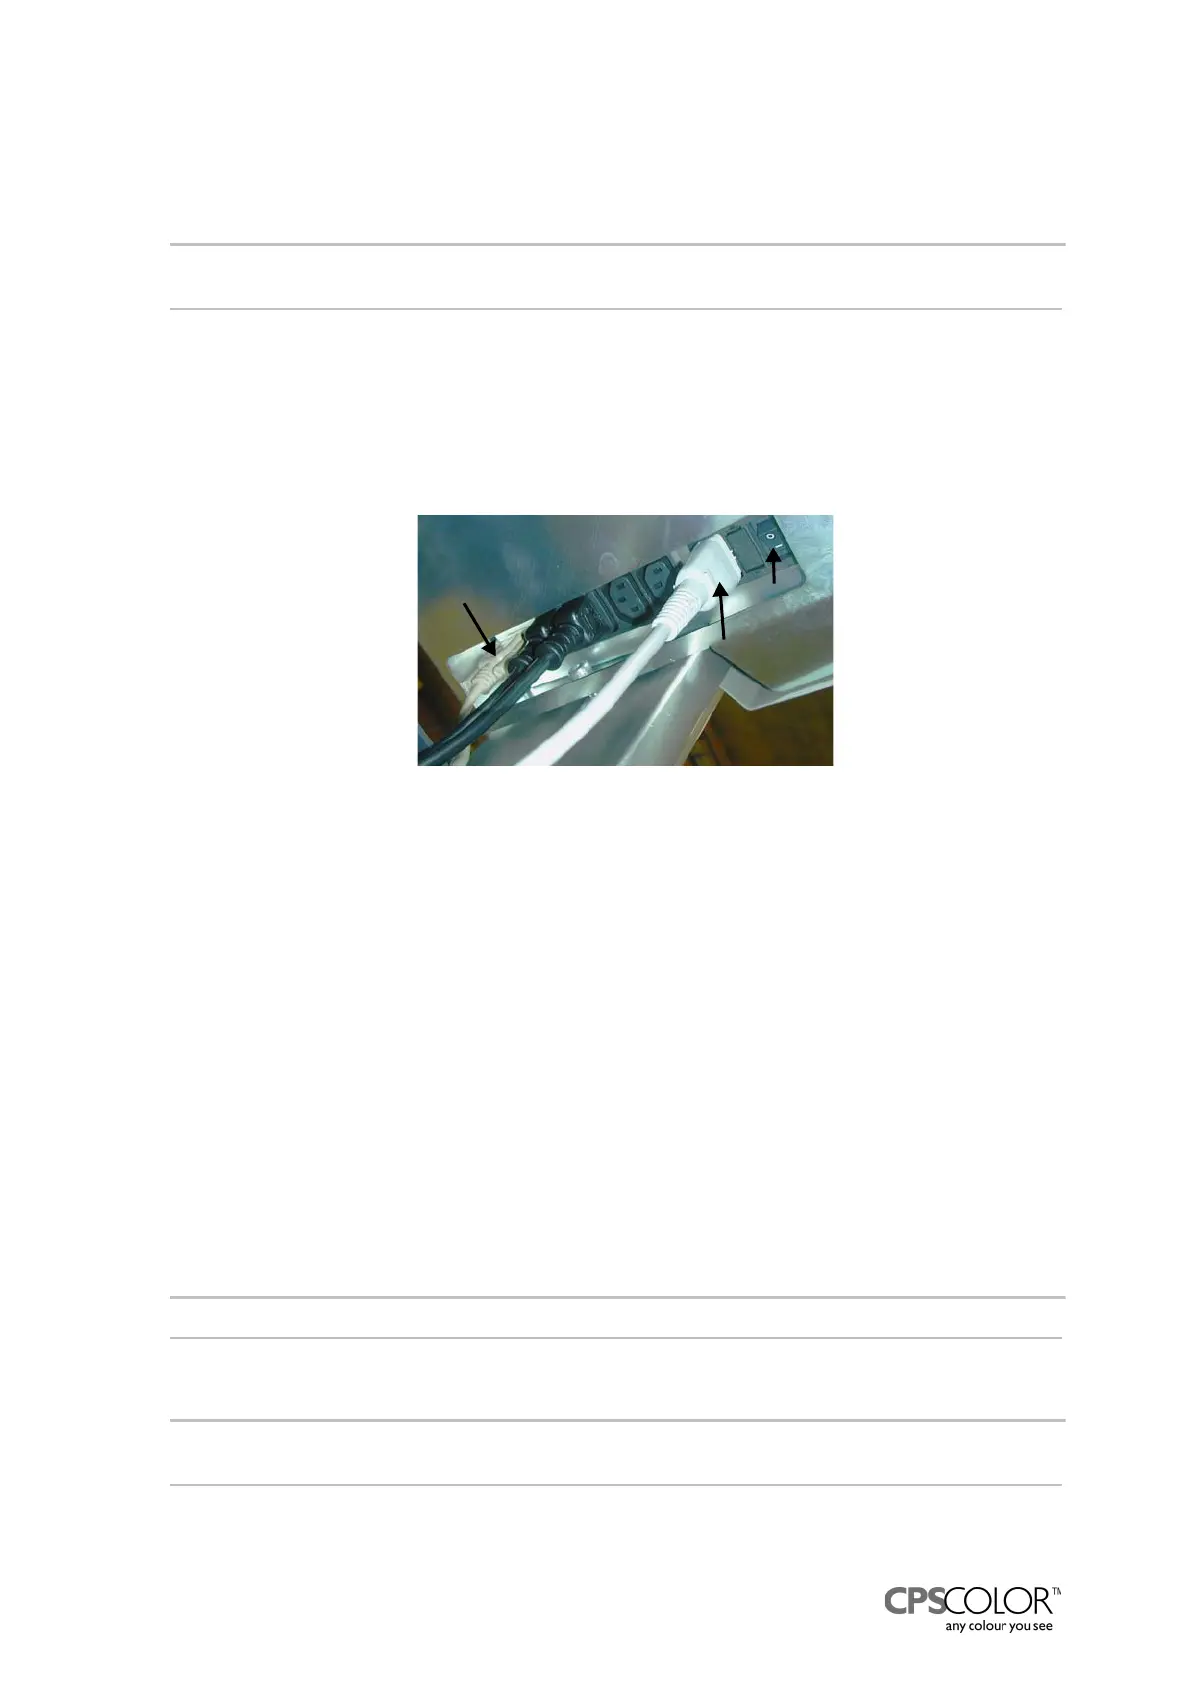
the monitor rack, see figure 1 on page 2. Connect the necessary cables to the mains
connecting plate that is under the machine, see figure 14.
The COROB
TM
D300 has two different power switches:
The machine power switch is beside the sockets in the mains connecting plate. This switch
cuts off all power from the machine and other equipment.
The main switch is on the left side of the can table unit, see number 4 in figure 1 on page 2.
The main switch cuts off the power from the COROB
TM
D300, but leaves the power on to the
mains connecting plate. This means that equipment that got their power through the COROB
TM
D300’s connecting plate, like the air pump, monitor or computer, are not switched off.
7. Install the cables of monitor, keyboard and mouse, if necessary. The instruction is in the
manual folder which is delivered in the accessory kit.
8. Fill the water reservoir in front of the machine with cold water.
NOTE! Use only water in the reservoir!
9. Also attach the mains cable to the connector plate, see figure 14.
10. Switch on the CPU and monitor.
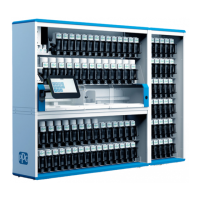
11. Fill the colorant canisters, if the machine is not delivered with the colorants inside.
NOTE!: Add colorant so that the canister is at least half full.
12. Lift up the draft bar that is in front of the pump few times to fill up the hose from nozzle to the
pump.
NOTE!: It is recommended that you calibrate the COROB
TM
D300 on the following day after filling
up the canisters.
13. Switch on the dispensing machine the COROB
TM
D300.
Serial line
cable
Mains
cable
Machine
power
switch
Guide
Figure 14: The sockets for COROB
TM
D300’s
cables are in a connector plate under the
machine beside the left guide.