EasyManuals Logo

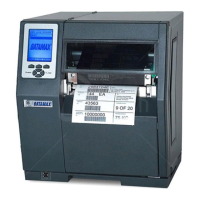
Datamax H Class User Manual

Datamax H Class
160 pages
To Next Page IconTo Next Page
To Previous Page IconTo Previous Page
Page #27 background imageLoading...
Page #27 background image
19
Windows XP Driver and Port Installation
1
Start the Windows
“Add Printer Wizard”
The following screen
should appear, click
‘Next>’.
2
Make sure that
‘Local Printer’ is
selected and then
click ‘Next’.
3
Select on ‘Create a
new port:’ and then
select ‘Standard
TCP/IP Port’ from
the drop down
menu. Click ‘Next’
4
Click ‘Next’.
5
In the ‘Printer
Name or IP
Address:’ field enter
the IP address of
your printer. The
‘Port Name’ field
does not need to be
changed. When
finished click “Next’.
6
Make sure
‘Standard’ is
selected and then
click ‘Next’.
7
Confirm your settings
and then click ‘Finish’.
8
Click on ‘Have
Disk’.

Table of Contents

Other manuals for Datamax H Class

Questions and Answers:

Question and Answer IconNeed help?

Do you have a question about the Datamax H Class and is the answer not in the manual?

Datamax H Class Specifications

General IconGeneral
Print MethodThermal Transfer/Direct Thermal
InterfaceEthernet, Wireless
Media SensorReflective
Media TypesLabels, Tags
Resolution203 dpi
Media Thickness0.002 to 0.01 inches (0.05 to 0.25 mm)

Related product manuals