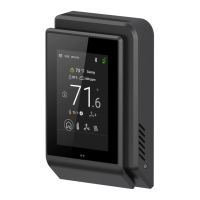
55ECLYPSE Connected Thermostat (ECY-STAT)
6. Enter the URL of the web page you want to define as the landing page. The URL is the one found
after the controllers' IP address or hostname. This should be copied from your Web browser’s ad-
dress bar when you have navigated to the target page.
For example if the address for the user default web page is HOSTNAME/eclypse/envysion/in-
dex.html OR 192.168.0.10/#/bacnet.html, remove the hostname or IP Address so that the URL
becomes /eclypse/envysion/index.html, or /#/bacnet.
7. Click OK, and because authentication is required, enter your username and password.
The edit icon is used to edit a user’s information. When editing user information, the user password is not shown
therefore the field appears empty. You can leave the password as is or assign a new one.
Defining a User Welcome Page in Client Mode
In Client mode, you can only add a Welcome page to your user considering that the rest of the data is
stored on the Server, essentially the credentials and roles (see Adding a User in Server Mode). This
user’s Welcome page however will have priority over the page defined in the Server mode.
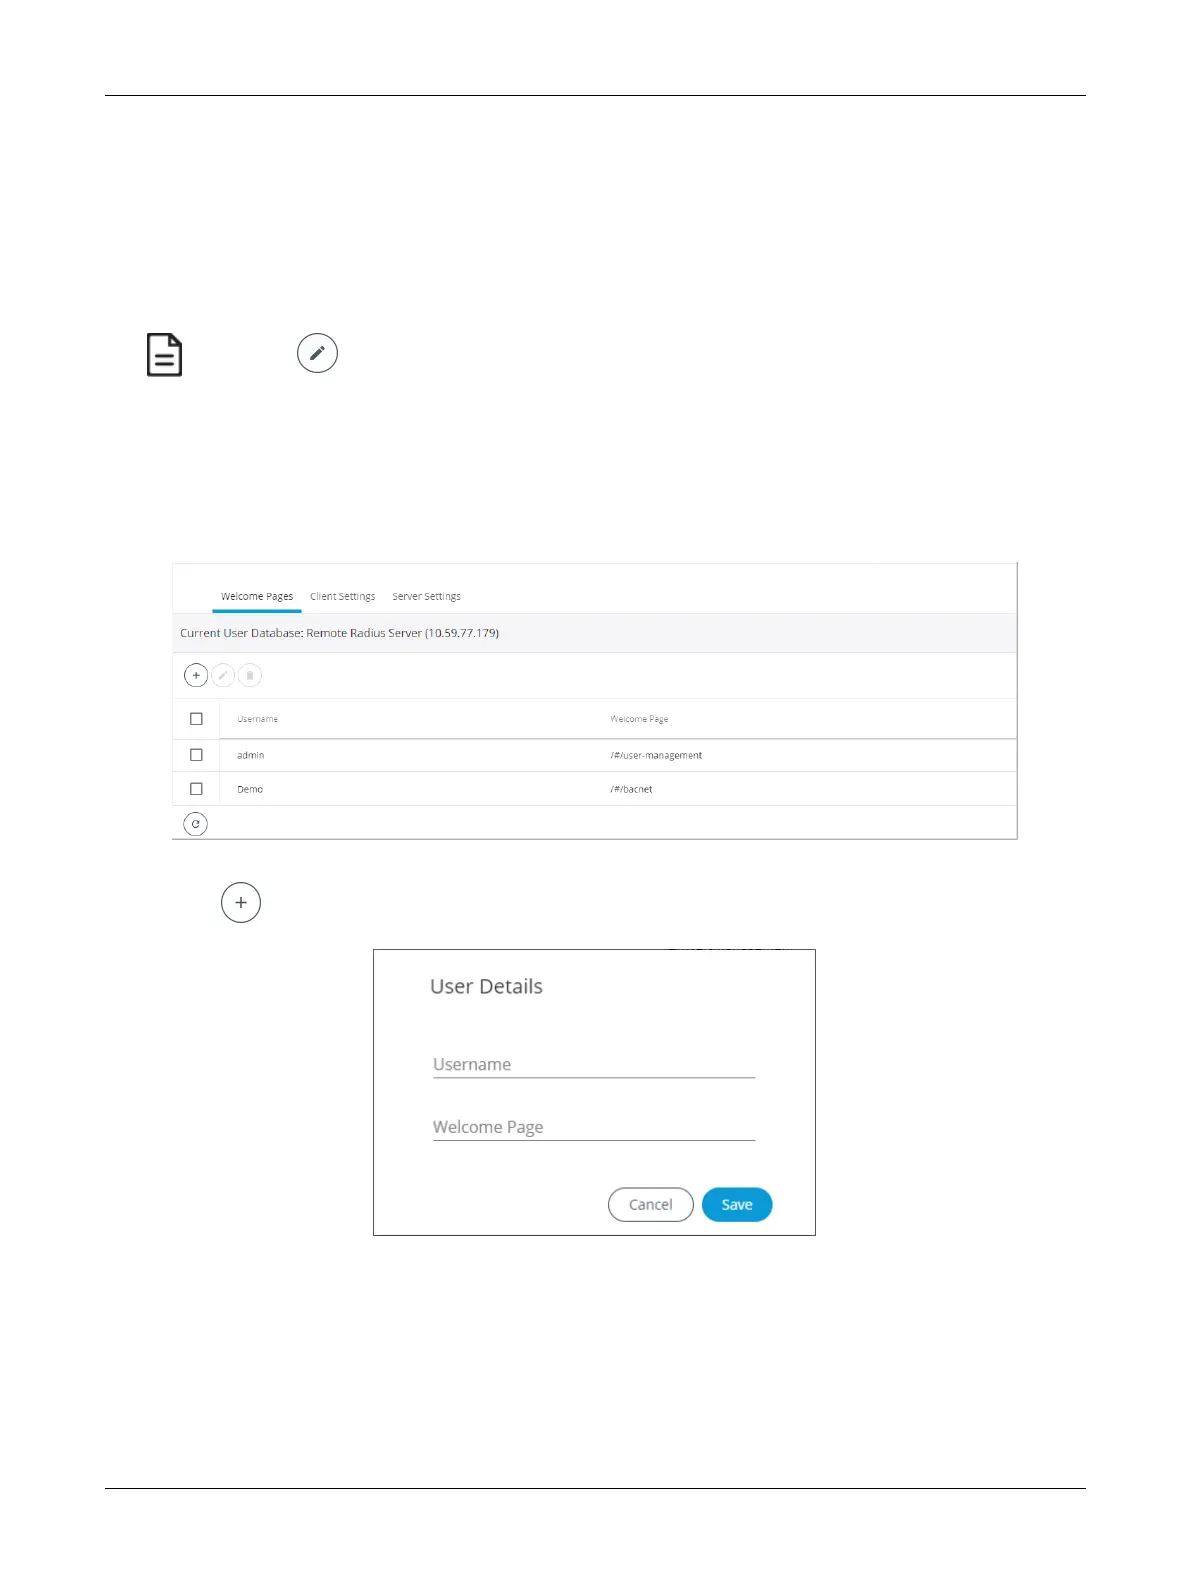
Figure39: Adding a User in Client Mode
1. Click to add a user and Welcome page. The User Details window is displayed.
Figure40: User Details
2. In Username, enter the name of the user.
3. In Welcome Page, enter the URL of the web page you want to define as the landing page. The
URL is the one found after the controllers' IP address or hostname. This should be copied from
your Web browser’s address bar when you have navigated to the target page.
For example if the address for the user default web page is HOSTNAME/eclypse/envysion/in-
dex.html OR 192.168.0.10/#/bacnet, remove the hostname or IP Address so that the URL be-
comes /eclypse/envysion/index.html or /#/bacnet.
ECLYPSE Web Interface