29
ED100LE 02-2021DL4616-001
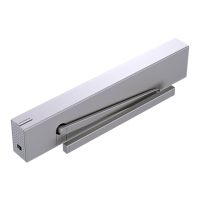
dormakaba ED100LE operator – Fine cover
Installation Instructions
Chapter 9
.. Connect adjustment arm to drive
arm.
. Loosen the two adjustment M x mm
flanged button head screws.
. Using square, position adjustment arm
assembly at angle to door
(Fig. ..).
. Rotate drive arm and adjust length of
adjustment arm until drive arm ball head
() is aligned with adjustment arm socket ().
CAUTION
Maintain adjustment arm
assembly at a angle to door
(Fig. ..).
. Insert adjustment arm ball head () into
drive arm socket ().
• Spring in socket will retain ball head in
socket.
. Secure adjustment arm position by
tightening the two M x mm flanged
button head screws.
CAUTION
Recheck that adjustment arm is
at angle to door.
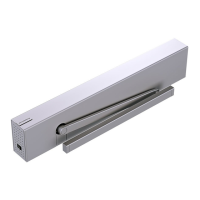
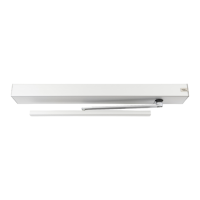
1 Drive Arm
2 Socket
4 Adjustment arm
11 1/4"[285]
5 Adjustment arm
tube 12 1/4" [311]
6 Shoe
7 M6 x 10 mm flanged
Fig.9.2.8 Arm assemblies attached to door, ED100LE
button head screw
8 Ball head
9 Adjustment arm,
17 3/4" [450]
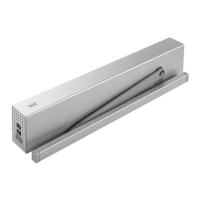
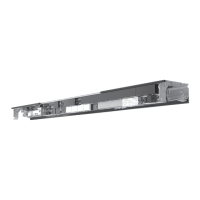
Fig. 9.2.10 Adjustment arm at 90 angle to door
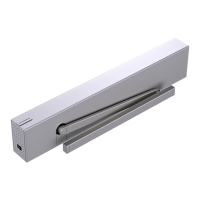
1 Drive Arm 5 Adjustment arm
tube 12 1/4" [311]
Fig. 9.2.10 Adjustment arm M6 x 10 screws
7 M6 x 10 mm flanged
button head screw
Fig. 9.2.9 Drive arm, adjustment arm connection
1 Drive arm
2 Socket
3 Spring
5 Adjustment arm
tube 12 1/4" [311]
10 Adjustment arm
tube, 17 3/4" [450]
8 Ball head
2
1
3
5,10
8
7
10 Adjustment arm
tube, 17 3/4" [450]
90˚ angle
1
5,10
6
1
2
8
4,9
5,10
7
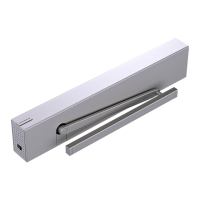
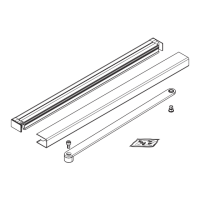
Fig.9.2.7 Shoe fastener covers
11 Shoe screw cover
.. Install shoe fastener covers.
. Install two shoe fastener covers.
11