ELNA XPRESSIVE II 71
User’s Guide
Convert stitches to outlines
Open as stitch segments
4 Click Open.
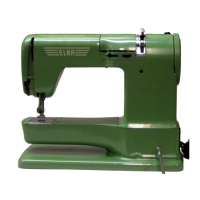
5 Move the cursor to the design workspace.
The cursor turns into a box with a large
cross hair that contains the design.
6 Left-click to place the design.
The merged design file will appear in the
design workspace.
7 Alter the merged and existing designs
accordingly.
See the sections on "Design Editing in
Stitch Mode" and "Design Editing in
Outline Mode".
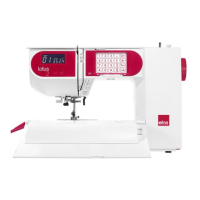
Merging designs with
lettering
Merging a design file with lettering allows you
to create many unique designs using stock
designs, or existing designs with lettering.
You can create your lettering first and merge
a design, or vice-versa.
To merge a design with lettering:
1 Choose File—New to create a new file.
For more information, see "Creating New
Designs".
You see a new design window.
2 Create the lettering for your design.
3 In the Edit toolbar, click the Merge Design
tool.
You see the Merge Design File dialog box.
Before you place the design, press CTRL
on your keyboard to insert a color
change at the beginning of the merged
design.