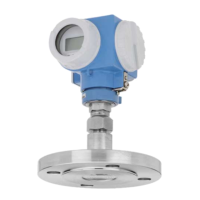
Cerabar S/Deltabar S Level measurement (ToF Tool)
Endress+Hauser 83
!
Note!
1. For this level type, the measured variables %, volume and mass are available.
→ See Page 112 ff.
2. You can also specify customer-specific units. See parameter description for PRESS. ENG. UNIT
(→ Page 102), UNIT VOLUME (→ Page 113) and MASS UNIT (→ Page 114).
3. Once you have selected the "Pressure linearized" level type, the warning message "W710 Set
span too small. Not allowed." can appear. At this stage the linearisation table already consists
of two points as standard. It could be the case that the 2nd value, and thus the highest X-VAL.
of the linearisation table, is smaller than the minimum span permitted (→ MINIMUM SPAN,
Page 140). The message disappears as soon as the highest X-VALUE is greater than the
minimum span and the table entered is active.
Description
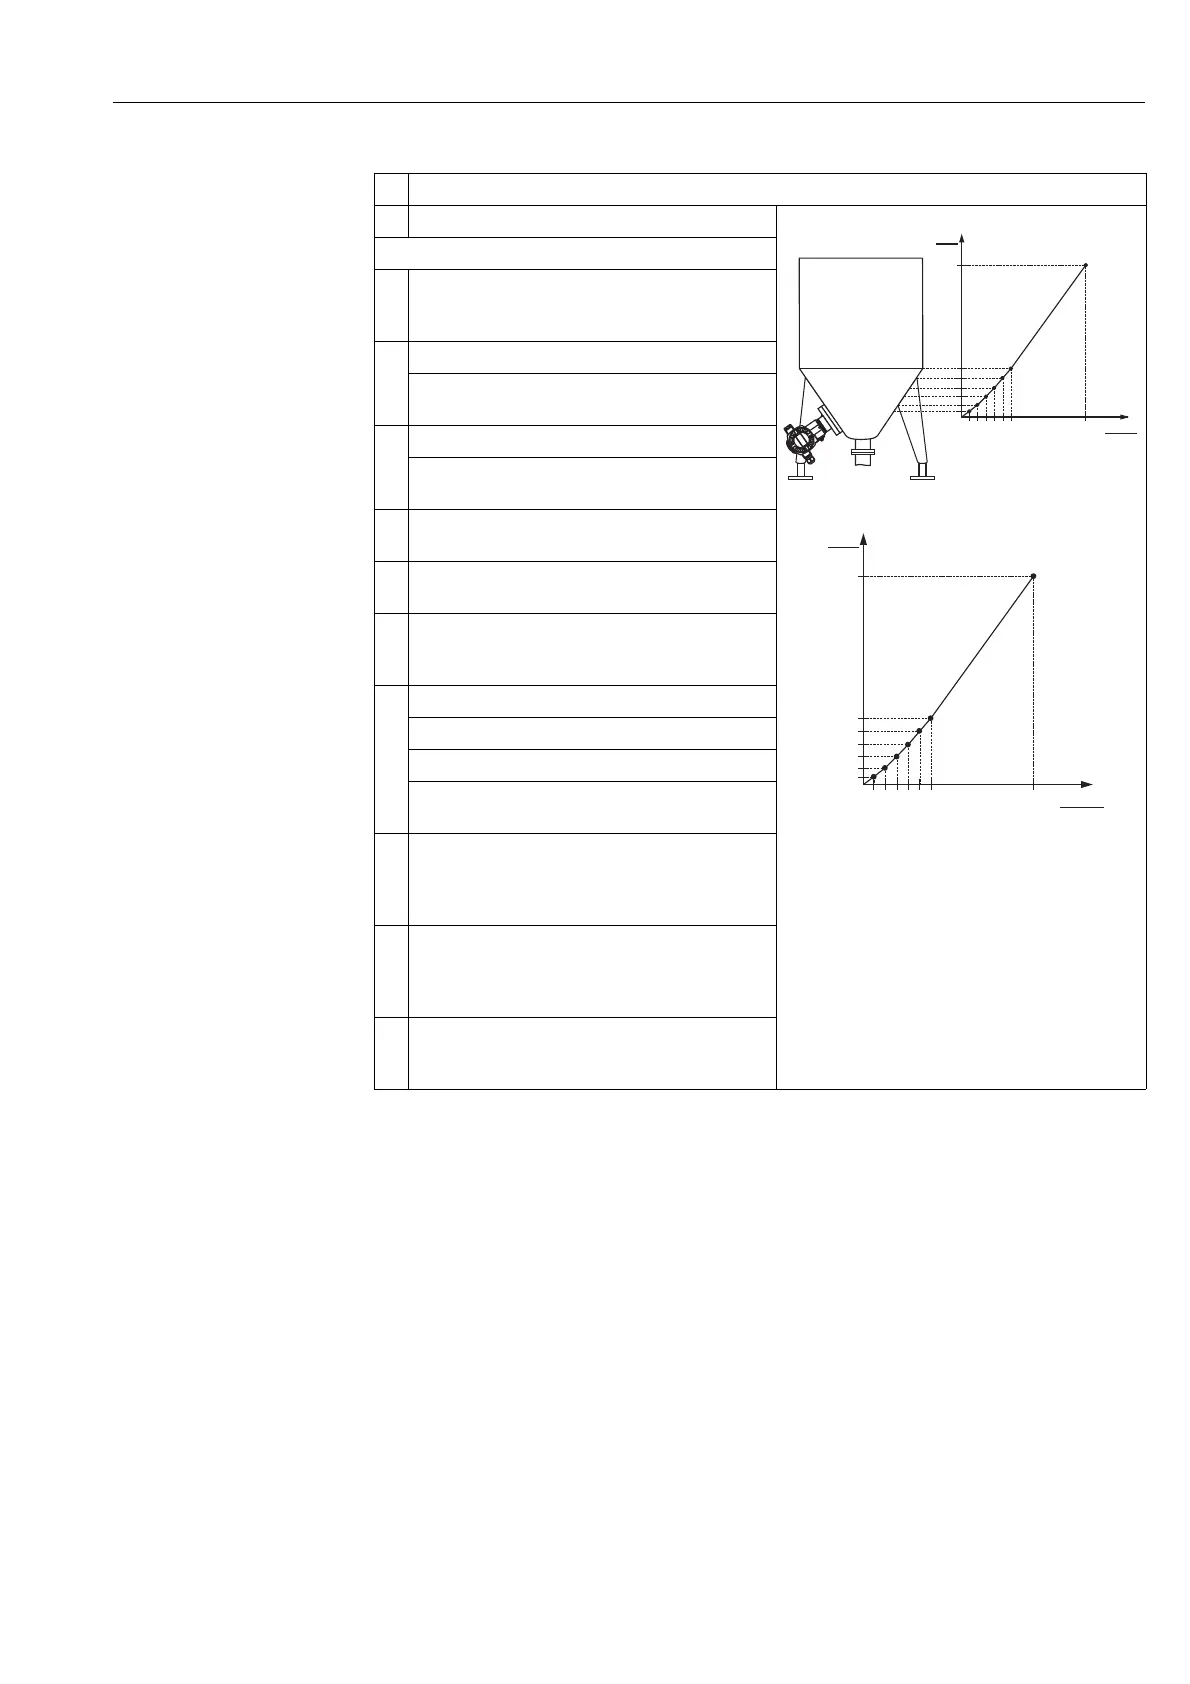
1 Perform setup as per Section 8.3.1, steps 1 to 9.
P01-PMP75xxx-19-xx-xx-xx-002
P01-xxxxxxxx-05-xx-xx-xx-015
Fig. 13: Manual entry of the linearisation table
1 See Section 4.3.1, table, step 8.
2 See Section 4.3.1, table, step 9.
3 See table, step 3.
4 See table, step 4.
5 See table, steps 5 to 9.
Carry out linearisation:
2 Change the function group:
Menu path: OPERATING MENU → SETTINGS →
LINEARISATION
3 Select TANK CONTENT MIN parameter .
Specify the minimum tank contents to be expected, here
0 m
3
for example.
4 Select TANK CONTENT MAX parameter .
Specify the maximum tank contents to be expected, here
3.5 m
3
for example. See also the following note, point 3.
5 Select the "Editor table" option by means of the TABLE
SELECTION parameter.
6 Select the "Manual" option by means of the LIN. EDIT
MODE parameter.
7 Select the "New table" option by means of the EDITOR
TABLE parameter. After confirming with "Enter," the
"Continue edit" option is displayed again.
8 Enter linearisation table (min. 2 points, max. 32 points).
LINE-NUMB: confirm value displayed.
X-VAL.: enter the pressure value and confirm.
Y-VAL.: enter the volume value, here 0 m
3
for example,
and confirm.
9 You can enter further points for the linearisation table as
explained in step 8. Once all the points have been
entered, the table must be activated by means of the
TAB. ACTIVATE parameter.
10 If necessary, use the Analog Input Block to configure the
CHANNEL parameter (→ Page 67), L_TYPE parameter
(→ Page 69), XD_SCALE parameter (→ Page 73) and
OUT_SCALE parameter (→ Page 71).
11 Result:
The linearisation table has been entered and the device is
ready for level measurement.
3.5
0
0 350
V
[m ]
3
p
[mbar]
➀
3.5
0
0 350
V
[m ]
3
p
[mbar]
➂
➁
➃
➄