Required Tools
2-2 Installation
Required Tools
APhillipsscrewdriverisrequiredtoinstalltheswitchintoarack.
Unpacking the Switch
Unpacktheswitchasfollows:
1. Opentheboxandremovethepackingmaterialprotectingtheswitch.
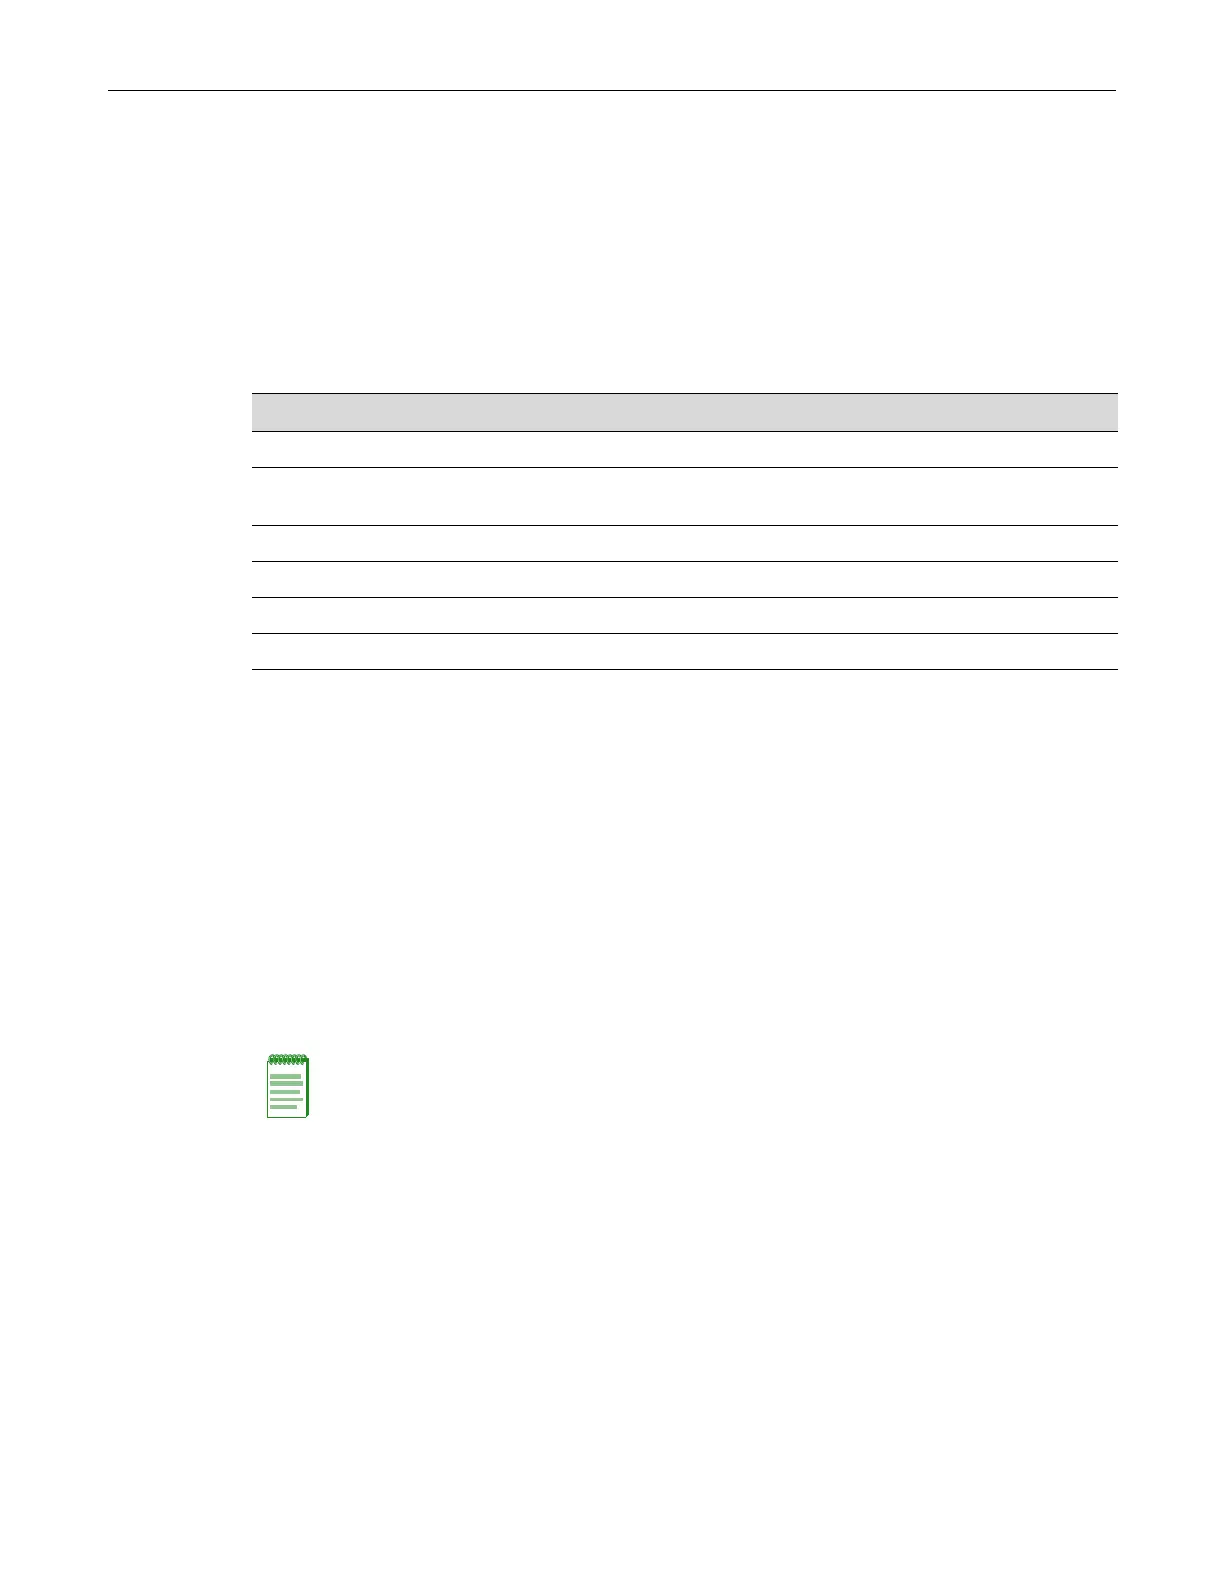
2. Verifythatthecontentsofthecartoncontainstheitemslistedinthetablebelow.
3. Removethetapesealonthenon‐conductivebagtoremovetheswitch.
4. Performavisualinspectionoftheswitchforany
signsofphysicaldamage.Contact
Enterasys Networksifthereareanysignsofdamage.Referto“GettingHelp”onpage xviifor
details.
Installing the Switch on a Flat Surface
Wheninstallingtheswitchonaflatsurface,theinstallationoftherubberfeetisrecommendedto
preventtheswitchfromslidingonaflatsurface.Forinstructionstorackmounttheswitch,
proceedto“RackMountingtheSwitch”onpage 2‐4.
Installing the Rubber Feet
Toinstalltherubberfeet,refertoFigure 2‐1andproceedasfollows:
1. Placetheswitchonitsbackonasturdyflatsurfacetogainaccesstothebottomofthechassis.
2. Removethefourrubberfeetfromtheirplasticbagintheshippingbox.
Item Quantity
B5 switch 1
Mounting kit, consisting of two mounting brackets and eight M3x6-mm screws for rack
mounting
1
Rubber feet with adhesive backing for installation on a flat surface 4
AC power cord (The type of power cord is country dependent.) 1
DB9 female-to-DB9 female Console Cable 1
Quick Start Guide 1
Note: Do not install the rubber feet if you are going to rack mount the switch.

 Loading...