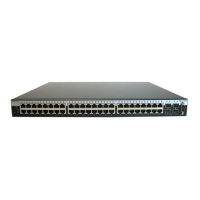
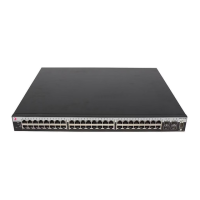
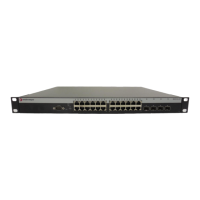
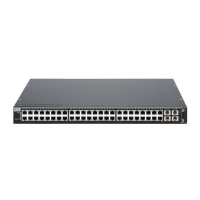
Connecting to the Network
2-28 Installation
ToinstallanSFP/10Gtran sceiver,refertoFigure 2‐19andproceedasfollows.
1. Withanantistaticwriststrapattachedtoyourwrist,removethetransceiverfromits
packaging.Ifthereisaprotectivedustcoverinthetransceiverconnector,donotremoveitat
thistime.
2. Holdthetransceive rsothat
theconnectorwillseatproperly.
3. CarefullyalignthetransceiverwiththeportslotasshowninFigure 2‐19.
4. Pushthetransceiverintotheportslotuntilit“clicks”andlocksintoplace.
Figure 2-19 Installing an SFP/10G Transceiver (shown with LC connector and without
dust cover)
Caution: Carefully follow the instructions in this manual to avoid damaging the SFP/10G and switch
equipment.
The SFP/10G and switch equipment are sensitive to static discharges. Use an antistatic wrist strap
and observe all static precautions during this procedure. Failure to do so could result in damage to
the SFP/10G and switch equipment. Always leave the SFP/10G in the antistatic bag or an
equivalent antistatic container when not installed.
Precaución: Siga las instrucciones del manual para no dañar el SFP/10G ni del aparato, puesto
que son muy sensible a las descargas de electricidad estática. Utilice la pulsera antiestática y tome
todas las precauciones necesarias durante este procedimiento. Si no lo hace, podría dañar el SFP/
10G o del aparato. Mientras no esté instalado, mantenga el SFP/10G en su bolsa antiestática o en
cualquier otro recipiente antiestático.
1 Release tab 4 Edge connector (insertion side)
2 Wire handle 5 Port slot
3 Transceiver top side 6 Transceiver side view
 Loading...
