83
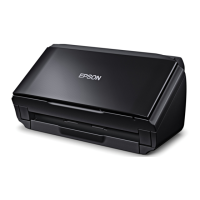
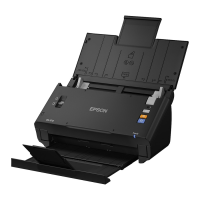
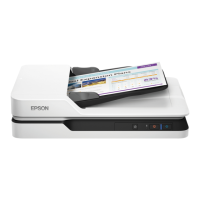
2. Place your original on the product for scanning.
3. Select the home icon, if necessary.
4. Select Computer.
5. Select the computer on which you created the jobs in Document Capture Pro or Document Capture.
Note: If the product is connected via USB or the operation mode is set to Server Mode, you do not
need to select a computer.
6. On the Select Job screen, select the job you want to use.
Note: If you have only created one job, you do not need to select the job.
7. If you want to change the scan settings, tap the icon and select from the following options:
• To slow down the scanning speed, set the Slow setting to On.
• To stop scanning when a double feed is detected, select Double Feed Stop Timing and select a
timing option.
• To skip double feed detection when scanning originals such as envelopes or plastic cards, set the
DFDS Function setting to On.
• To stop scanning when an original containing staples is detected, select Paper Protection and
select the setting you want to use.
Note: Turning this function on will not always prevent damage to your originals.
• To detect dirt on the glass surface inside the product, select Glass Dirt Detection and select the
setting you want to use.
8. Select the icon to view the job settings.
9. Select the start icon to start scanning.
Document Capture Pro opens and your product scans the original and sends the scanned file to the
connected computer.
Parent topic: Starting a Scan Using the Product Control Panel
Related tasks
Scanning Using Presets
Entering Characters on the LCD Screen