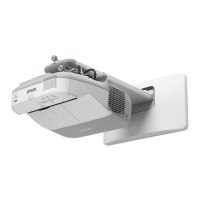
Name Function
B
Security cable
installation point
Pass a commercially available wire lock through here and
lock it in place.
Do not pass drop-prevention wires through here when
mounting the projector on a wall or suspending it from a
ceiling.
s "Installing the Wire Lock" p.104
C
Rear foot fixing points
(two points)
Attach the feet when using the projector on a surface such
as a desk. (Only models with feet supplied)
s "Attaching the Feet (only Models with Feet Supplied)"
p.15
D
Wall mount fixing
points (four points)
Attach the supplied or optional setting plate when
mounting on a wall.
s Installation Guide
s "Optional Accessories" p.174
E
Illumination sensor
Detects the brightness of the surroundings, and
automatically adjusts the brightness of the screen. Set
Brightness Control to Auto from the Configuration
menu.
s ECO - Brightness Control p.135
F
Front foot fixing point
Attach the foot with a spacer when using the projector on a
surface such as a desk. (Only models with feet supplied)
s "Attaching the Feet (only Models with Feet Supplied)"
p.15
Attaching the Feet (only Models with Feet Supplied)
Insert the feet into the foot fixing points.
A
Insert the foot with the spacer into the front foot fixing point.
B
Insert the rear feet (x2) into the foot fixing points.
Part Names and Functions
15