LAN
Manage > General Settings > LAN
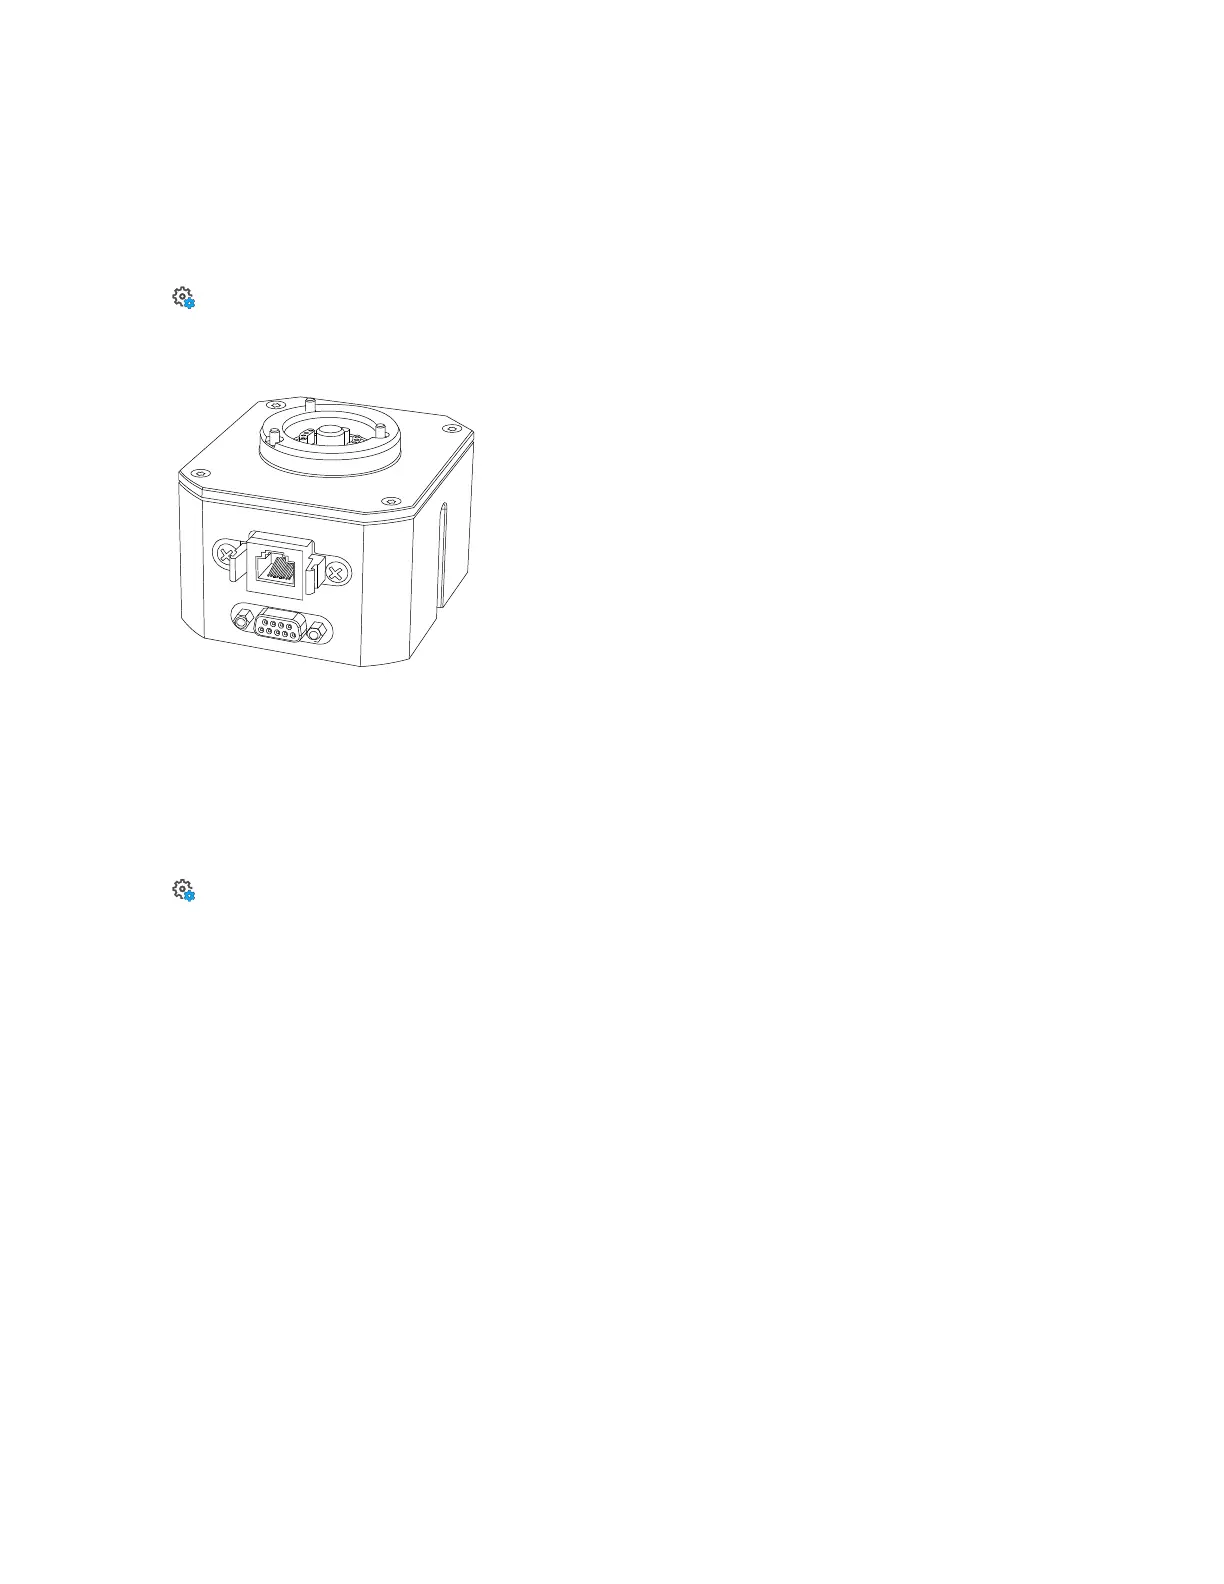
With a USB-to-LAN adapter or the optional Automation Adapter, you can connect the scanner to a LAN
via an Ethernet socket.
Figure 6-24 Automation Adapter (part number: ACCSS8004)
IP settings - Select DHCP to receive an IPaddress from the network router, or choose Static to manually
enter an IP address, Gateway, and so on.
Proxy Settings - If you need to use a proxy server, select Manual and enter the required information.
Scanner Details
Manage > General Settings > Scanner Details
Scanner Name - Name the scanner.
Manage Feature Licenses - Some features of the scanner require special licenses. Activate these features
by entering your license key here.
Owner - Enter the owner of the scanner.
Serial Number - Serial number of the scanner. This number is unique for each scanner. The number can
also be also found on the type label on the bottom of the scanner.
Model - The scanner type.
Total No. of Scans - The total number of scans captured with this scanner.
Firmware Revision / System Revision - The revisions of the currently installed firmware and system
software.
Regulatory information - The FCC and IC IDnumber of the scanner, and other similar information.
Implementation Details - Information about the software licenses of applications and libraries used in the
scanner software.
FARO
®
Focus Premium Laser Scanner User Manual
Chapter 6: Controller Software
FARO Focus Premium (March 2022) Page96of157