Figure 4-8 : Accessory bay for the status indicator with covers removed
NOTICE: Do not insert the status indicator into the accessory bay on the left side of the scanner.
Forcing the status indicator into the black bay may damage either the status indicator, the
scanner, or both.
The status indicator is now ready for use. Switch on the scanner and use it as you normally would. The
color and blink codes are identical to the scanner’s LED power on/off button.
Removing the status indicator
1. Switch off the scanner.
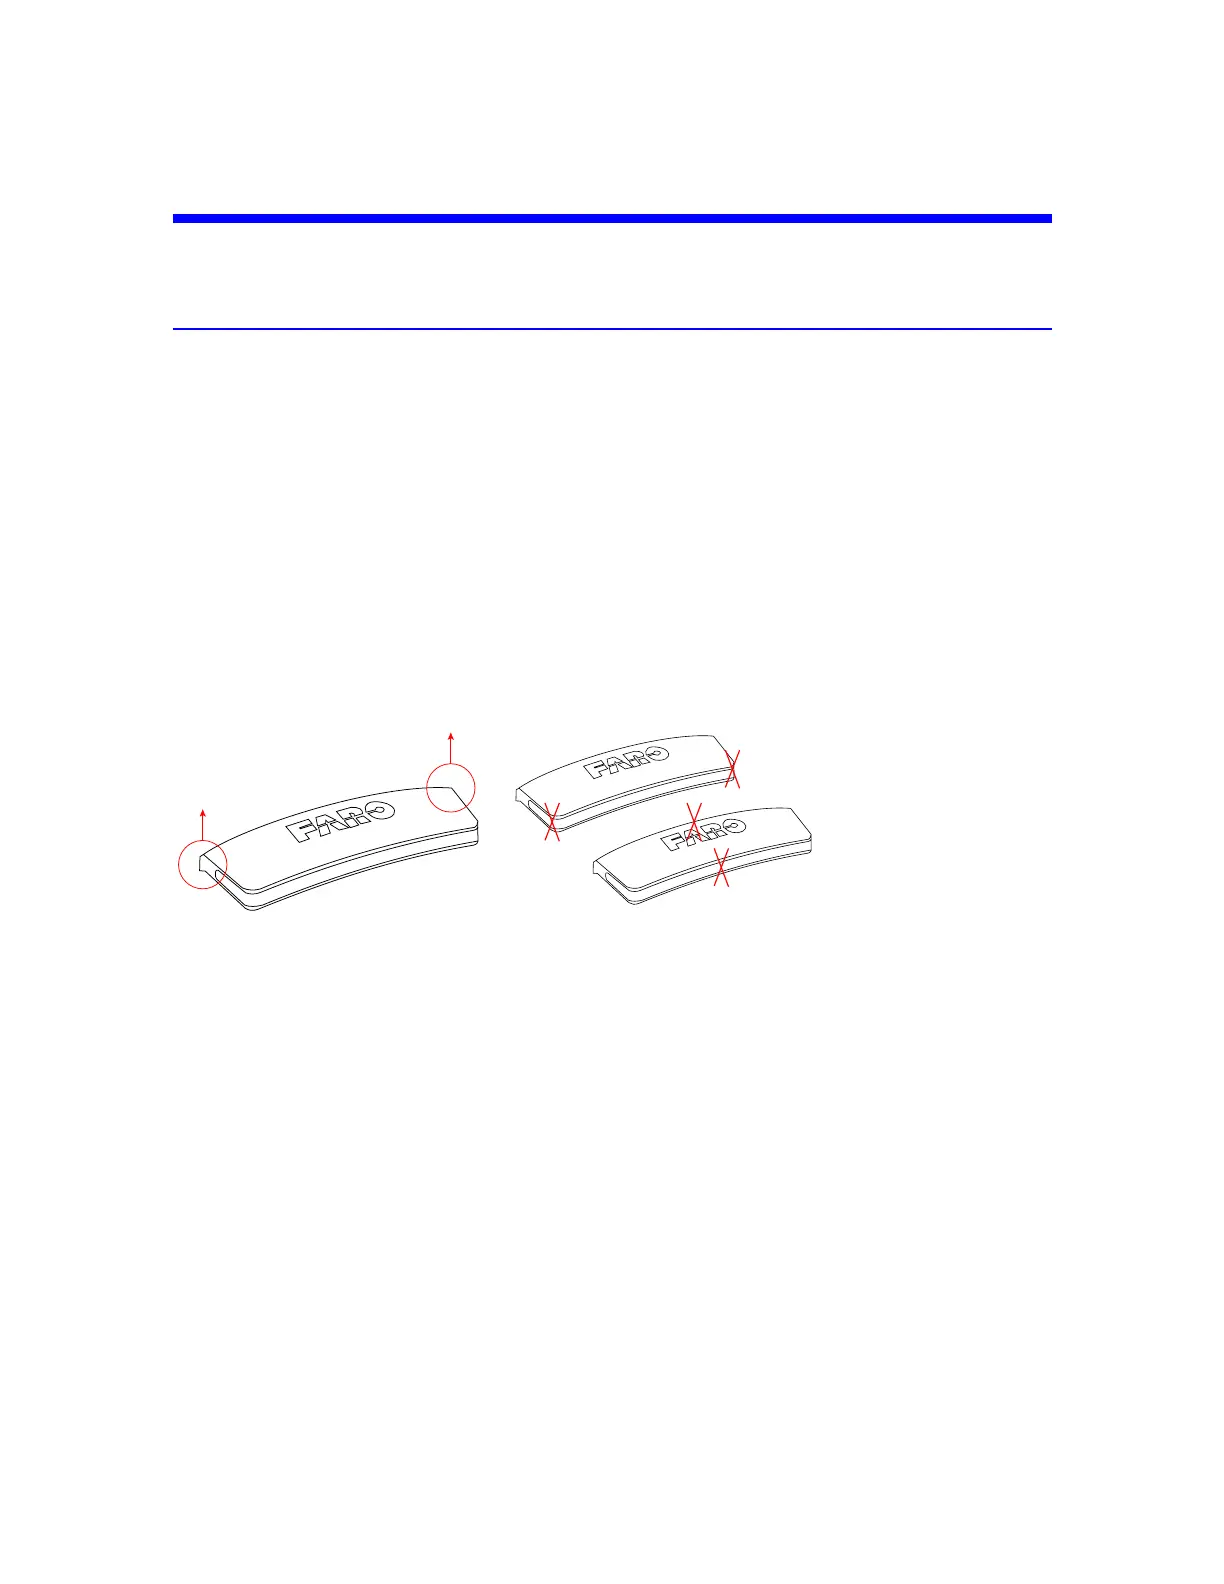
2. Remove the status indicator by grasping it with two fingers on the corners shown in Figure 4-9 and
pulling vertically.
Figure 4-9 : Pull here to remove
Figure 4-10 : Do not pull here
3. Replace the accessory bay cover after removing the status indicator.
4. Store the status indicator in a cloth bag or other soft carrying case that will prevent the gold-plated
contacts from being scratched.
FARO
®
Focus Premium Laser Scanner User Manual
Chapter 4: Parts and Their Functions
FARO Focus Premium (March 2022) Page22of157