Figure 5-24 Scan Preview
The scan preview shows a gray-scale picture of the captured scan to verify the scan itself, and check if all
objects (e.g., targets) are clearly visible. The preview may also contain detail scans belonging to the same
scan group. See Scan Groups on page116
Parameters - Tap to change the scanning parameters for future scans.
Start Scan Start a scan.
Tap Info in the pop-up dialog of a selected detail scan to view the scan properties.
Tap Delete to delete the displayed scan. In case of scan groups, only the primary scan, as named in
the title, is deleted. Embedded detail scans are not affected.
Tap Delete in the pop-up of detail scans to delete the selected detail scan.
Add Scans to Group ( ) See Scan Groups on page116
Use pinch gestures to zoom into the preview image.
When zoomed in, move the zoomed picture by dragging it with your fingers or the mouse in any
direction.
The Inclination in degrees is displayed in the header bar. The following inclination warning message is
displayed if the current inclination of the scanner is above 5°.
Strong Scanner Inclination
Inclination of the scanner is not within +/- 5°. This could result in slightly inexact scan measurements.
Try to position the scanner so that its inclination is between +/-5°. To get reliable measurements from the
built-in dual-axis compensator, set-up the scanner with an inclination of less than 5° before starting the
next scan. To do this, use either a bubble level at the tripod or the inclinometer screen.
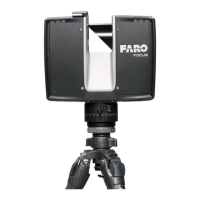
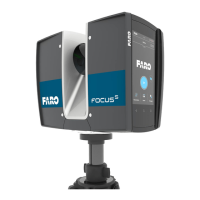
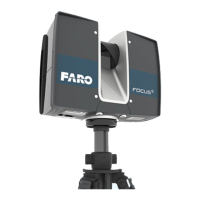
FARO
®
Focus Premium Laser Scanner User Manual
Chapter 5: Getting Started
FARO Focus Premium (March 2022) Page51of157