Cut along dotted line.
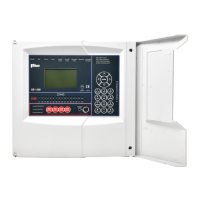
Model FCP-75 Basic Operating Instructions
These Instructions must be framed and displayed next to the FCP-75 panel in accordance with NFPA 72 fire code for Local
Protected Fire Alarm Systems. Test the system in accordance to NFPA 72.
Operation Task to Perform
Silence Alarms and
Troubles
Press SILENCE then enter a code if prompted. Silence LED will light.
Reset Alarms
Press RESET then enter a code if prompted.
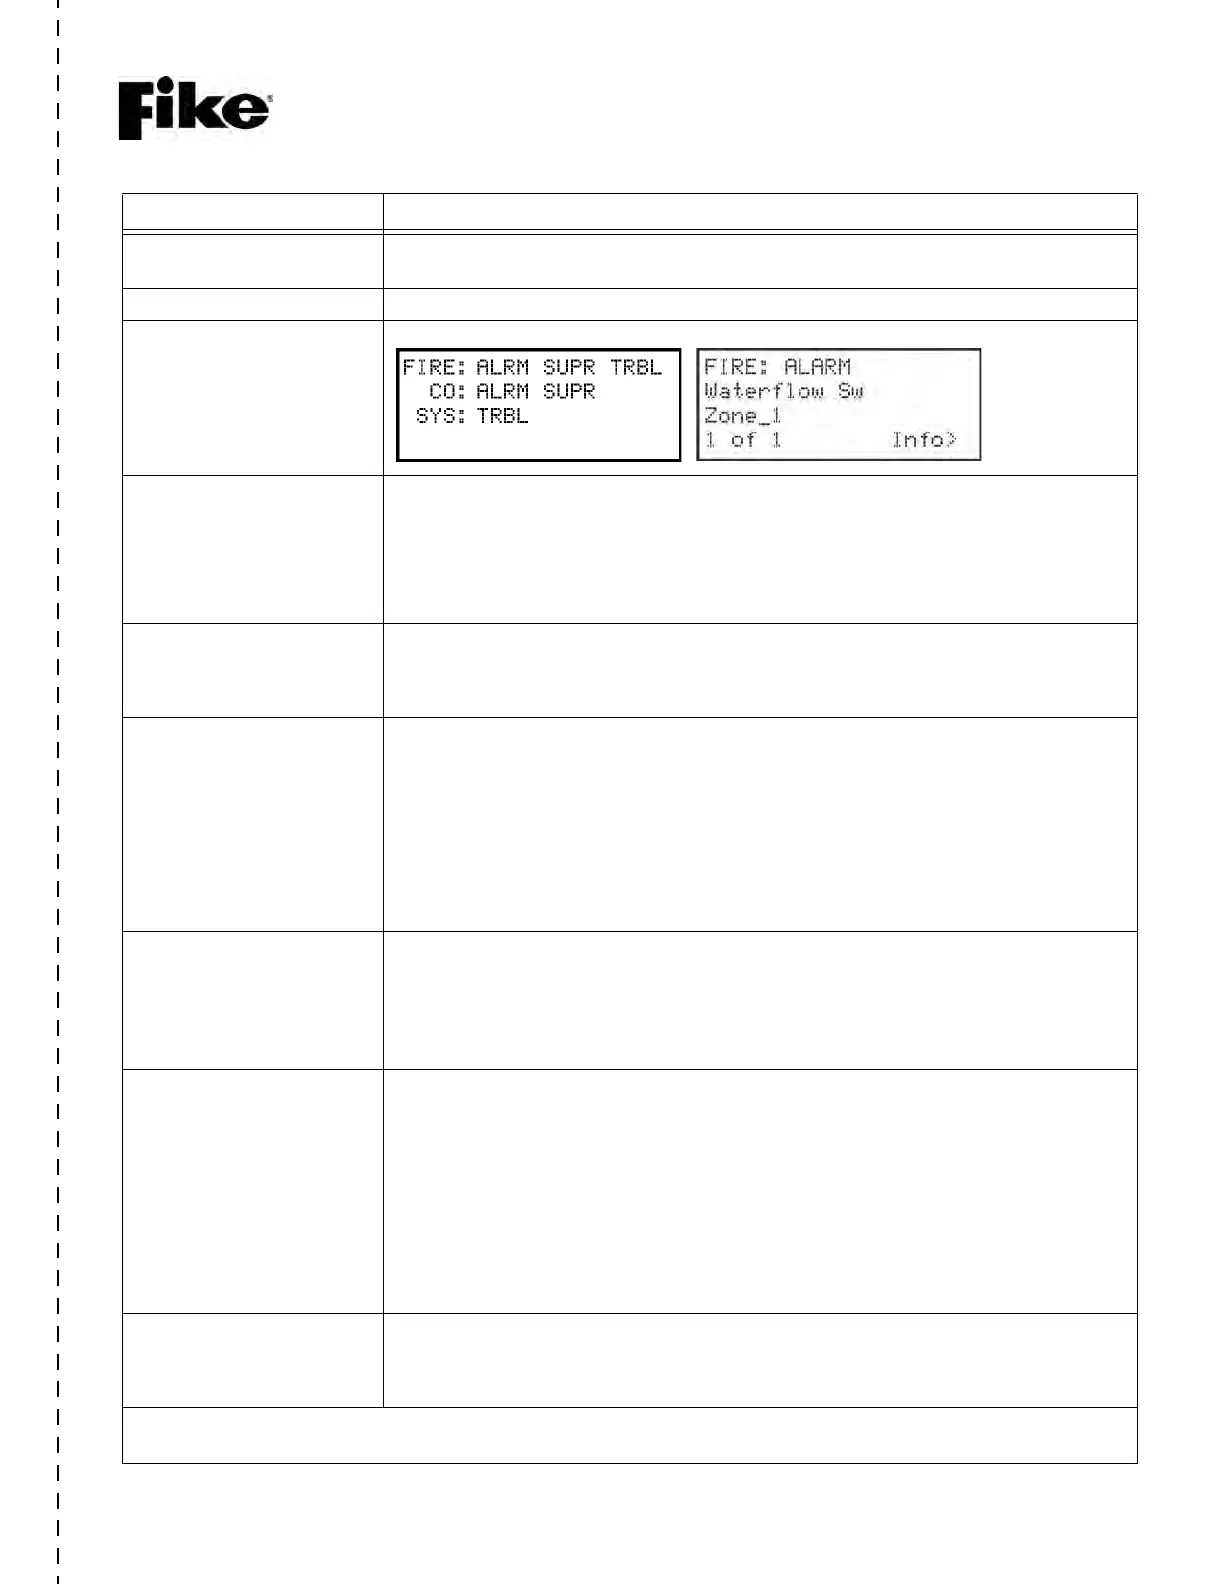
View Alarms, Supervisories,
and Troubles
Press up or down arrow to view Alarms, Supervisories, or Trouble
View a Points Status
1. Press ENTER to access Main Menu, then enter a code if prompted.
2. Press 2 to select Point Functions.
3. Select the module the device is located on by using the up or down arrow. Then press
ENTER.
4. Enter the point number.
Conduct a Fire Drill
1. Press ENTER to access Main Menu, then enter a code if prompted.
2. Press 1 to select System Tests, then press 1 to select Fire Drill.
3. Press ENTER to start the fire drill. Press ENTER to end the fire drill.
Check Detector Sensitivity
1. Press ENTER to access Main Menu.
2. Press 2 for Point Status.
3. From the list that displays, select the SLC module where the point you want to view is
located.
4. The fourth line of the display shows the sensitivity status. “NORMAL” means the detector
is in compliance with NFPA 72. “CAL MAINT” means the detector is in compliance with
NFPA 72 but maintenance should be performed soon. “CAL TRBLE” means the detector
is not in compliance with NFPA 72.
Set Time and Date
1. Press ENTER to access Main Menu, then enter a code if prompted.
2. Press 4 to select Set Time & Date. Enter a code if prompted. Make changes in the fields
on the screen as necessary.
3. Press ENTER if you wish to keep the changes. Press ENTER to set the entered time and
date.
Enable / Disable a Point
1. Rotate the key or enter a code to access to access Main Menu.
2. Press 2 to select Point Functions.
3. Press 1 to select Disable / Enable Point.
4. Press 7 to Disable / Enable Pt.
5. Use the up or down arrow to move through the list. Then press ENTER to select the
module where the point you want to disable/enable is located.
6. Enter the point or circuit number that you want to disable/enable.
7. Press the right arrow key to toggle between NORMAL (enable) or DISABLE.
View Event History
1. Press ENTER to access Main Menu, then enter a code if prompted.
2. Press 3 to select Event History.
3. Press the up or down arrow to view events in the history buffer.
For Service Call:
PN LS10165-003FK-E Rev A ECN 2890