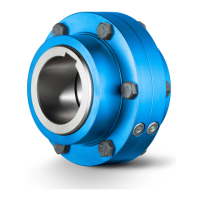
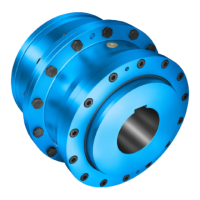
5.4.1.2 Axial locking
Depending on the version, the hollow shaft must be locked axially on the machine shaft (e.g. by
a locking ring, end plate, adjusting screw).
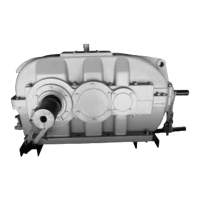
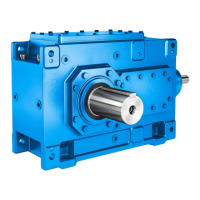
5.4.1.3 Gear unit fastening
To fasten the gear unit, proceed as follows:
1. Align the gear unit exactly with the output shaft.
2. Fasten the gear unit using foot fastening bolts.
3. Tighten the foot fastening bolts with the specified tightening torque.
5.4.2 Dismantling
Measures prior to dismantling
NOTICE
Damage to the gear unit
The gear unit can become damaged if it skews during dismantling.
Do not allow the gear unit to skew as you remove it from the machine shaft. When removing
the gear unit using hydraulic pulling equipment, excessive force can be placed on the housing,
bearings and other gear unit components. Always check the hollow shaft bearings for damage
before reattaching the gear unit to the machine shaft.
Note
Reducing the risk of corrosion
When using jacking screws or screw spindles, to avoid the risk of corrosion, round off and
grease the end of the thread (head) that presses against the driven machine.
Procedure
In order to dismantle a shaft-mounted gear unit from the machine shaft, proceed as follows:
1. Remove the axial locking element from the hollow shaft.
2. If fretting corrosion has formed on the seat surfaces, rust remover must be applied so that
the gear unit can be more easily detached.
3. Wait for the rust remover to work and then use a fixture to dismantle the gear unit.
4. Depending on the conditions on site, you can use one of the following methods to remove
the gear unit from the machine shaft:
– With a central screw spindle
– Using hydraulic pulling equipment
Mounting
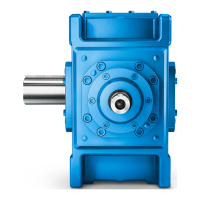
5.4 Shaft-mounted gear unit with hollow shaft and parallel keyway
REDUREX Gear unit 5200en
66 Operating Instructions 03/2019