16
2-2-2. SDI Input/ Output Cards Installation and Removal
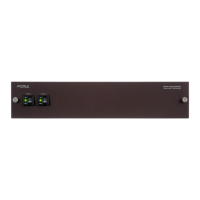
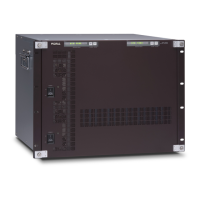
MFR-3100EX units allow Input/ Output cards to be installed into slots on the rear panel.
◆ Removing input /output cards
To remove an installed card while the MFR-3100EX power is on, turn off the target Slot
Power on the SlotStatus page of Web-based Control and remove the card.
◆ Installing input/output cards
(1) Insert an input/ output card into the slot.
(2) Open the SlotStatus page of Web-based Control and if the Slot Power of the inserted
slot is off, turn it ON.
* To power on/ off an installed MFR-16MV card using I/O card power switches, two power
switches (for two slots) must be turned on/ off.
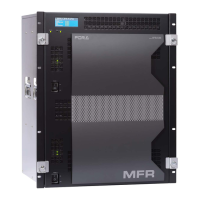
2-2-3. MFR-31CPU Card Installation and Removal
MFR-31CPU cards can be installed or removed with the MFR-3100EX power turned on as
shown below.
◆ Removing an installed MFR-31CPU card
(1) Switch the ACTIVE CPU from the MFR-31CPU to the MFR-3100EX CPU.
(2) Verify that the ACTIVE light for CPU2 on the left side of the front panel is lit.
(3) Disconnect the MFR-31CPU cables connected to the MFR-LAN and PC-LAN.
(4) Open the front panel and release the screw on the right side of the MFR-31CPU.
(5) Pull the MFR-31CPU gently straight out of the slot.
(6) Close the front panel.
* See “Manual Switching of Active CPU” in the Web-based Control Operation Manual.
◆ Inserting an MFR-31CPU card
(1) Open the front panel.
(2) Align both edges of the MFR-31CPU with the guide rails in the slot and insert the card.
(3) Verify that the MFR-31CPU is inserted properly, and secure the screw on the right side
of the MFR-31CPU.
(4) Close the front panel.
(5) LAN connect PC-LAN1 and PC-LAN2 to the same network. Similarly, LAN connect MFR-
LAN1 and MFR-LAN2 to the same network.
◆ Manually activating the MFR-31CPU
Once an MFR-31CPU is installed, it is NOT automatically activated. Follow the procedure
below to manually activate the MFR-31CPU.
(1) After installing an MFR-31CPU, switch the MFR-31CPU to ACTIVE using Web-based
Control.
(2) Verify that the CPU1 ACTIVE lamp on the left side of the front panel is lit and CPU2
ACTIVE lamp is unlit.

 Loading...