20
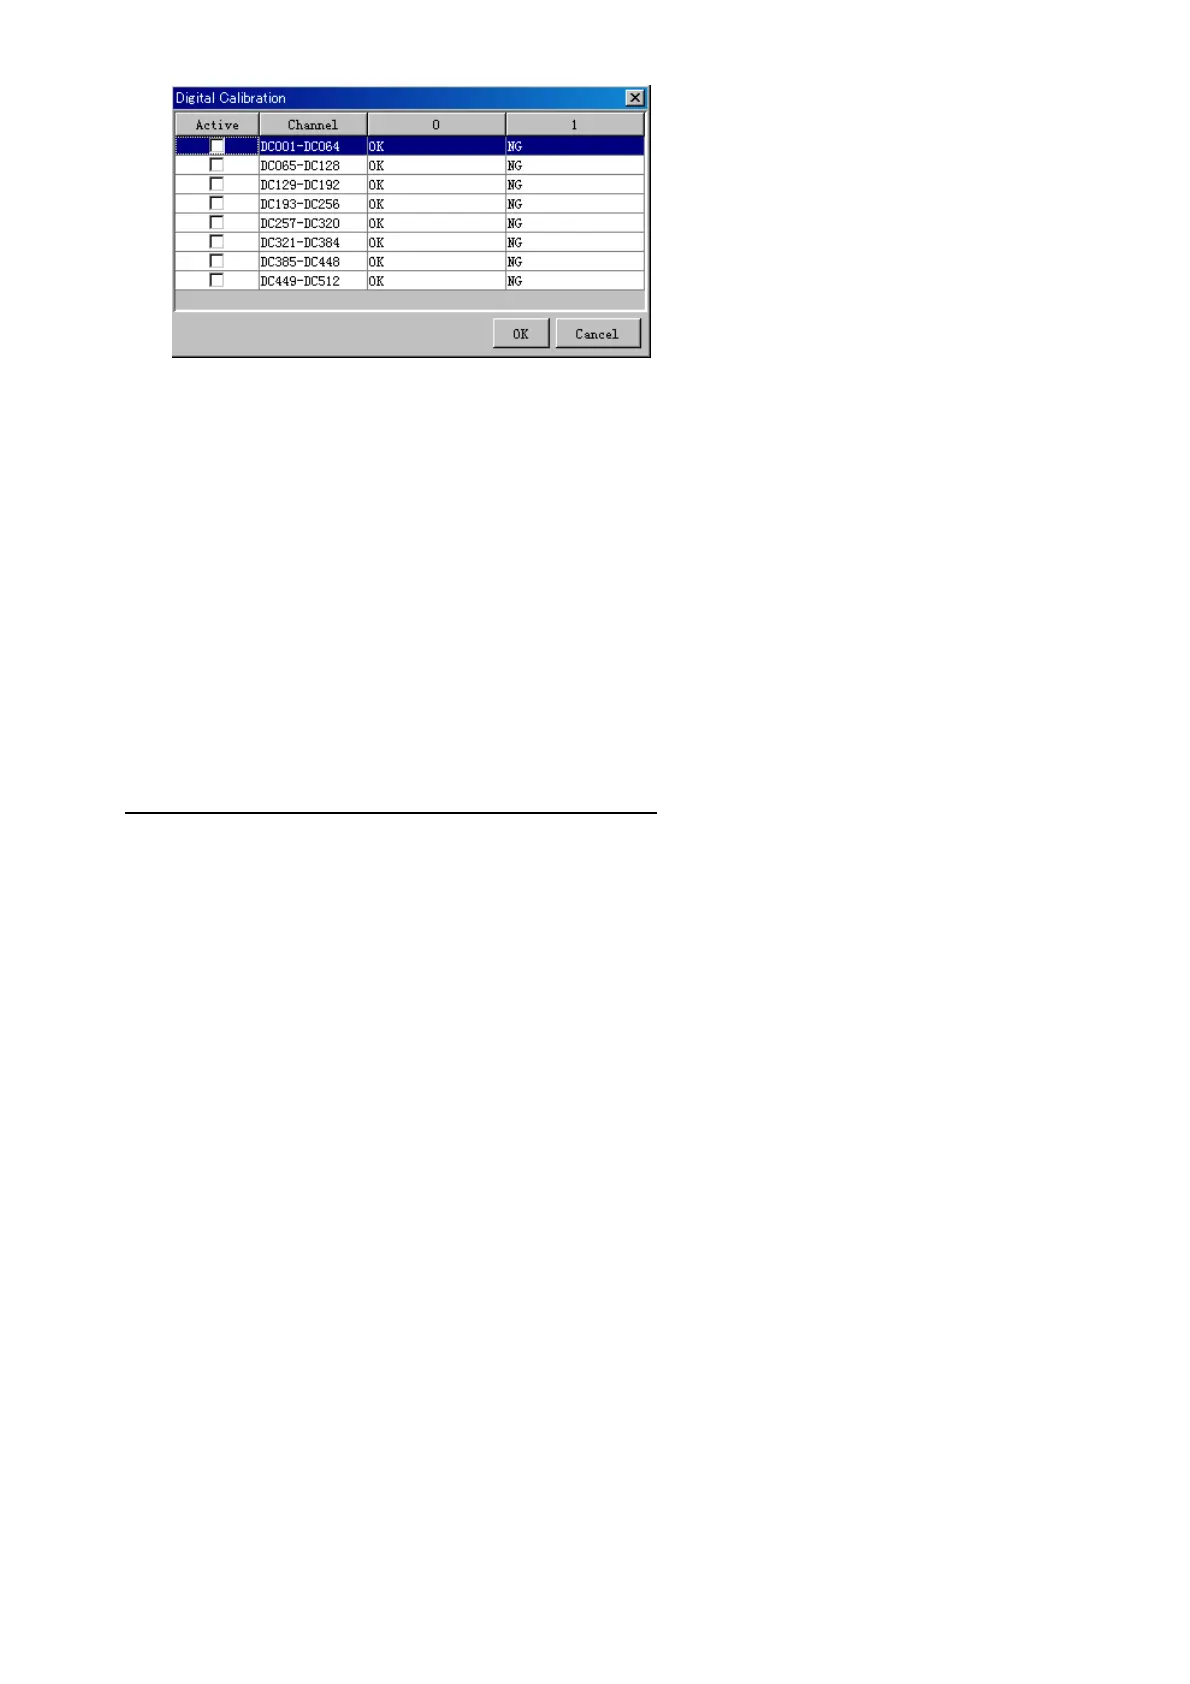
2. Check the active column of the channel group being set.
3. Enter the status in columns 0 and 1 of that group.
4. Click the OK Button.
5. When finished setting up, click the Set button.
6. Repeat steps 2-5 to set up other channels.
When using Config Manager with Tabs
1. From the Maintenance menu, click VDR Config Management.
2. Click the Upload button to record to VDR memory.
3. Click the Write buttons to record to DRU, Backup HDD and CF memory.
The items in the Setting Area are as shown below.
Active: Put check in check box to make channel active.
Brand*: Enter brand name.
Type No.: Set type no. (equipment name)
Check: Do equipment check.
Data Name*: Enter and display data name.
Contact Type: Set contact type. NO: normal open, NC normal close
Sampling Rate: Display sampling rate.
Calibration Active: Disable and enable digital calibration.
Active Status (1)*: Set status display when (1) is active.
Active Status (0)*: Set status display when (0) is active.
Equipment Category*: Set equipment category.
Board Name*: Enter board names where channels are present.
Note*: Enter note.
* Marked Items: For easy identification of input source, enter Equipment Category,
Brand, Type No., Date and Name.
 Loading...