174 232003110G (03)
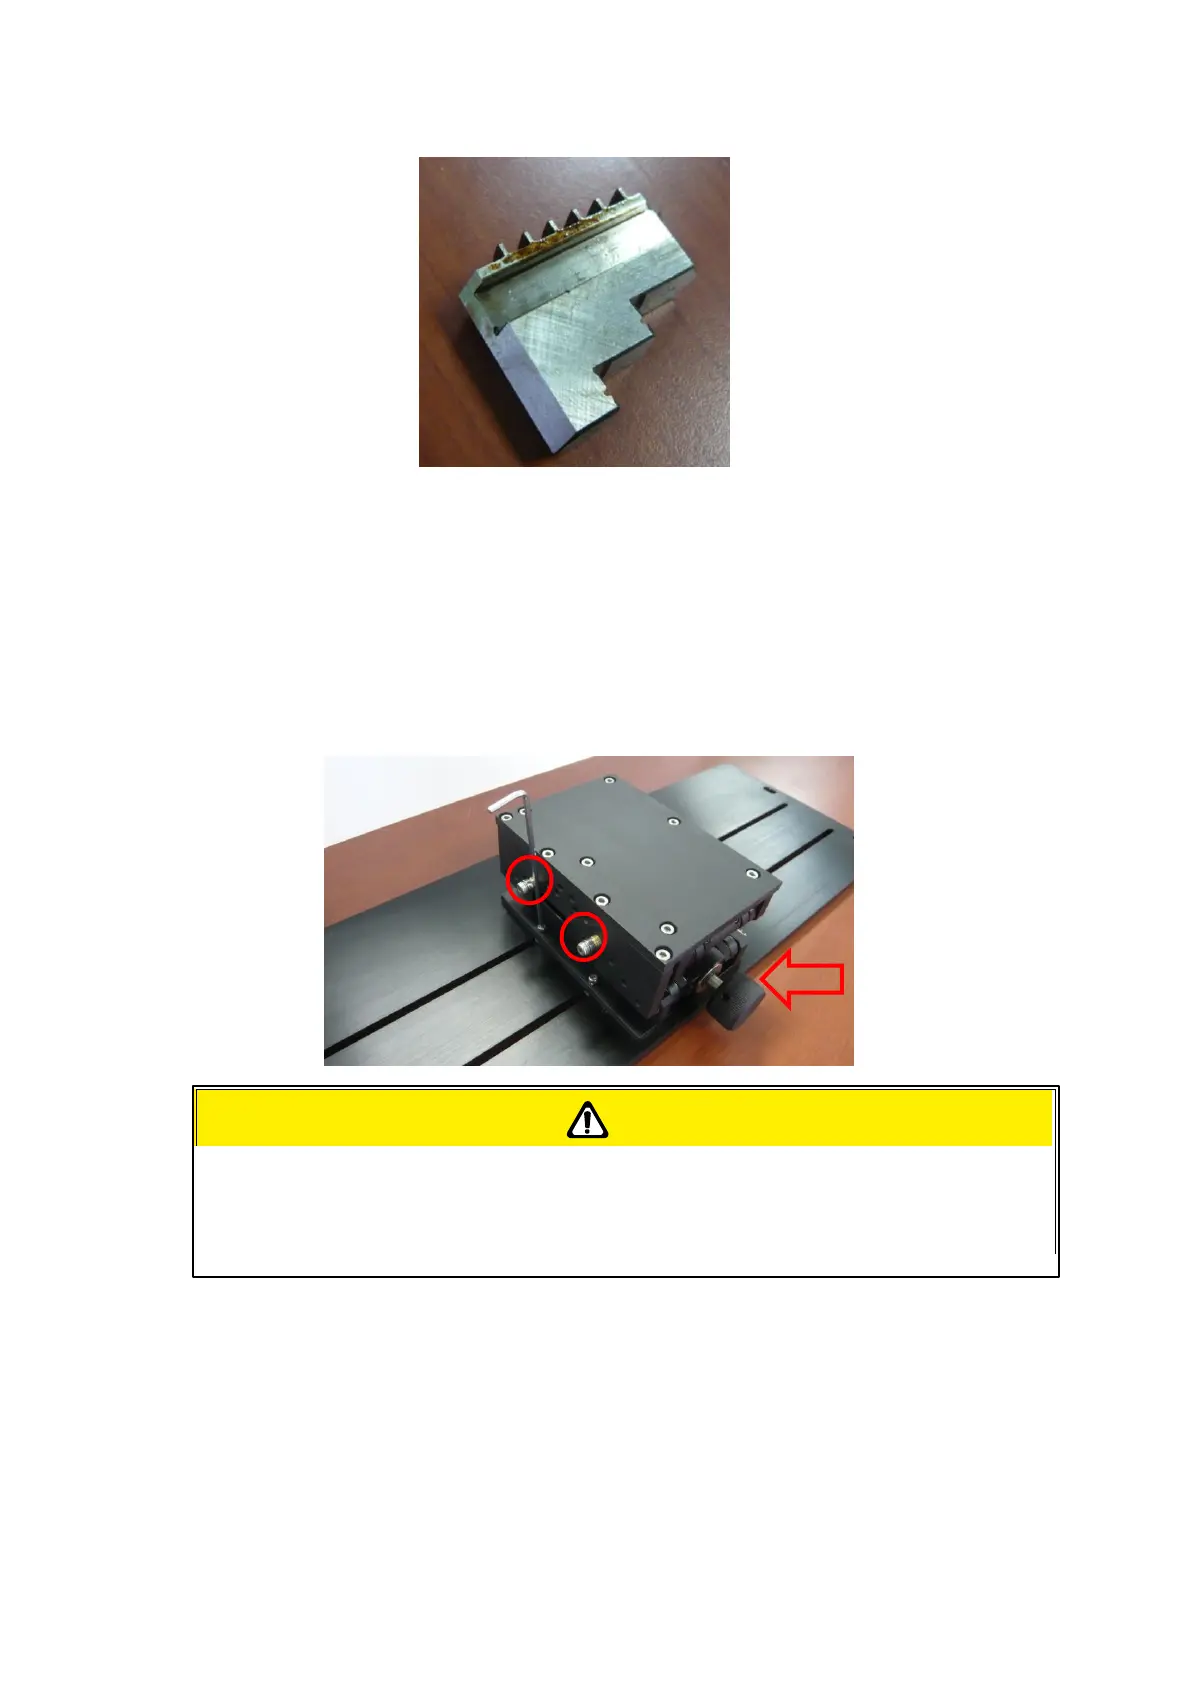
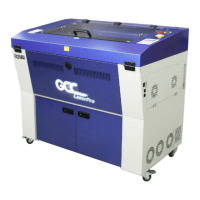
The rear end of the Rotary Chuck a o can be locked or unlocked to slide its position by using an
Allen key as shown below.
Dial the lever indicated with red arrow below to move up or down the rear end which will adjust its
leveling to match clamping end. The red circle marked leveling screws can be removed and
reassembled to different height level of openings with Allen key.
4) Manually move the laser carriage to the proper X/ Y location on the work object where you will do
laser engraving or cutting. Hit the Auto Focus button on Touch Screen and the laser machine will now
properly focus at the location to be laser engraved or cut.
5) Prepare the graphic you would like to work with the Rotary Chuck, print it to GCC laser Print
Driver, and go to “Paper” page of the Print Driver.
If your work piece is small, please apply 4" focal lens for operation to prevent the
lens carriage from colliding with the rotary attachment.