30
A
S
AM
A
S
• Press/release the S (right) button repeatedly (< 2 sec each time) to increase the Day Set
Point from 1 up to 31 in increments of 1 Day; or depress/hold the S button to scroll upward
through the Set Points at a rate of 8 per second.
• Press/release the A button (< 2 sec) to accept the Day and access Set Hour Format.
• Depress both buttons for 2 seconds to revert to the Surface Main.
SET HOUR FORMAT
Factory set for 12 Hr (12: AM to 11: PM), Hour Format can also be set for 24 Hr (0: to 23:).
• While viewing the Set 2 screen, press/release the A (left) button 6 times (< 2 sec each time),
the Set Hour Format screen appears with the Set Point flashing (Fig. 25).
• Press/release the S (right) button (< 2 sec) to toggle the Set Point between 12 and 24.
• Press/release the A button (< 2 sec) to accept the setting and access Set Time.
• Depress both buttons for 2 seconds to revert to the Surface Main.
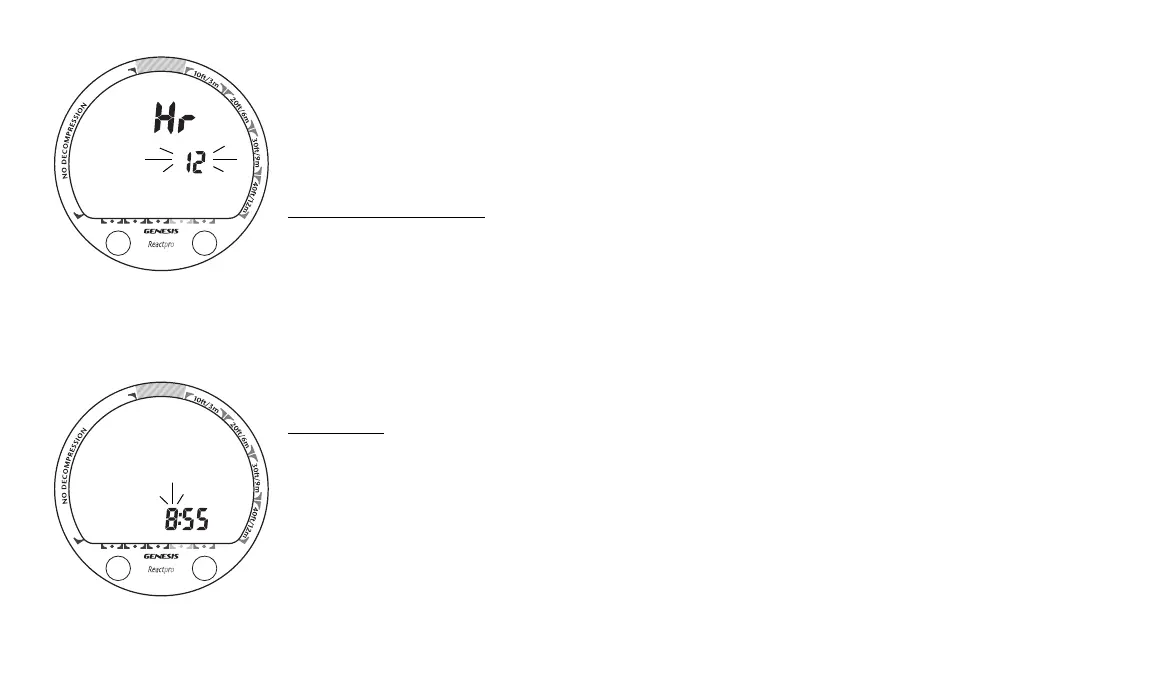
SET TIME
Factory set for local time, the Time can be set between 12:01 and 11:59 (AM/PM) or 0:01 and
24:00.
• While viewing the Set 2 screen, press/release the A (left) button 7 times (< 2 sec each time),
the Set Time screen appears with the Hour Set Point flashing (Fig. 26).
• Press/release the S (right) button repeatedly (< 2 sec each time) to increase the Hour Set
Point from 1: up to 24: in increments of 1: (hr); or depress/hold the S button to scroll up-
ward through the Set Points at a rate of 8 per second.
Fig. 26 - Set Time
Fig. 25 - Set Hour Format