EasyManuals Logo

GeoVision GV-IPCamera Series User Manual

GeoVision GV-IPCamera Series
306 pages
To Next Page IconTo Next Page
To Previous Page IconTo Previous Page
Page #149 background imageLoading...
Page #149 background image
Target Bullet Camera (Part I)
115
12
12.3 Installation
You can install the camera to the ceiling or wall. Follow the steps below.
IMPORTANT: To avoid foggy live view, replace Silica Gel Tape prior to
installation and use waterproof tape to seal the RJ-45 connector.
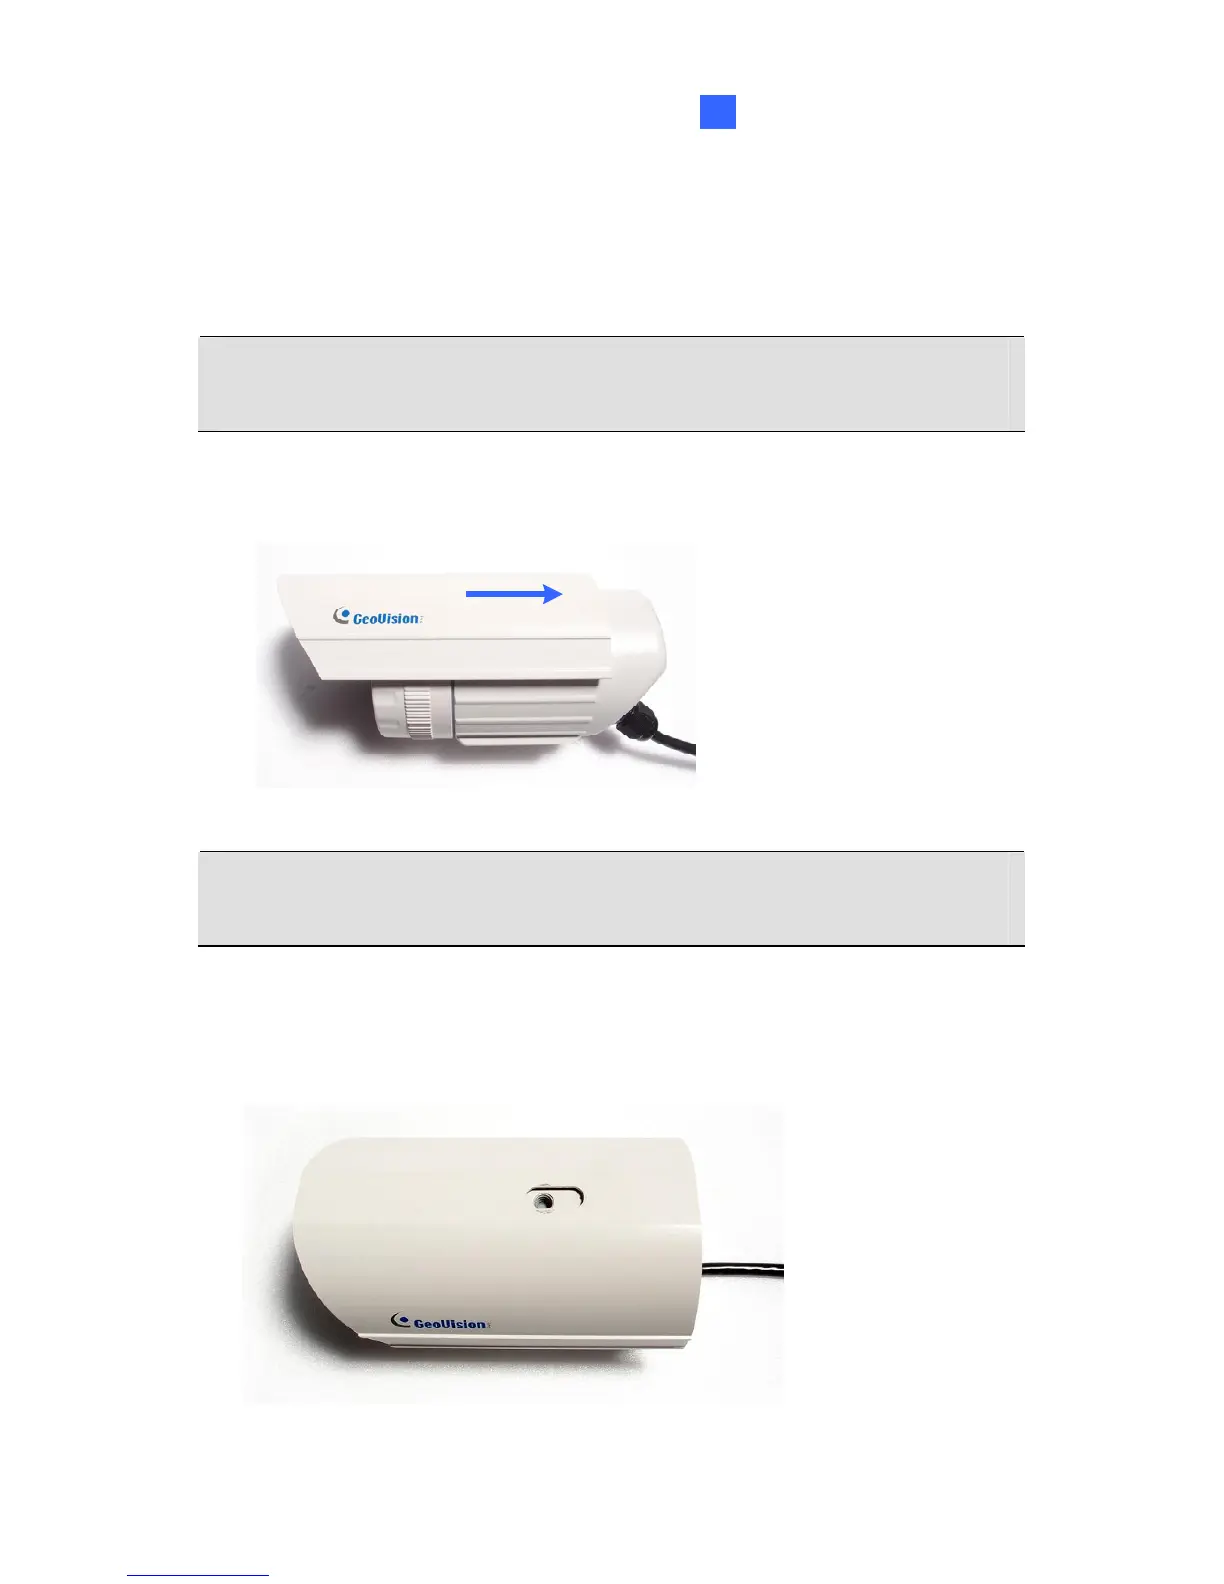
1. Slide the sun-shield cover onto the top of the camera.
Note: The GeoVision logo on the sun-shield cover should be closer to
the front of the camera.
2. Line up the screw hole on the camera with the opening on the
sun-shield cover.

Table of Contents

Other manuals for GeoVision GV-IPCamera Series

Questions and Answers:

Question and Answer IconNeed help?

Do you have a question about the GeoVision GV-IPCamera Series and is the answer not in the manual?

GeoVision GV-IPCamera Series Specifications

General IconGeneral
BrandGeoVision
ModelGV-IPCamera Series
CategorySecurity Camera
LanguageEnglish

Related product manuals