104
11.3 Installation
You can install the camera to the ceiling or wall. Follow the steps below.
1. Optionally insert a micro SD card to the camera.
A. Unscrew and open the back panel with the supplied torx wrench.
B. Insert a micro SD card (SD/SDHC, version 2.0 only, Class 10)
into the card slot and replace the silica gel bag.
C. Secure the back cover with the supplied torx wrench.
2. Install the sun-shield cover to the camera.
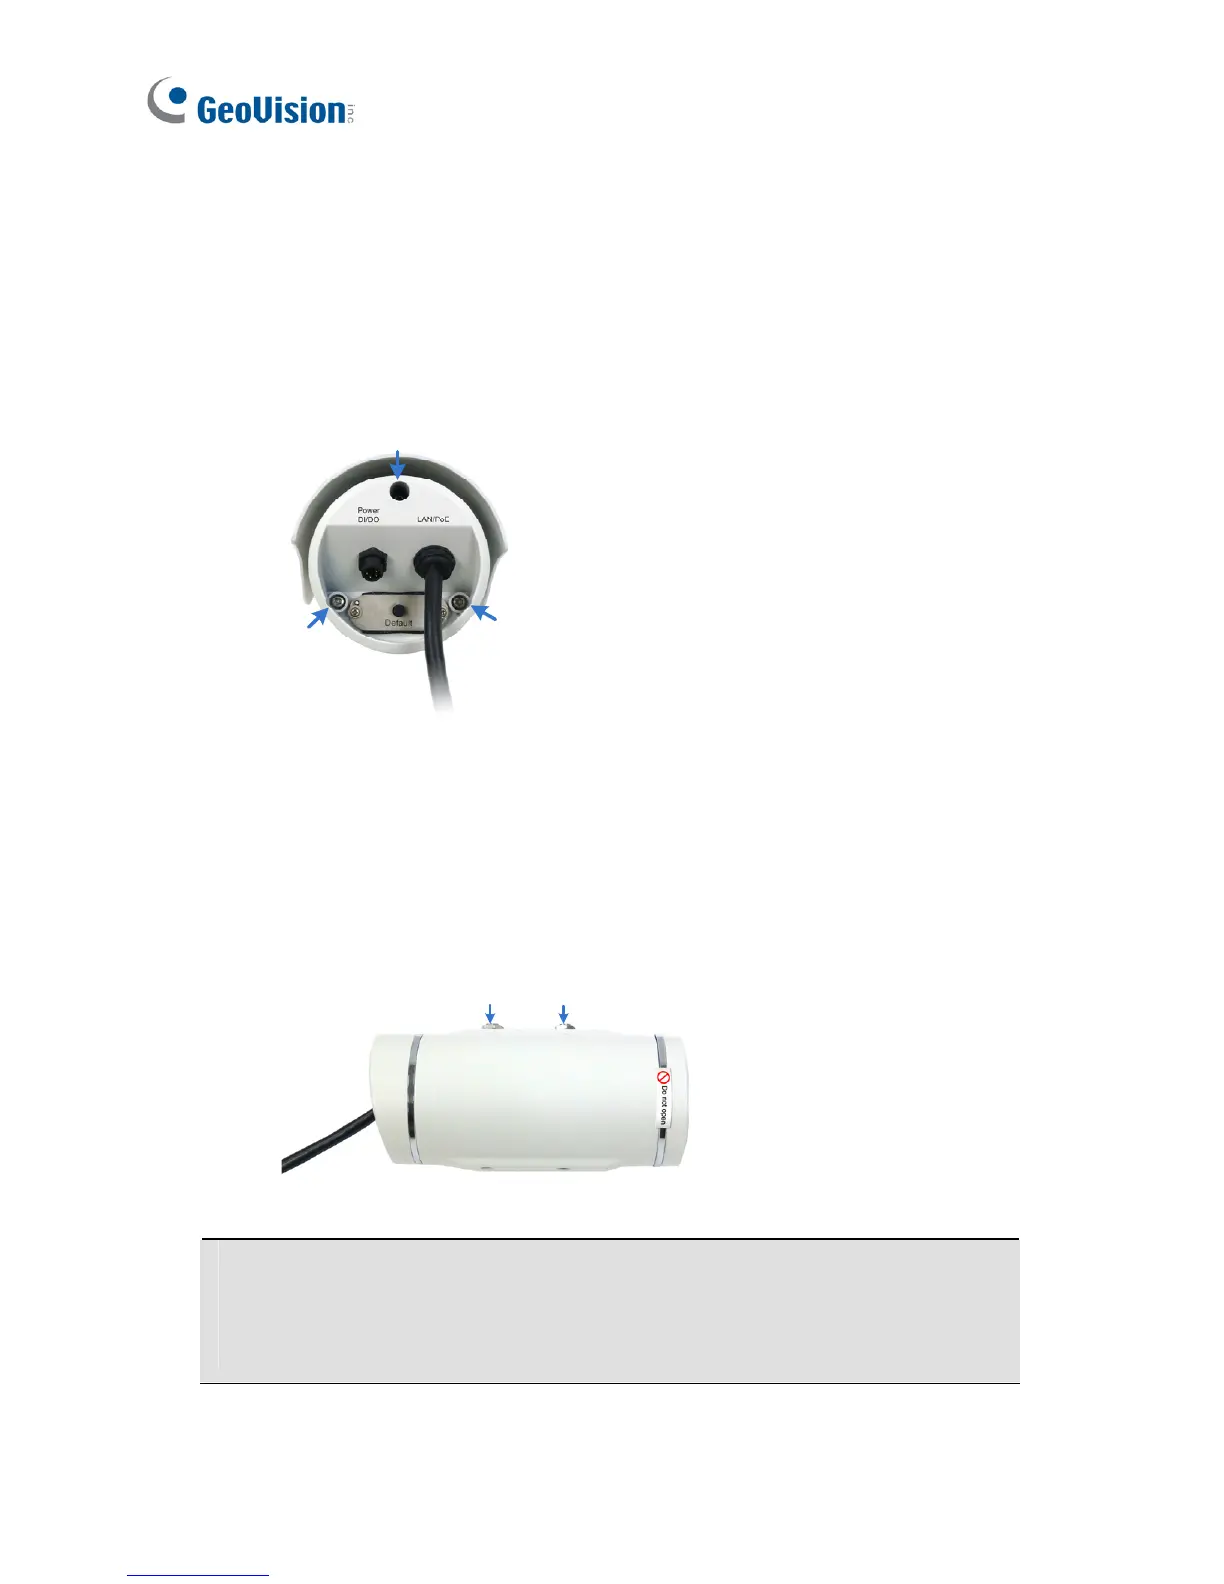
A. Fasten the hexagon screw(s) on the top of the camera.
IMPORTANT: To avoid waterproofing failures, do not open the front
cover of the camera and the screw on the camera body. Ssee Note for
Waterproofing Failures at the beginning of the Quick Start Guide.
Hexa
 Loading...


