EasyManuals Logo

GeoVision GV-IPCamera Series User Manual

GeoVision GV-IPCamera Series
306 pages
To Next Page IconTo Next Page
To Previous Page IconTo Previous Page
Page #252 background imageLoading...
Page #252 background image
218
21.3 Installation
Follow the steps below to install, connect to and adjust your Advanced
Cube Camera.
1. Put the supporting rack on the desired location and make marks for
screw anchors.
2. Drill the marks and insert the screw anchors.
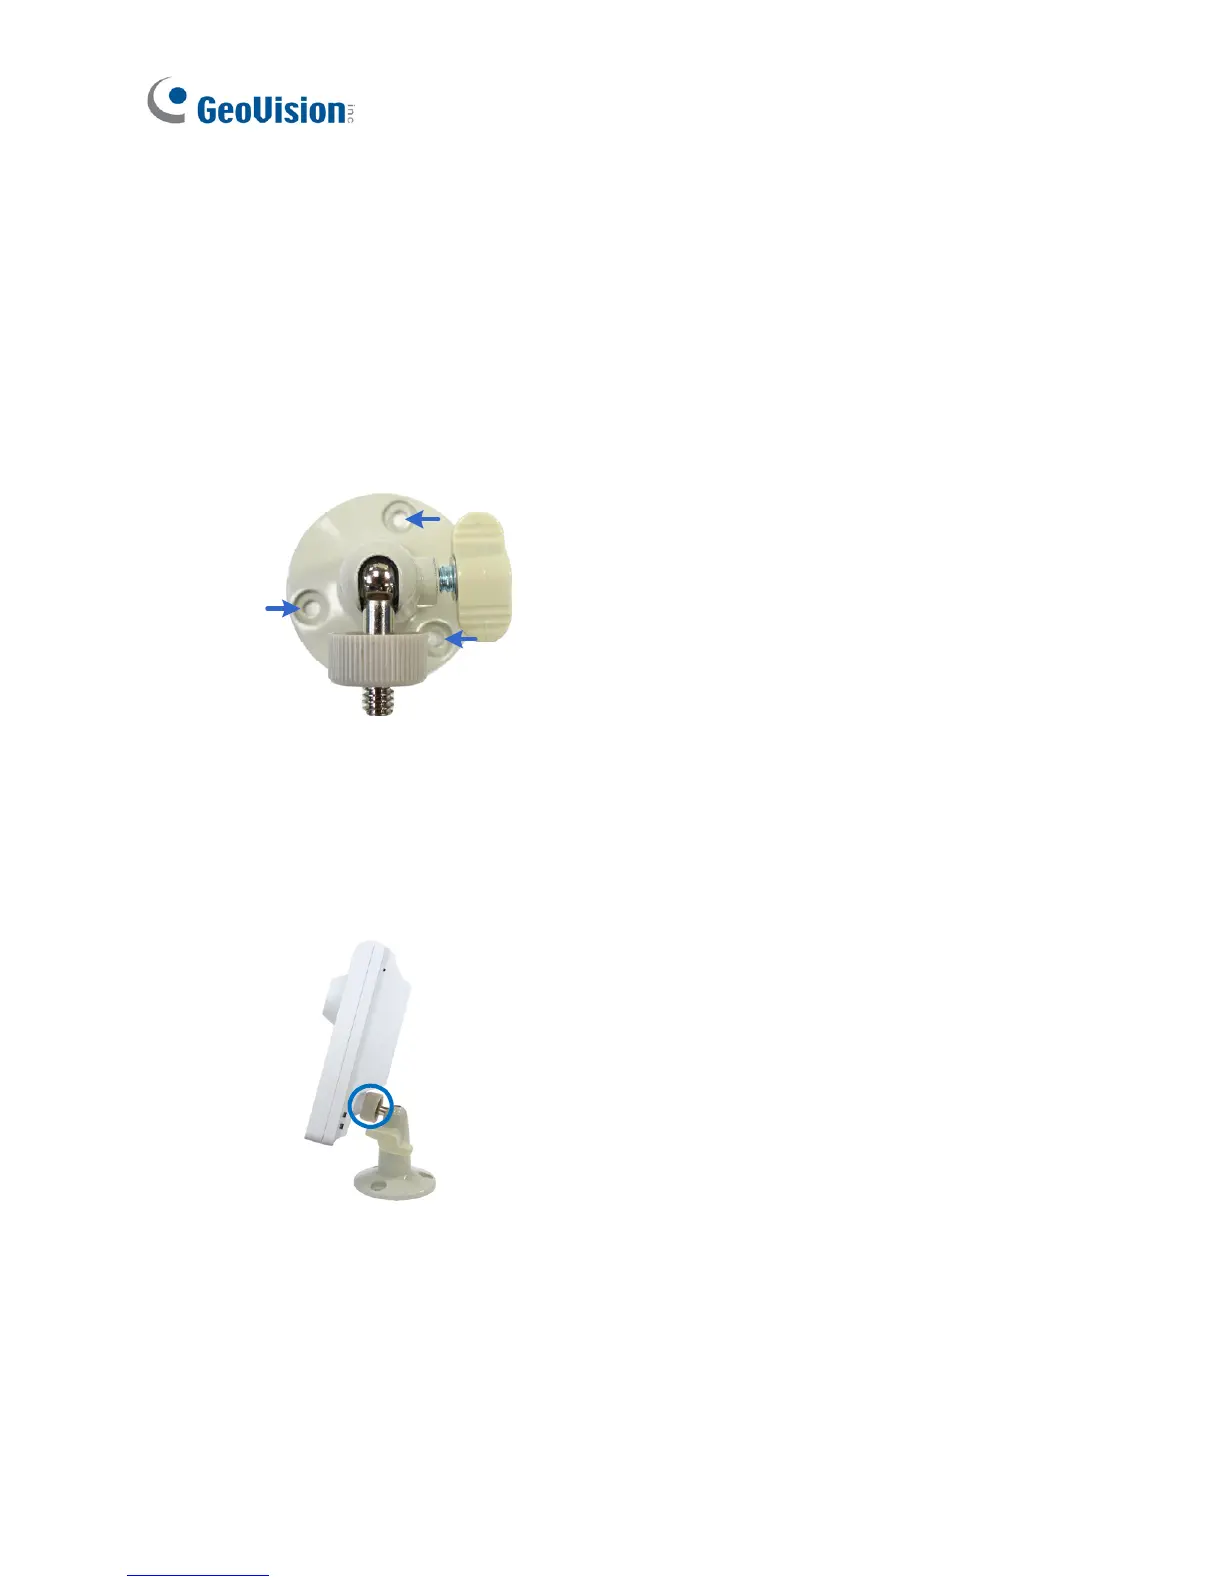
3. Secure the supporting rack onto the wall using the supplied screws.
4. Screw the camera onto the supporting rack and fasten the indicated
screw.
5. Connect the network and power cables to the camera. See 21.4
Connecting the Camera in the Quick Start Guide.
6. Access the live view. See 24.2 Accessing the Live View in the Quick
Start Guide.

Table of Contents

Other manuals for GeoVision GV-IPCamera Series

Questions and Answers:

Question and Answer IconNeed help?

Do you have a question about the GeoVision GV-IPCamera Series and is the answer not in the manual?

GeoVision GV-IPCamera Series Specifications

General IconGeneral
BrandGeoVision
ModelGV-IPCamera Series
CategorySecurity Camera
LanguageEnglish

Related product manuals