Vandal Proof IP Dome (Part I)
137
14
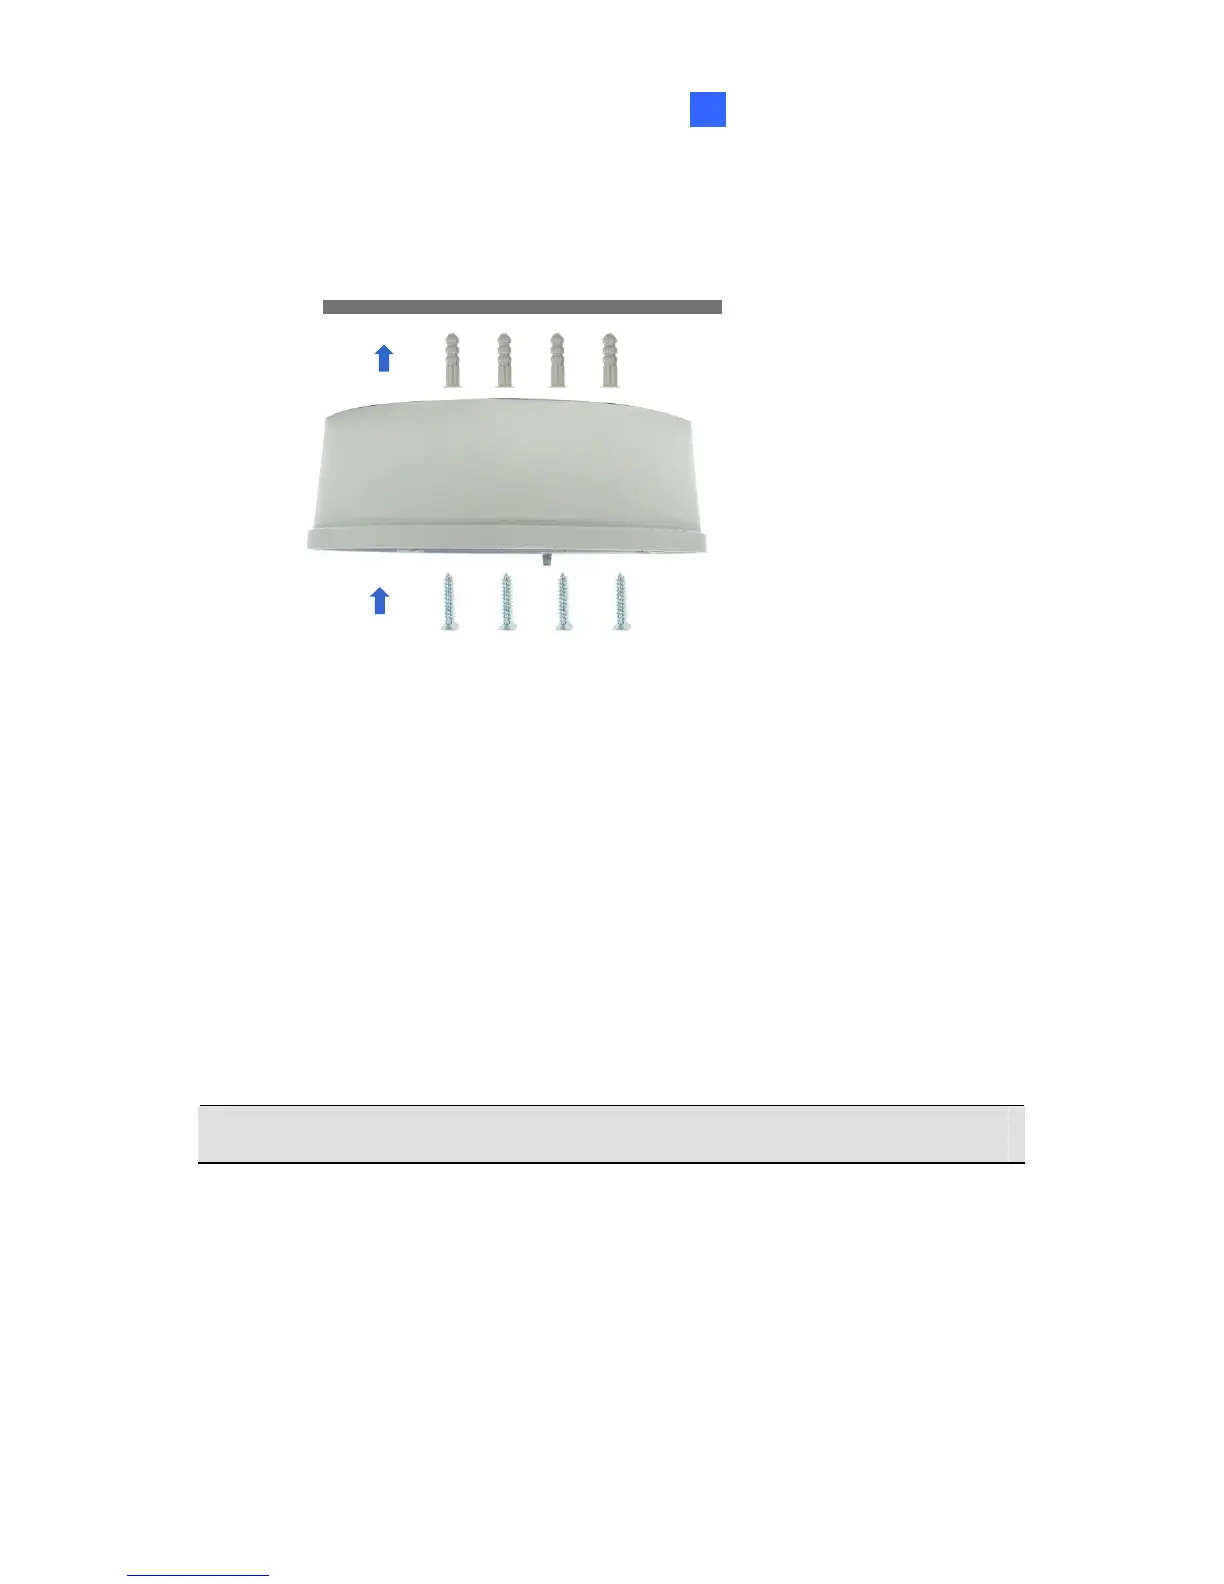
3. Insert the screw anchors to the 4 holes on the ceiling.
4. Secure the back cover to the ceiling with 4 ceiling screws.
wall
5. Refer to step 1 to secure the camera body with inner housing.
6. Thread the cable through the conduit entry at the side of the back
cover. Alternatively pass the wires through the ellipse hole at the
bottom of the back cover.
7. Connect the network and power cables to the camera. See 14.4
Connecting the Camera in the Quick Start Guide.
8. Access the live view. See 24.2 Accessing the Live View in the Quick
Start Guide.
9. Adjust the camera to a desired angle as illustrated below.
Tip: The 3-axis mechanism offers flexible and easy installation.
 Loading...


