142
7. Insert the camera to the ceiling with the plastic screws moved inward.
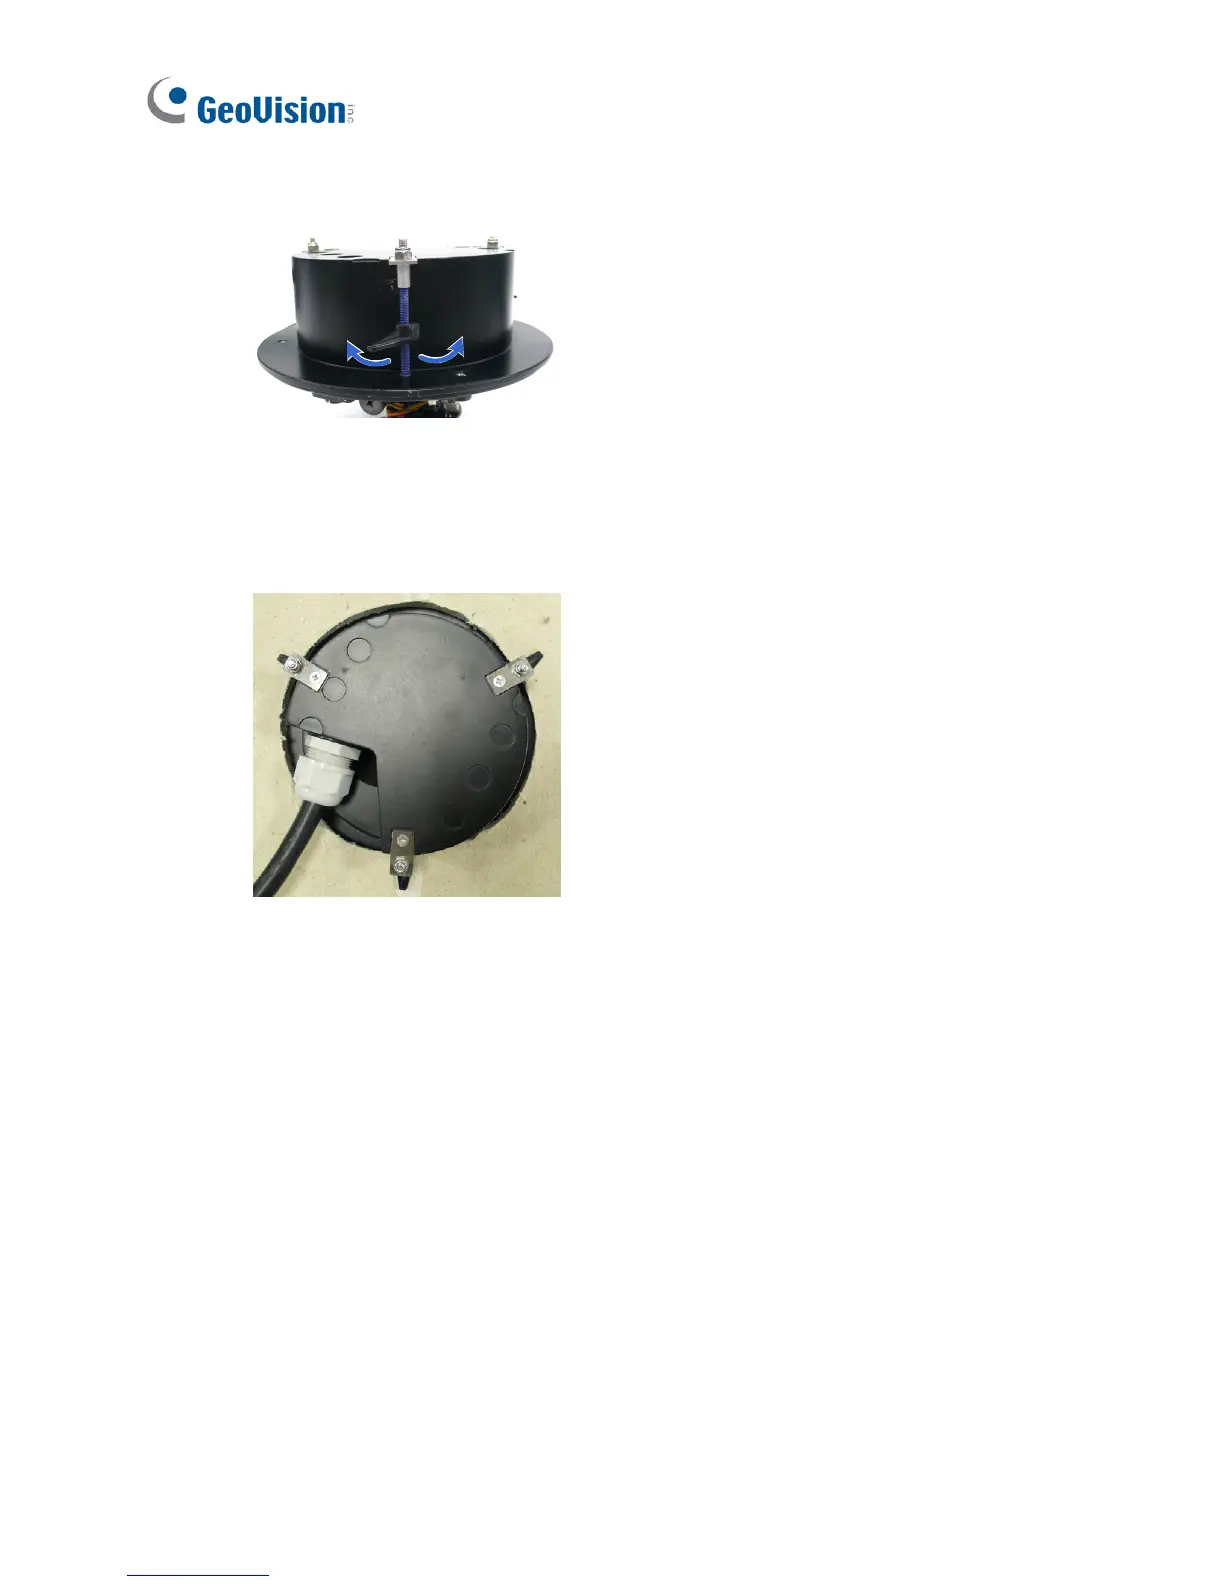
8. Move the blue screws out and rotate the blue screw with a screw driver
until the plastic clip and the bottom of the camera body clamps the
ceiling tightly.
9. Connect the network and power cables to the camera. See 14.4
Connecting the Camera in the Quick Start Guide.
10. Access the live view. See 24.2 Accessing the Live View in the Quick
Start Guide.
11. Follow steps 9 and 10 in the Hard-Ceiling Mount section to adjust the
angle, focus and zoom of the camera.
12. Follow steps 11 and 12 in the Hard-Ceiling Mount section to secure
the thread lock, replace the silica gel bag and secure the housing
cover.
 Loading...


