Vandal Proof IP Dome (Part II)
157
15
6. Secure the back plate to the ceiling.
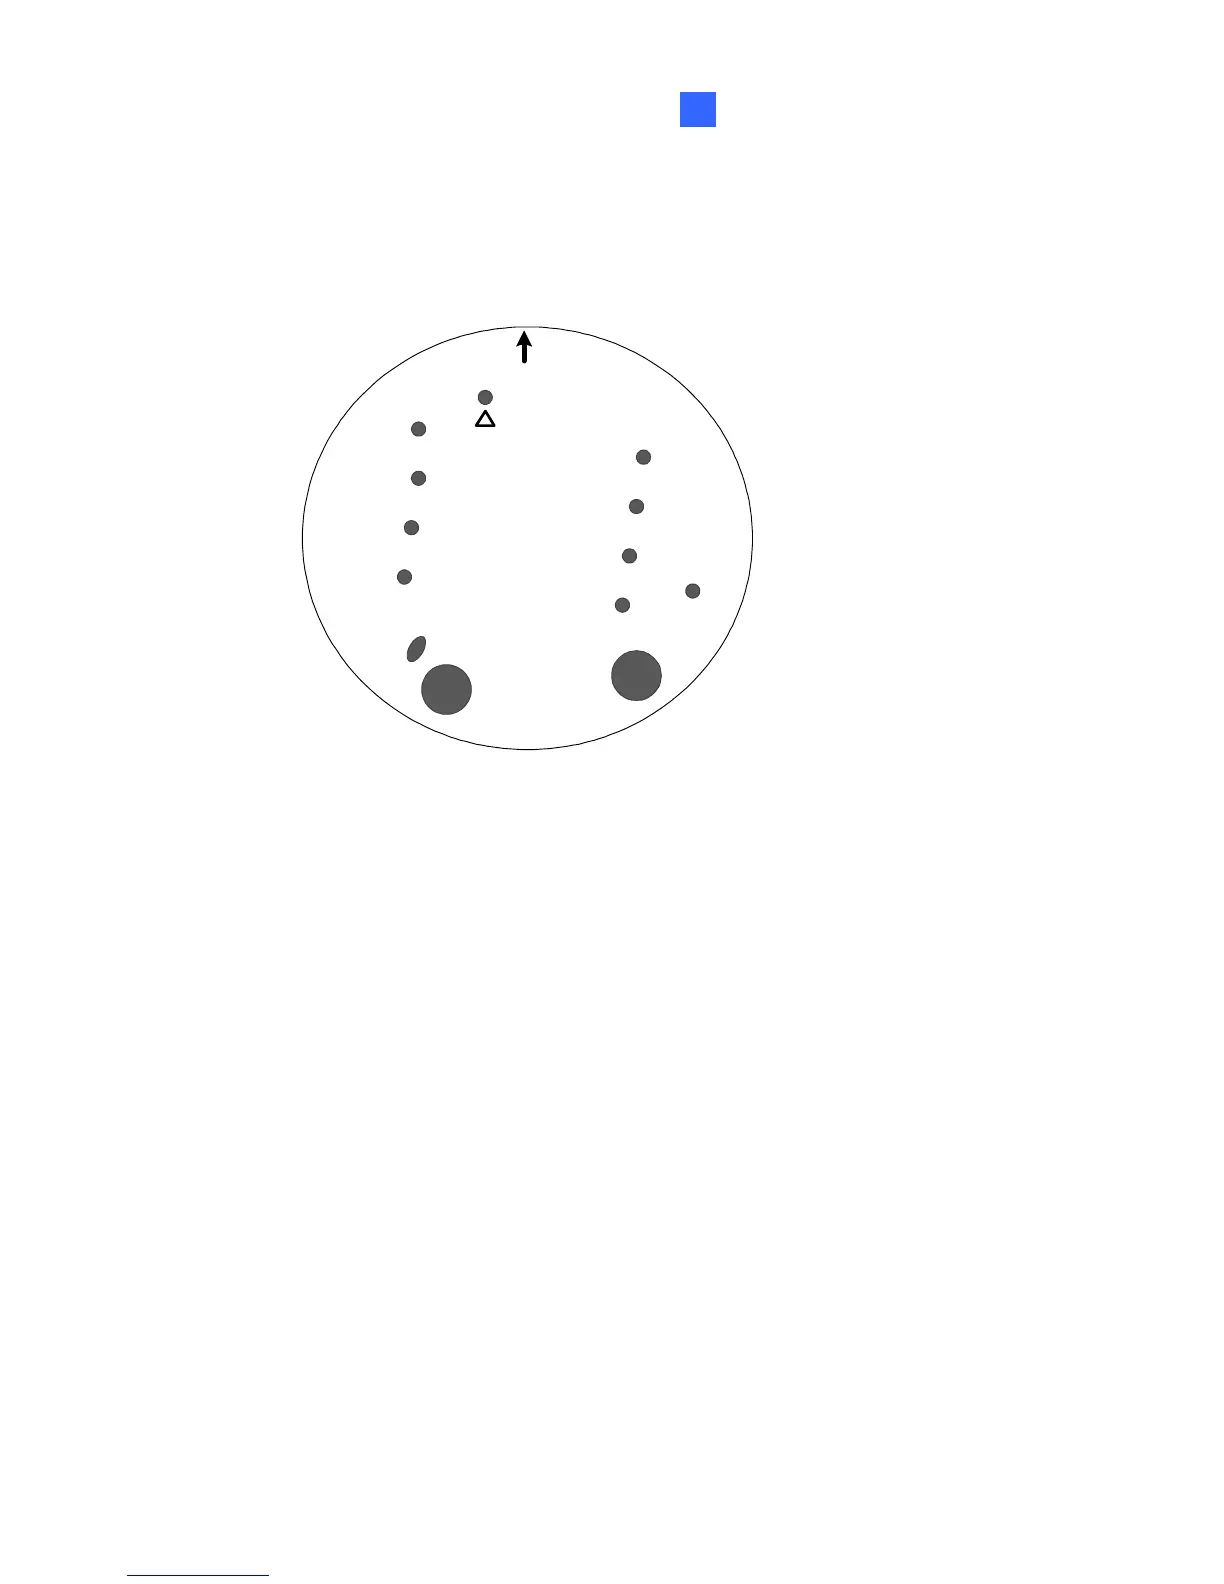
A. Paste the sticker to the ceiling. The arrow on the sticker indicates
the direction that the camera faces.
1
1
1
Ceiling mount template
A
B
B. Drill 3 holes for screws. The recommended ones are indicated as
‘1’.
C. Insert the screw anchors to the 3 holes.
D. Depending on how you want to run the wires (see step 5). Drill the
right hole (on the installation sticker) for position A and the left for
position B or both if required.
E. Secure the back plate to the ceiling with long screws.
 Loading...


