168
3. Connect the audio wires (optional), power adapter wires and I/O
devices (optional) to the camera. See 16.4 Connecting the Camera.
4. Secure the back plate to the ceiling.
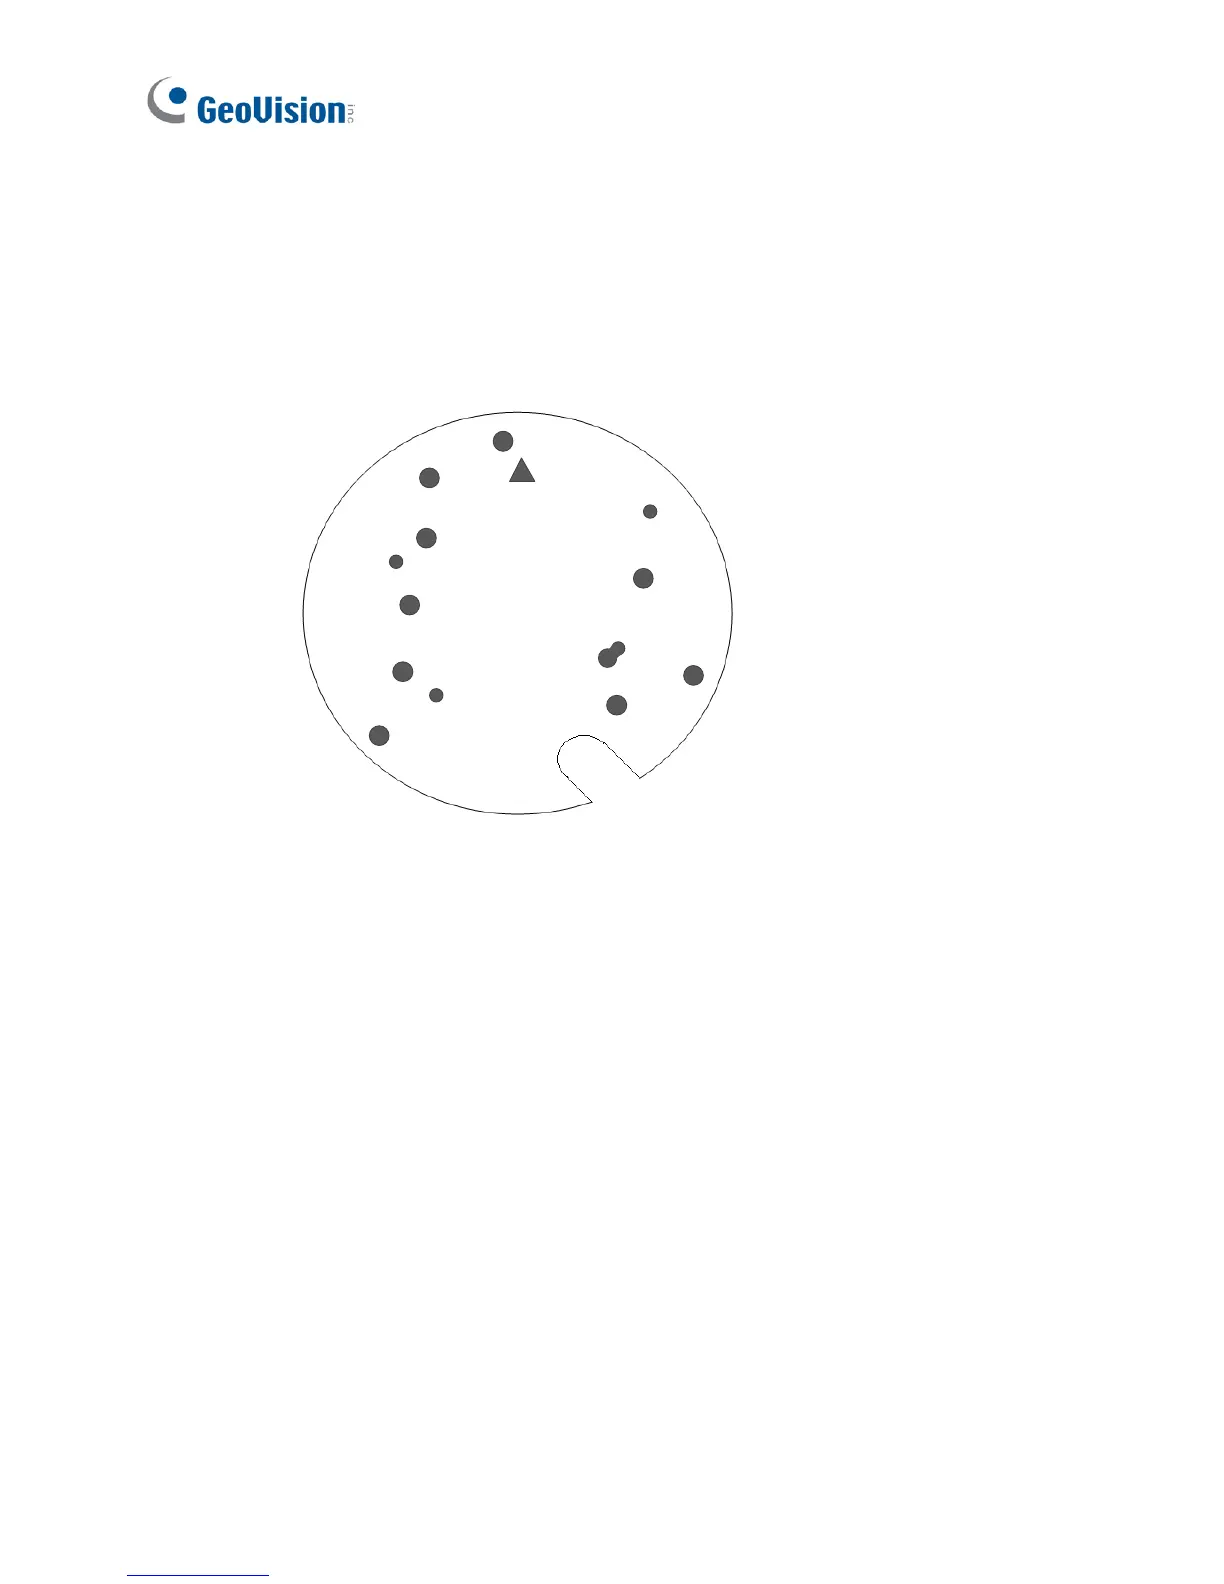
A. Paste the sticker to the ceiling. The triangle on the sticker
indicates the direction that the camera faces.
Ceiling mount template
1
1
1
1
B. Drill 4 holes for screws. The recommended ones are indicated as
‘1’.
C. Insert the screw anchors to the 4 holes on the ceiling.
D. Secure the back plate to the ceiling with 4 long screws.
 Loading...


