128
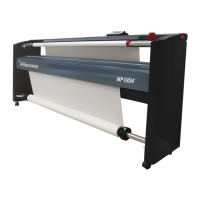
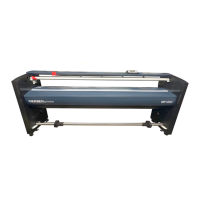
GERBERplotter MP Series User Manual
English
Default settings
Manual
Activate le separation and paper size. Deactivate margin to disallow split, paper margin, and left
or right print alignment.
Automatic
Activate margin options to disallow split, paper margin and left right print alignment, and deacti-
vate le separation, and paper size.
Queue Prior-
ity
Allows you to assign a value between 1 (min) and 10 (max) to a job. You can add the job to the
queue according to this value.
Plotter print-
ing speed (%)
Set the percentage of printing speed to 100, 75, 50, or 25 percent. These values correspond to print
head speeds of 2 m/s, 1.5 m/s, 1 m/s, and 0.5 m/s respectively.
Line thickness
Set the Print line width from 1 (thin) to 5 (thick). If you use Preserve original le thickness, Print
line width is ignored.
File separa-
tion
File separation is the size of the gap between print jobs.
Margin op-
tions
File separation File separation indicates the separation between prints.
It can be introduced in both mm and inches.
Paper size Paper size can be set in either mm or inches.
Margin to not allow split Set a distance below which splits are not allowed.
Print width
and height
Scale (%)
Set a scale applied to the print job. Values other than 100% are shown in red in the job queue.
File Copies
Set the number of copies of a job sent to the plotter.
Rotate and
ip
Choose the orientation (rotate, ip, or both) of the le.
Options when
lesarewider
than the pa-
per
Print out of paper The job is printed even if part of the print area does not t on the paper.
Split the le if it is
wider than the paper
and any margins
To allow big les to print, a marker is divided into multiple smaller sec-
tions if it cannot t on the paper.
Do not print the le The marker is not printed.
Advanced op-
tions
Unidirectional print Unidirectional print results in the jobs being printed in one direction only.
Automatic rotate Automatic rotate automatically rotates a job if needed to optimize the
amount of paper required.
This example is of a job spliced into two different sections. You do not need to cut the rst section, as this takes up
the entire width of the paper. The second section prints with a cut line, as it is less than the width of the paper. After
the second section is cut, it can be joined up with the rst section, ensuring that the leading edges of the triangles are
touching. There is a small amount of overlap.
First section. Second section.
Triangles.