67
GERBERplotter MP Series User Manual
English
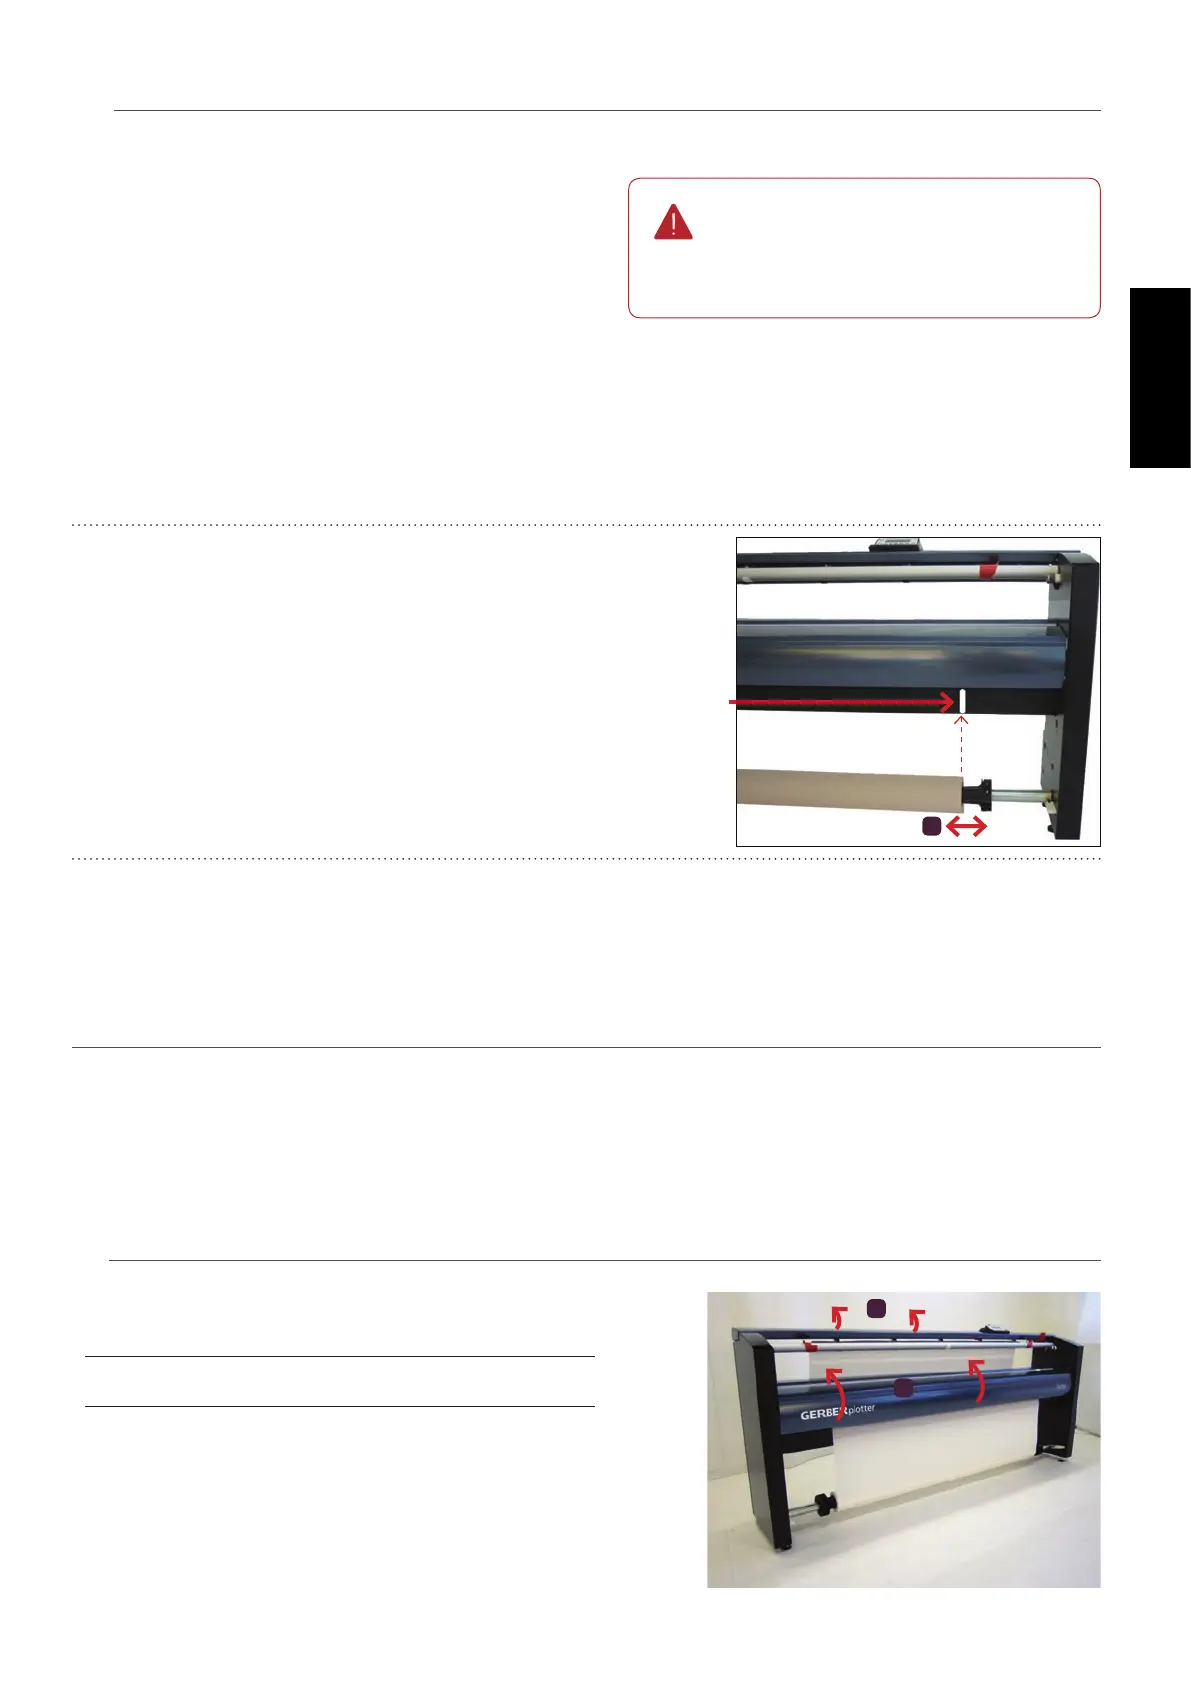
Paper roll center
Step 4 of 4
4
This step is only necessary if the
alignment of the paper roll does not
match with the vertical mark that indi-
cates the start point for the print head.
There is a vertical mark on the lower right side of the
printer bridge, which indicates the start point for the
print head. To correctly load the paper roll onto the paper
support bar, the paper must be aligned with this vertical
mark.
To do so, adjust the position of the right cone on the
paper support bar.
1
Allen key nº 6: Loosen the left and right cones on the
paper support bar.
3
Allen key nº6: Using the Allen key provided, rmly tighten
the left and right cones on the paper support bar.
Once the paper roll has been loaded onto the paper support bar
of the plotter, set it up so that you can print on it.
1
Open the top cover of the plotter by pushing the red
lock button on the right side.
2
Open the front cover of the printer bridge.
1
2
1
Step 1 of 5
Preparation
5.2 Paper run
2
Slide the paper roll and both cones along the paper
support bar until they are properly aligned with the
vertical mark.
Position the paper roll so that the right edge of the
paper is in line with the vertical mark on the printer
bridge.
Print origin indicator.
2