87
GERBERplotter MP Series User Manual
English
5.4.5 User adjust calibration
Calibrating from the plotter screen allows you to adjust all the settings step by step. The sequence for accessing the
rst step of the process is as described below:
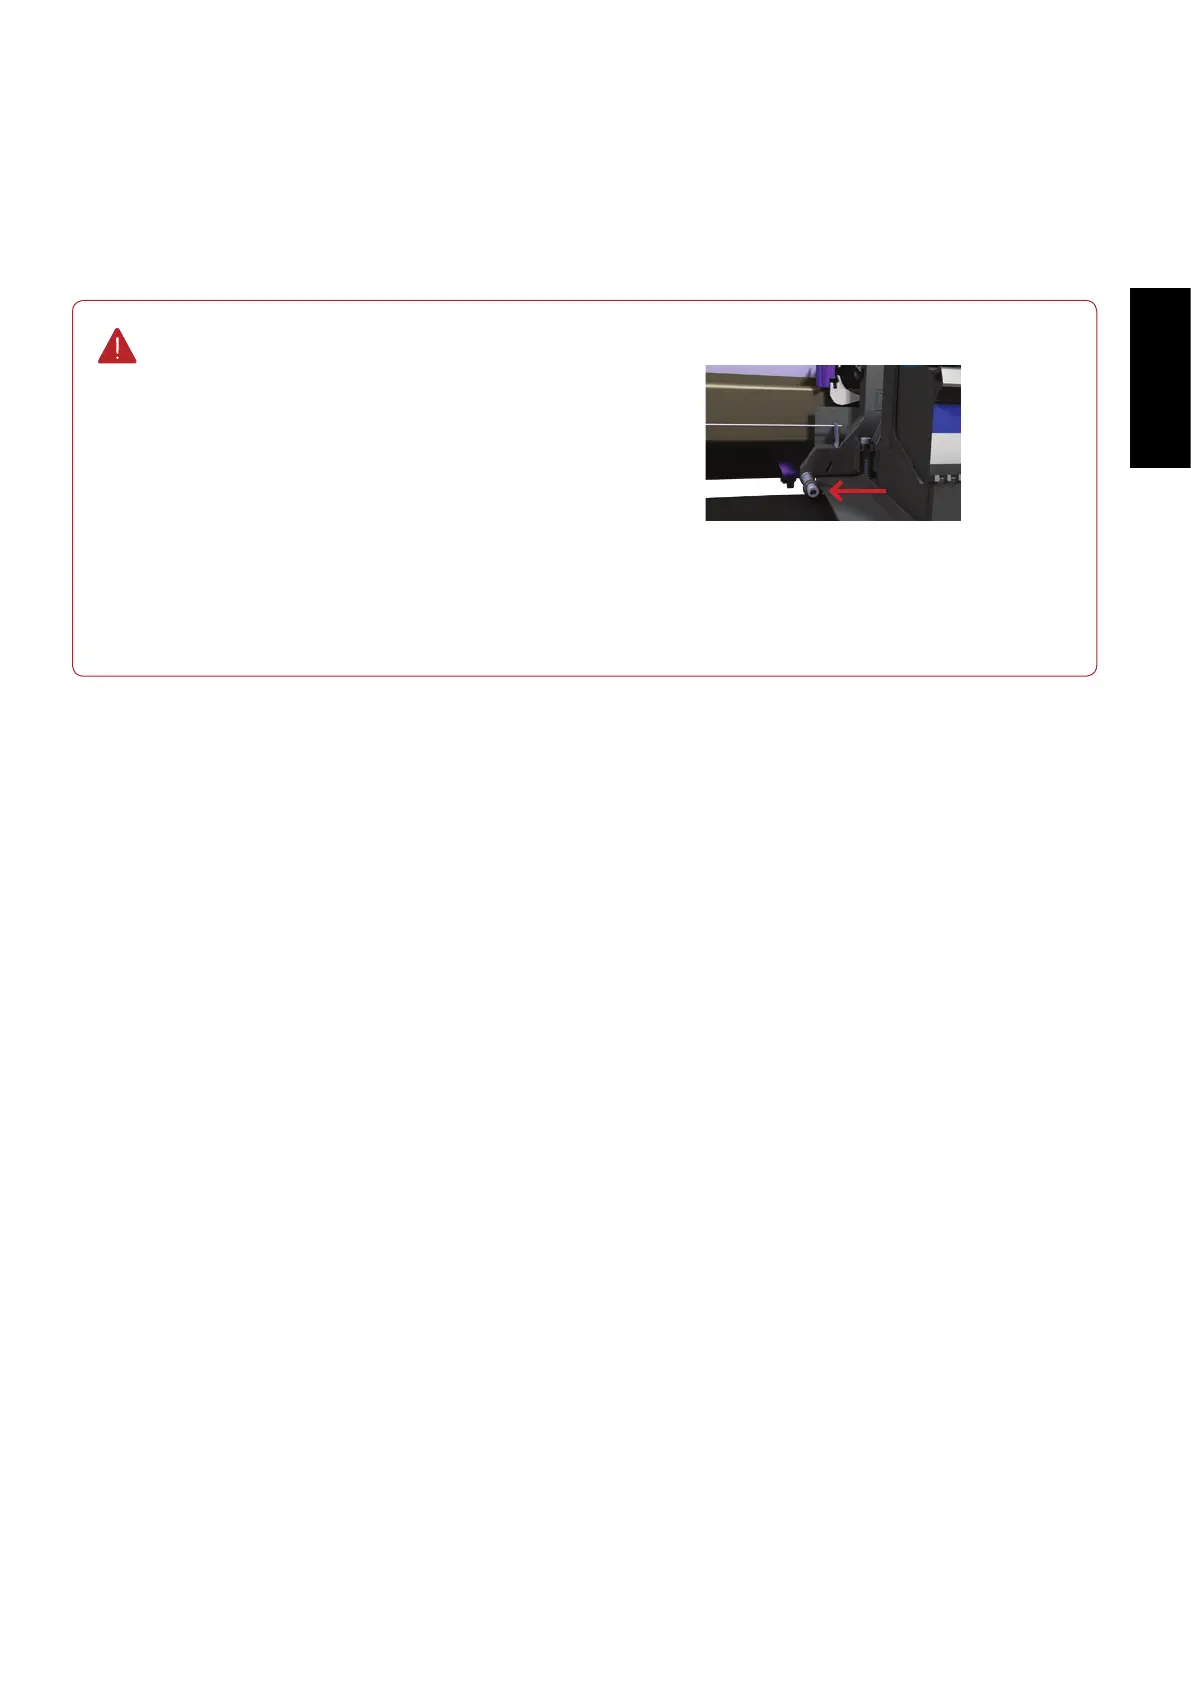
The step ANGLE and ANGLE 2 options in User adjust
require you to adjust the plotter by changing the angle
of the print head using a screwdriver (the screw shown
in the picture). For the rest of the steps, the adjustments
are numerical, and the values are entered according to
the results of the various print tests that have been car-
ried out.
In the rst step, one print head is used. In the rest of
steps, all the print heads (2 or 4 depending on the plot-
ter) are used to achieve a more accurate adjustment,
after the other settings have been changed.
Adjusting screw, situated in the lower left
part of the print head carriage.