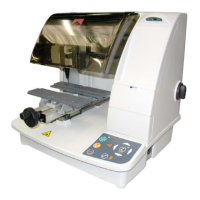
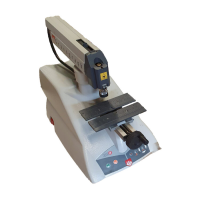
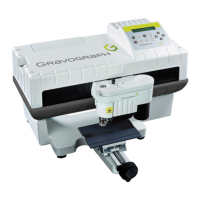
Using the machine
3. Adjustmentonthetoolholder(atengraving)
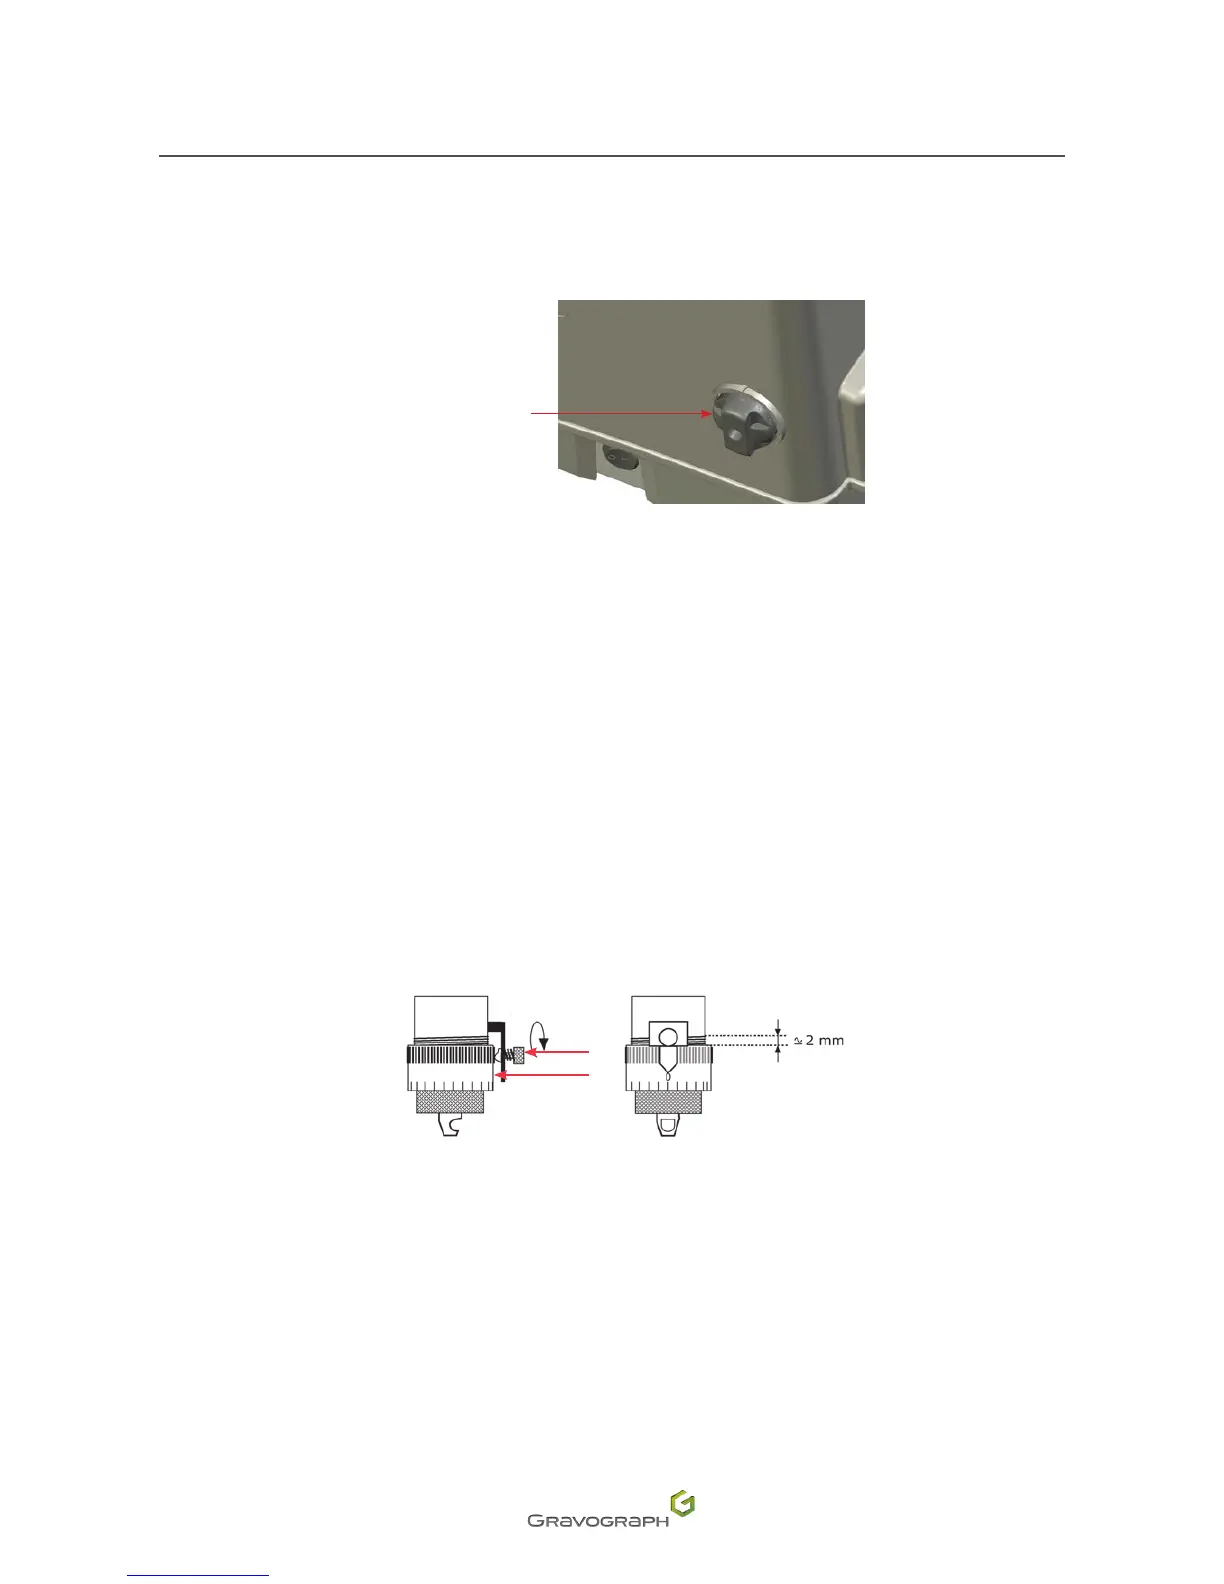
Spindle pressure adjustment
Spindle pressure
adjustment button
1. Pressonthearrowkeysinsuccession:Start-Pause.
The tool holder stops above the material to be engraved at the point at which engraving is to start.
2. Adjust the spindle pressure with the button (Position 4 = Rigid spindle / Position 1 = Flexible
spindle).
For engraving without a nose, set the spindle pressure adjustment button to the 4 position, to ensure a rigid
spindle.
To engrave a photograph, set the spindle pressure adjustment button to the 2 position.
Engraving with a regulating nose (function not available for the M20 PIX machine)
For engraving with a nose, adjustment is carried out according to the hardness of the material, the width of the
cutterandthestateofthesurfaceoftheplate.Ifthereisanyriskthatthenosemightscratchthesurfaceofthe
object, reduce the spindle pressure.
1
2
1.
Index pin
2.
Scaledknob
1. Place the regulating nose in its recess on the spindle. Tighten the nose nut.
2. Loosen the index pin. Loosen the scaled knob. Align the 0 of the scaled knob with the index pin.