User Manual
20
• If only connecting the USB extension cable to a PC with USB2.0 interface and running the
corresponding menu commands of Guide IrAnalyser® software (e.g. sub-command
Device Video of command Video under menu File), you can view the live thermal video on
PC, control the camera on PC and also record live thermal video into PC.
• If connecting all the cables above to corresponding devices and execute the corresponding
commands in the Guide IrAnalyser® software (i.e. sub-command Device Video of
command Video under menu File), the camera will switch to USB mode immediately. Now
you can view the live video on PC, control the camera on PC and also record live thermal
video into PC with the help of Guide IrAnalyser® software, but at the meantime, the VGA
LCD touch screen, OLED viewfinder, VGA display device and TV video display device will
display prompt “USB Mode” only.
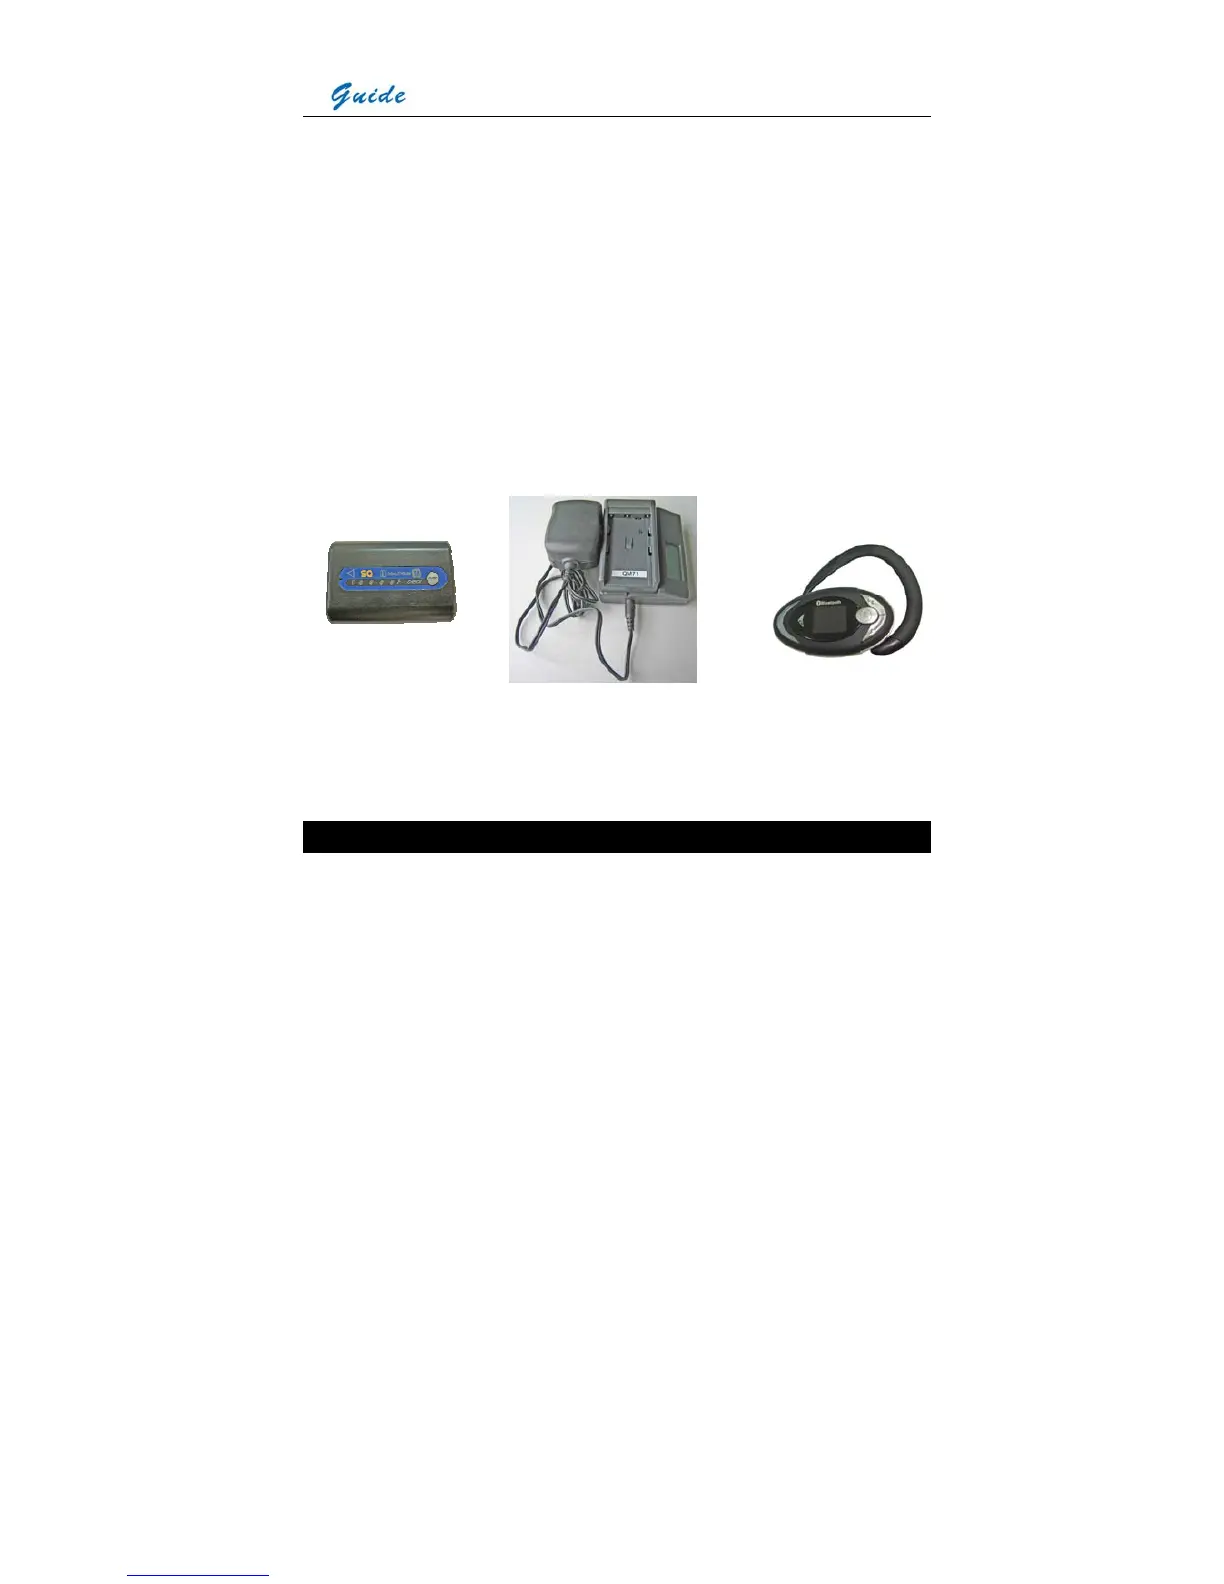
Rechargeable lithium battery Battery charger Bluetooth wireless headset
Attaching and Detaching the LCD Screen
Attaching the LCD screen:
• Mount the LCD screen to the camera by sliding the LCD screen foot into the mount on top
of the camera. Then rotate the tightening gear clockwise to make the LCD screen locked in
place