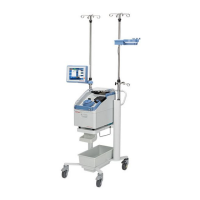
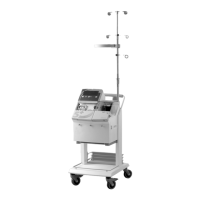
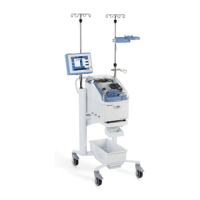
General Operation: Cell Salvage 77
Haemonetics
®
Cell Saver
®
Elite
®
+ User Manual P/N 130859-US, Manual Revision: AA
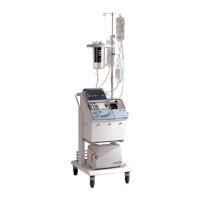
Installing the Cell Salvage Components
Inspecting the
Disposable
Components
Always inspect disposable components while removing them from the
packaging.
1. Read the labeling on the processing set to ensure it is the correct set for
the current procedure.
2. Check the date on the disposable components to ensure they have not
expired.
3. Ensure there are no kinks or twists in the tubing that could restrict the flow
of fluid.
4. Check that there are no missing caps or open connections.
5. Verify that there are no visible defects or particulate within the set.
Collect First
Setup
Using a collect first setup enables you to collect fluid in the reservoir and
ensure there is enough shed blood to recover before attaching a processing
set. To prepare the collection reservoir and aspiration and anticoagulation
(A&A) line:
Load the Reservoir and Vacuum Line
1. Place the reservoir in the reservoir weigher or cardiotomy bracket so that
the three filtered inlet ports face the tubing support.
Note: The reservoir weigher should be no higher than 72 in. (183 cm) from the
floor.
2. Close the slide clamp on the reservoir drain port.
3. If using the Cell Saver Elite+ internal suction, connect the filtered vacuum
line to both the vacuum port on the back of the device and to the vacuum
inlet port on the reservoir.
4. If using external suction, connect the external vacuum to the vacuum inlet
port on the reservoir.
Attach the A&A Line and Prime the Reservoir
5. Open the A&A line packaging using aseptic technique and pass the
sterile inner wrapped line into the sterile field.
6. Attach a plastic suction wand to the A&A line while inside the sterile field
and pass the other end back out to the device.
7. Connect the A&A line to the reservoir and insert the A&A line into the
tubing support.