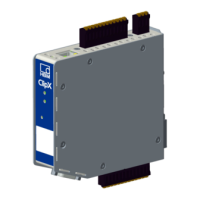
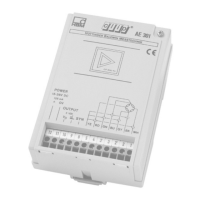
Mounting
20
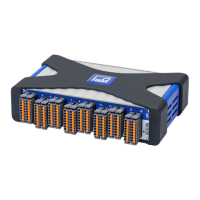
a4643-1.0 HBM: public ClipX
Procedure
1. Use a size T10 Torx screwdriver to remove the screws indicated in the pic-
ture.
2. Keep the screws, because you should reuse them.
3. Make your mounting bracket.
The material should be about 1 to 2mm thick, to enable you to reuse the
original (M3) screws. The space between the two screws is 43.7mm.
4. Fix your mount either using the original screws or using M3 screws pene-
trating a maximum of 5mm into the housing. Fasten the screws only hand-
tight.
Important: You must ground the ClipX housing, such as by way of the
mount.